Iris Diagnostics, a Division of Iris International, Inc.
iQ
®
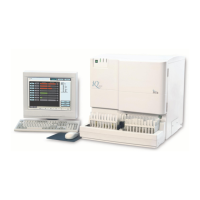
200 Sprint™ (2G) Automated Urine Microscopy Analyzer Service Manual 300-4949 Rev A 01/2005 2-29
2. Installation Procedures
Preparation for Starting Operation
Perform Setup
See Operator’s Manual - Setup.