Iris Diagnostics, a Division of Iris International, Inc.
iQ
®
200 Sprint™ (2G) Automated Urine Microscopy Analyzer Service Manual 300-4949 Rev A 01/2005 2-27
2. Installation Procedures
Startup
Note: Before power up, check inside the instrument and ensure the
cables and tubing are secured and remove any packaging material.
Turn on power in the following order:
1. Computer
2. Video monitor
3. Main power switch on the back of the
Microscopy Module
Note: Wait until the Instrument screen is
displayed. Check the status on the top left
corner of the screen is “OFF”.
4. Press the green ON/OFF button on the
front of the Microscopy Module
5. Press the ON/OFF button on the back
of the Loading/Unloading stations.
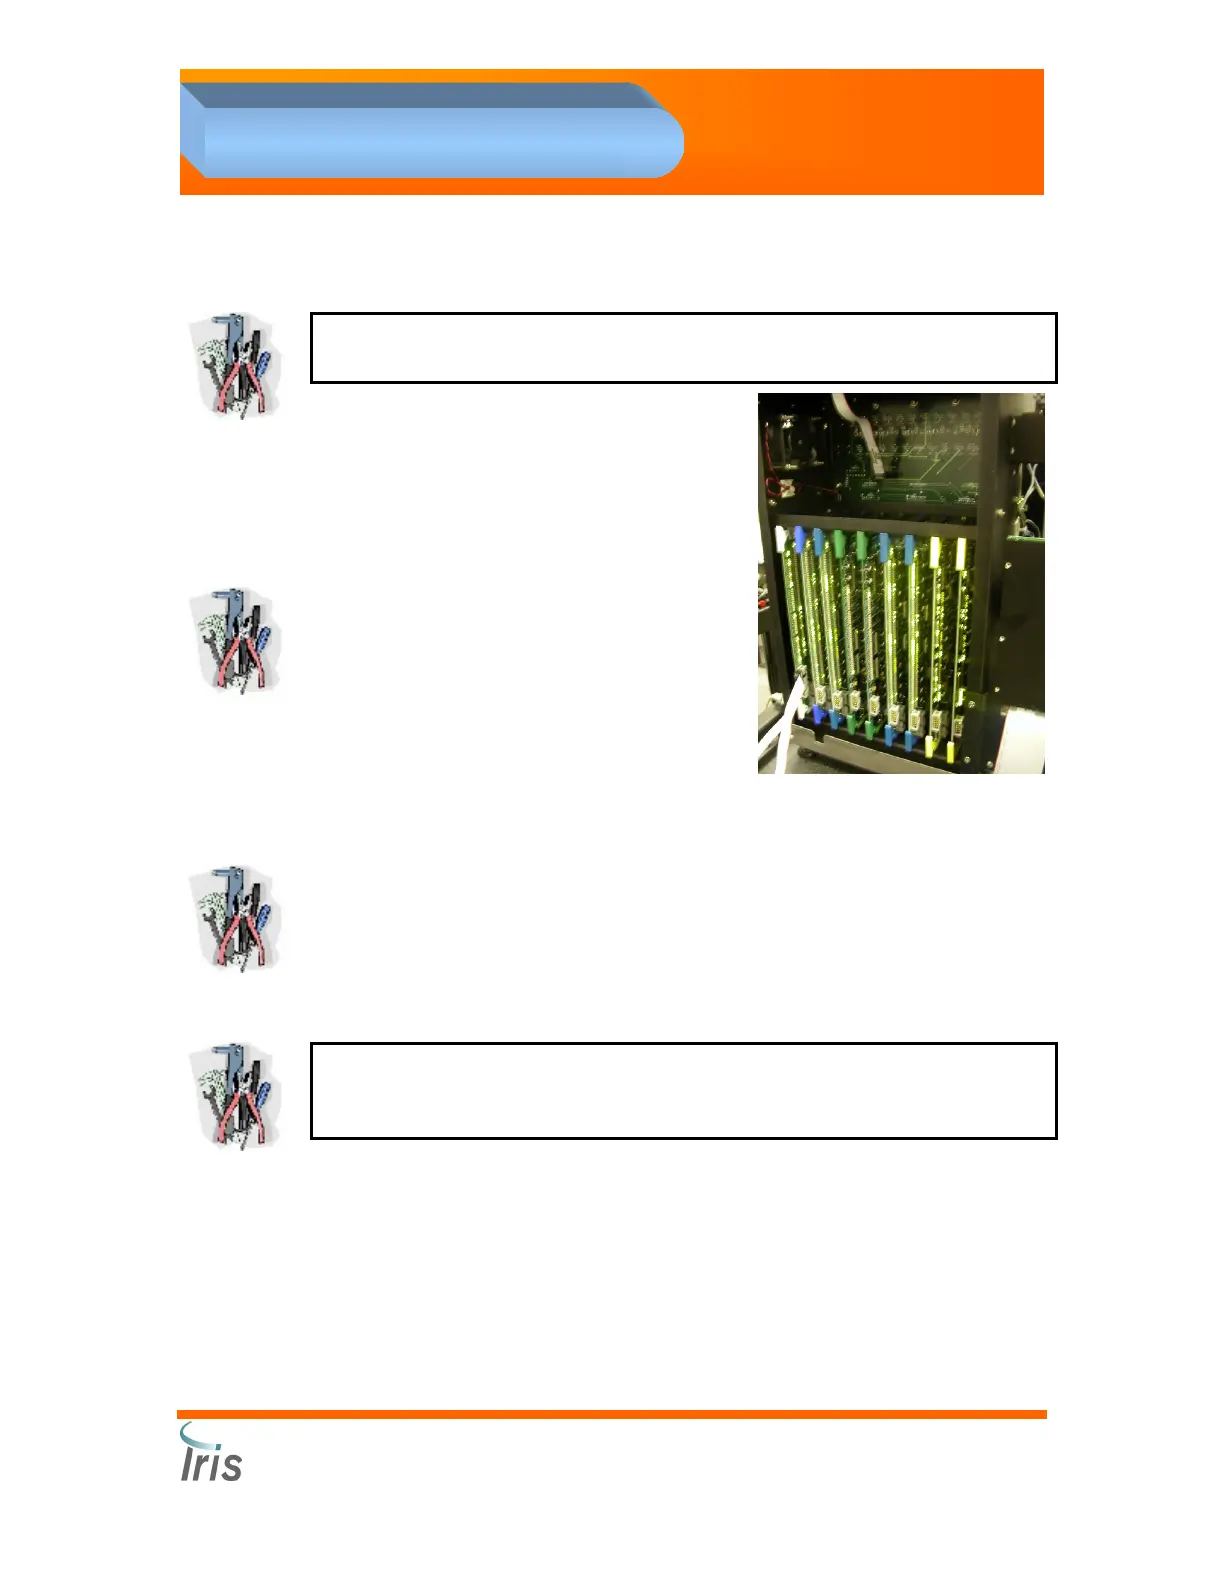
6. Remove the panel and the EMI shielding from the left side of the
Microscopy Module to access the card cage.
Note: Verify NO red LEDs are present on the circuit boards inside the
cardcage. If red LEDs are observed, clear the fault before continuing the
installation.
7. Logon to the workstation. Identifier [IRIS] password iris2k1
(lowercases).
Note: Verify the Microscopy Module is in Standby mode as indicated by a
status light (green) on the instrument and displayed on the top left side of
the screen.
8. After startup, the Lamina tank located inside the Microscopy Module
will fill automatically.
9. Place three tubes in the first three positions of the Control rack. Fill
each tube with Iris Diluent.
10. Run the Control rack twice to prime the lines located after the Lamina
tank.
 Loading...