Iris Diagnostics, a Division of Iris International, Inc.
iQ
®
200 Sprint™ (2G) Automated Urine Microscopy Analyzer Service Manual 300-4949 Rev A 01/2005 2-7
2. Installation Procedures
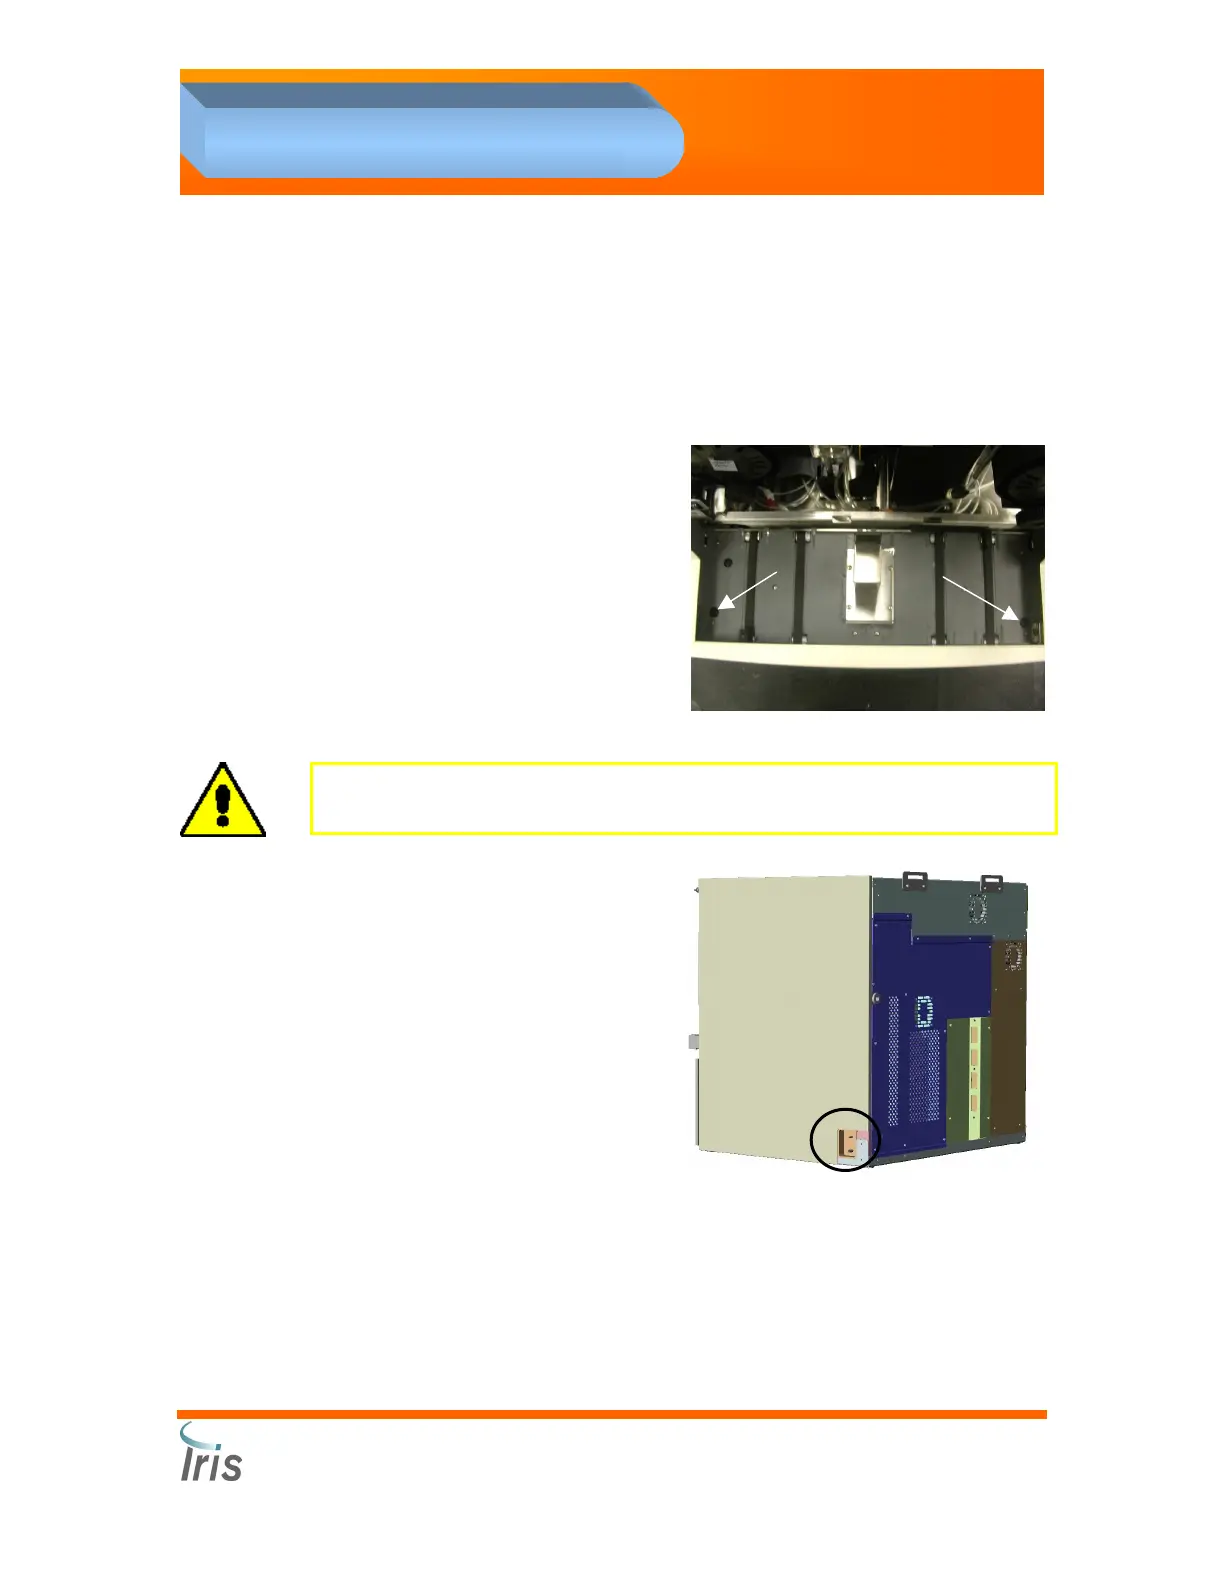
Adjust Sampler
Two adjustment feet are located under the Sampler. They are accessed
from the top of the Sampler. Each foot must be in contact with the
benchtop.
• Using a flat head
screwdriver, remove the two
rubber caps located on the
front corners of the
Sampler. The top of the
feet (screws) can be seen.
• Using a Phillips screwdriver
(+), turn each of the two
screws clockwise until the
adjustment feet touch the
bench top.
• Reinsert the rubber caps.
CAUTION: Make sure the height of the Sampler is adjusted correctly.
Otherwise, the Sampler and the Probe may be damaged.
Installing the Lamina Container
• Install the Lamina cap with
filter on a fresh Lamina
container.
• Connect one end of the
Lamina tubing to the top
fitting on the right side of
the analyzer. Connect the
other end to the fitting of
the Lamina cap.
Connecting the Drain Tubing
• Connect the drain tubing to the bottom fitting on the right side of
the analyzer.
• The Drain Tubing can be directed to the designated waste area
according to local regulations.
• If direct drainage is not an option, slide the Drain Tubing inside a
waste container (approximately 2 in. (5cm)) Make sure the waste
container is lower than the microscopy module.
 Loading...