5. Reel out the required length of hose 4 .
6.
Tighten the clamping screw 7
.
The reel is locked against unwanted reeling in or out.
7.
Fold the crank 3
.
8.
Connect the air tool.
9. Put the machine into operation.
10. Open the shut-off valve for the compressed air extension hose 10
.
8.7.2 Operating the machine without an extension air hose
1. Close the shut-off valve for the compressed air extension hose.
2.
Disconnect the air consumer.
3. Unfold the crank.
4. Coil the hose evenly and tightly.
5. Tighten the clamping knob.
The reel is locked against unwanted reeling in or out.
6. Fold the crank handle in again.
8.7.3 Securing the hose reel for transport
1. Check that the hose is firmly and evenly reeled in.
2. Coil up the hose again, if necessary.
3. Align the transport securing bolt with one of the securing bores 12
at the side wall of the hose
reel 6 .
4.
Engage the securing screw fully.
5. Tighten the clamping knob.
6. Plug the hose coupling onto the bracket 9
.
8.8 Cleaning the machine after operation
Material High-pressure cleaner
Precondition The machine is switched off.
The machine has cooled down.
The machine is fully vented, the pressure gauge reads 0 psig.
All compressed air consumers are disconnected and the air outlet valves are open.
Maintain the following minimum distances to the object to be cleaned in order to prevent damages
to the machine when cleaning with the high-pressure cleaner.
■
Circular section jets: approximately 2.3 ft
■ Fan jets: approximately 1 ft
■ Dirt blasters: approximately 1 ft
Keep the water jet in permanent motion during the cleaning process. You prevent thus dam‐
age.
8 Operation
8.8 Cleaning the machine after operation
No.: 9_9548 05 USE
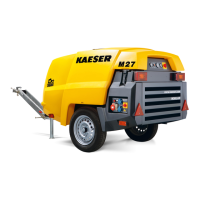
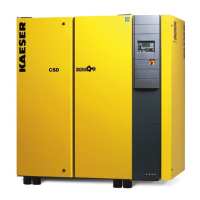
Operator Manual Screw Compressor
M27
93