3
Click the “OK” button.
Figure 17-81 Information Message Box
RF Deck Selection appears.
4
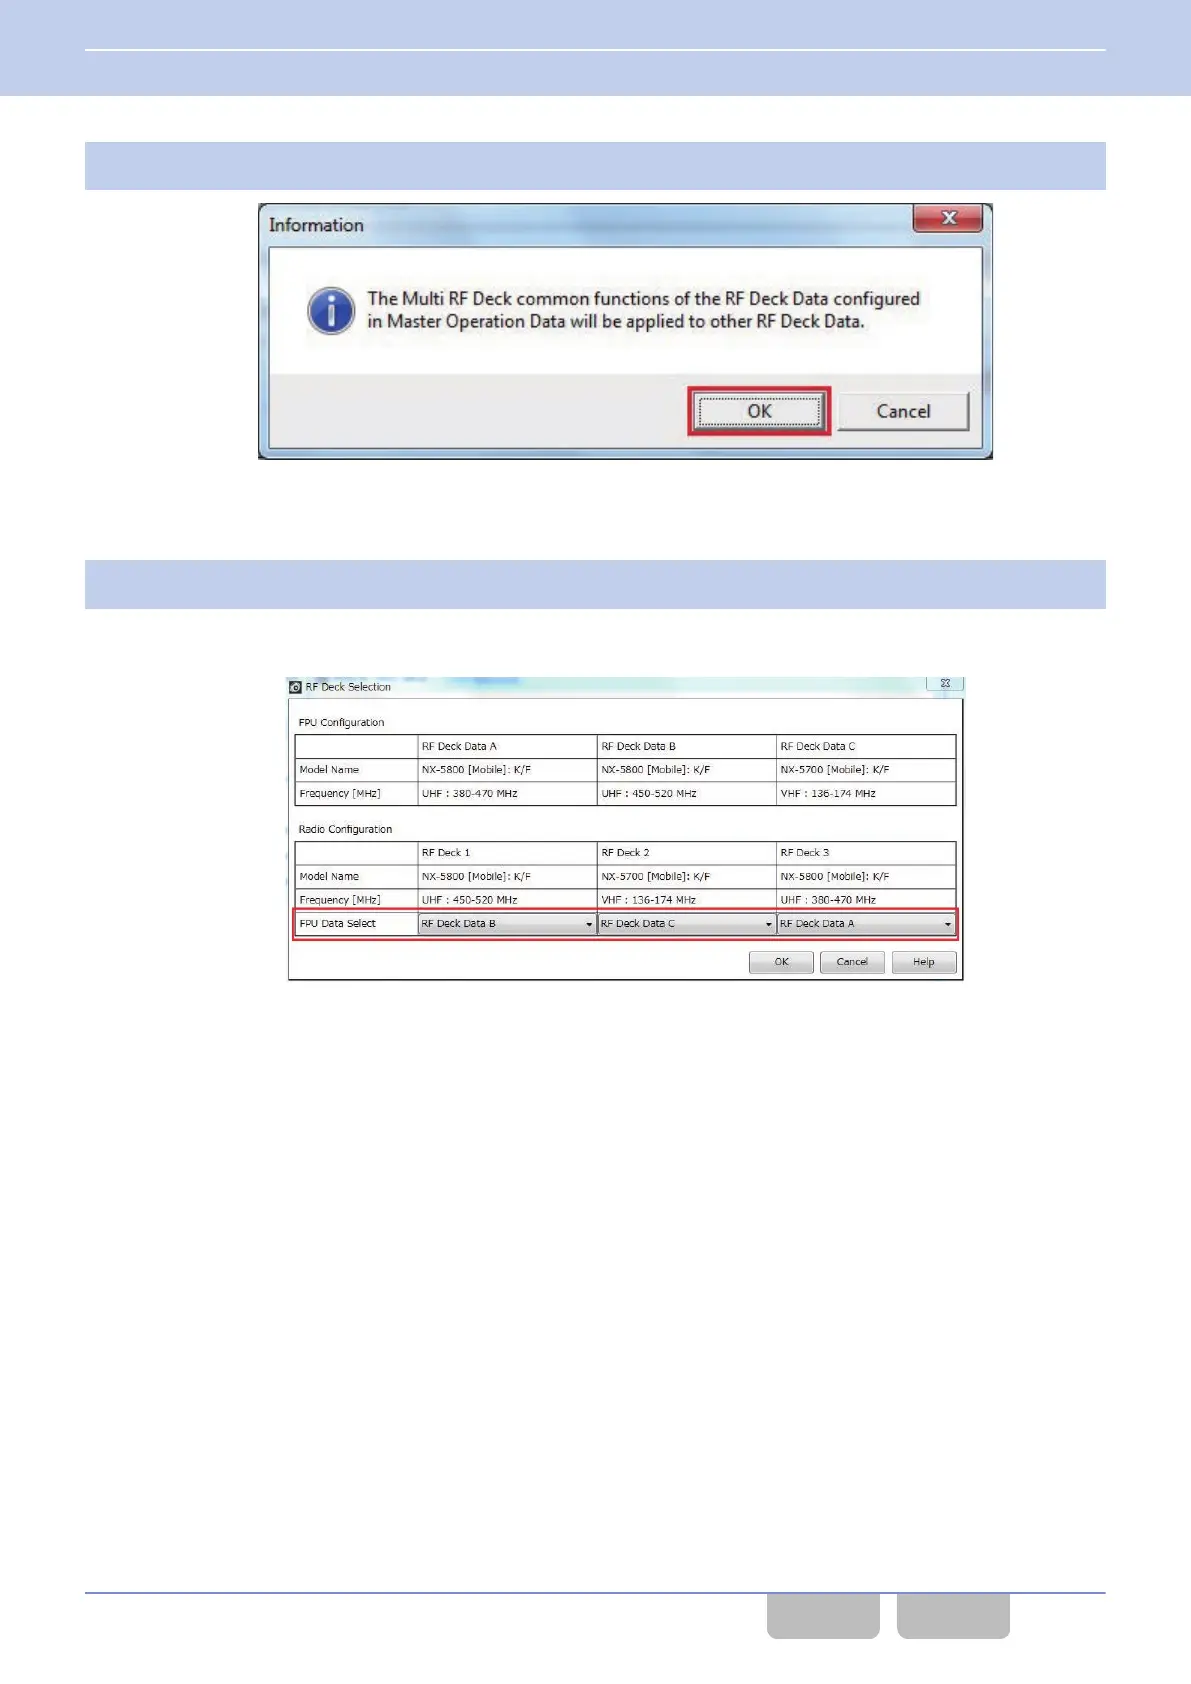
Configure FPU Data Select and click the “OK” button.
From RF Deck Data A to RF Deck Data C configured in step 1, the configuration data of which RF Deck is to be
written is configured for each RF Deck.
Figure 17-82 RF Deck Selection
Clicking the “OK” button displays Write Data to the Transceiver.
17 STRUCTURING A MULTI RF DECK/ MULTI CONTROL HEAD
17.11 About Configuration Using KPG-D1/ D1N
Common FUNC (K, F)/Ver 2.20 382
CONTENTS INDEX
 Loading...