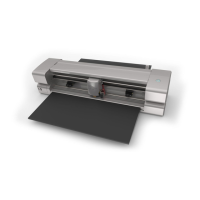
Click on an alignment icon from the Position & Size window on the Properties Panel:
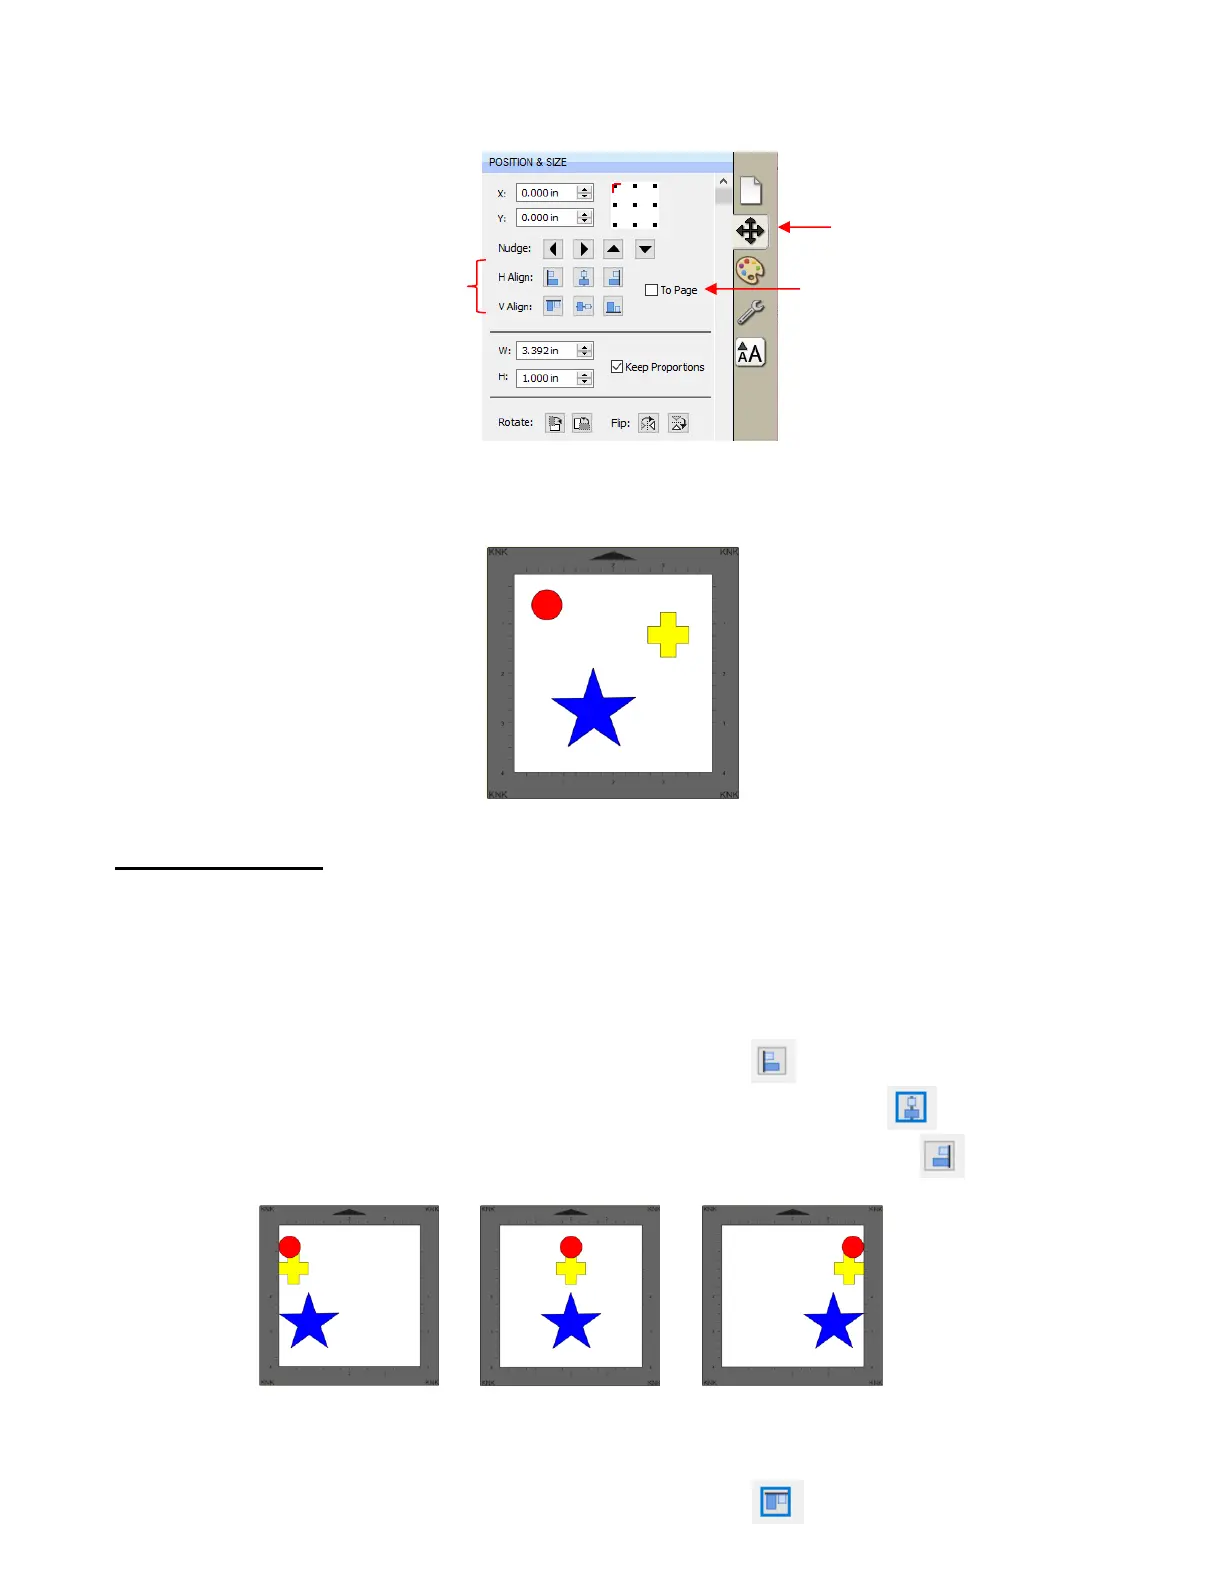
The following three shapes, in their current relative positions, will be used to illustrate what happens when
each alignment function is applied. Note that a small custom mat was created to facilitate screenshots:
5.17.1 Align to Page
Make sure the alignment mode is set to Align to Page. To do this, either:
Go to Object>Alignment and make sure Align to Page is checked
Check the To Page option on the Position & Size panel
With the shapes selected, the horizontal alignment options are:
Align Left aligns shapes along the left side of the Cutting Mat.
Align Horizontal Center aligns shapes through the center of the Cutting Mat.
Align Right aligns shapes along the right side of the right side of the Cutting Mat.
With the shapes selected, the vertical alignment options are:
Align Top aligns shapes along the top side of the Cutting Mat.