4.04.3 Creating Folders and Moving Layers
As mentioned in Section 4.04.1, each new shape added to the Cutting Mat will initially be assigned to a
new layer. This can quickly clutter the Layers Panel. The ability to combine shapes into folders and
subfolders helps organize a project and make things easier for printing and/or cutting.
There are two ways to create a new folder:
Click on the Add layer folder icon at the bottom of the Layers Panel
Click on the Layers Menu icon and select Add Layer Folder
Go to Layer>Add Layer Folder
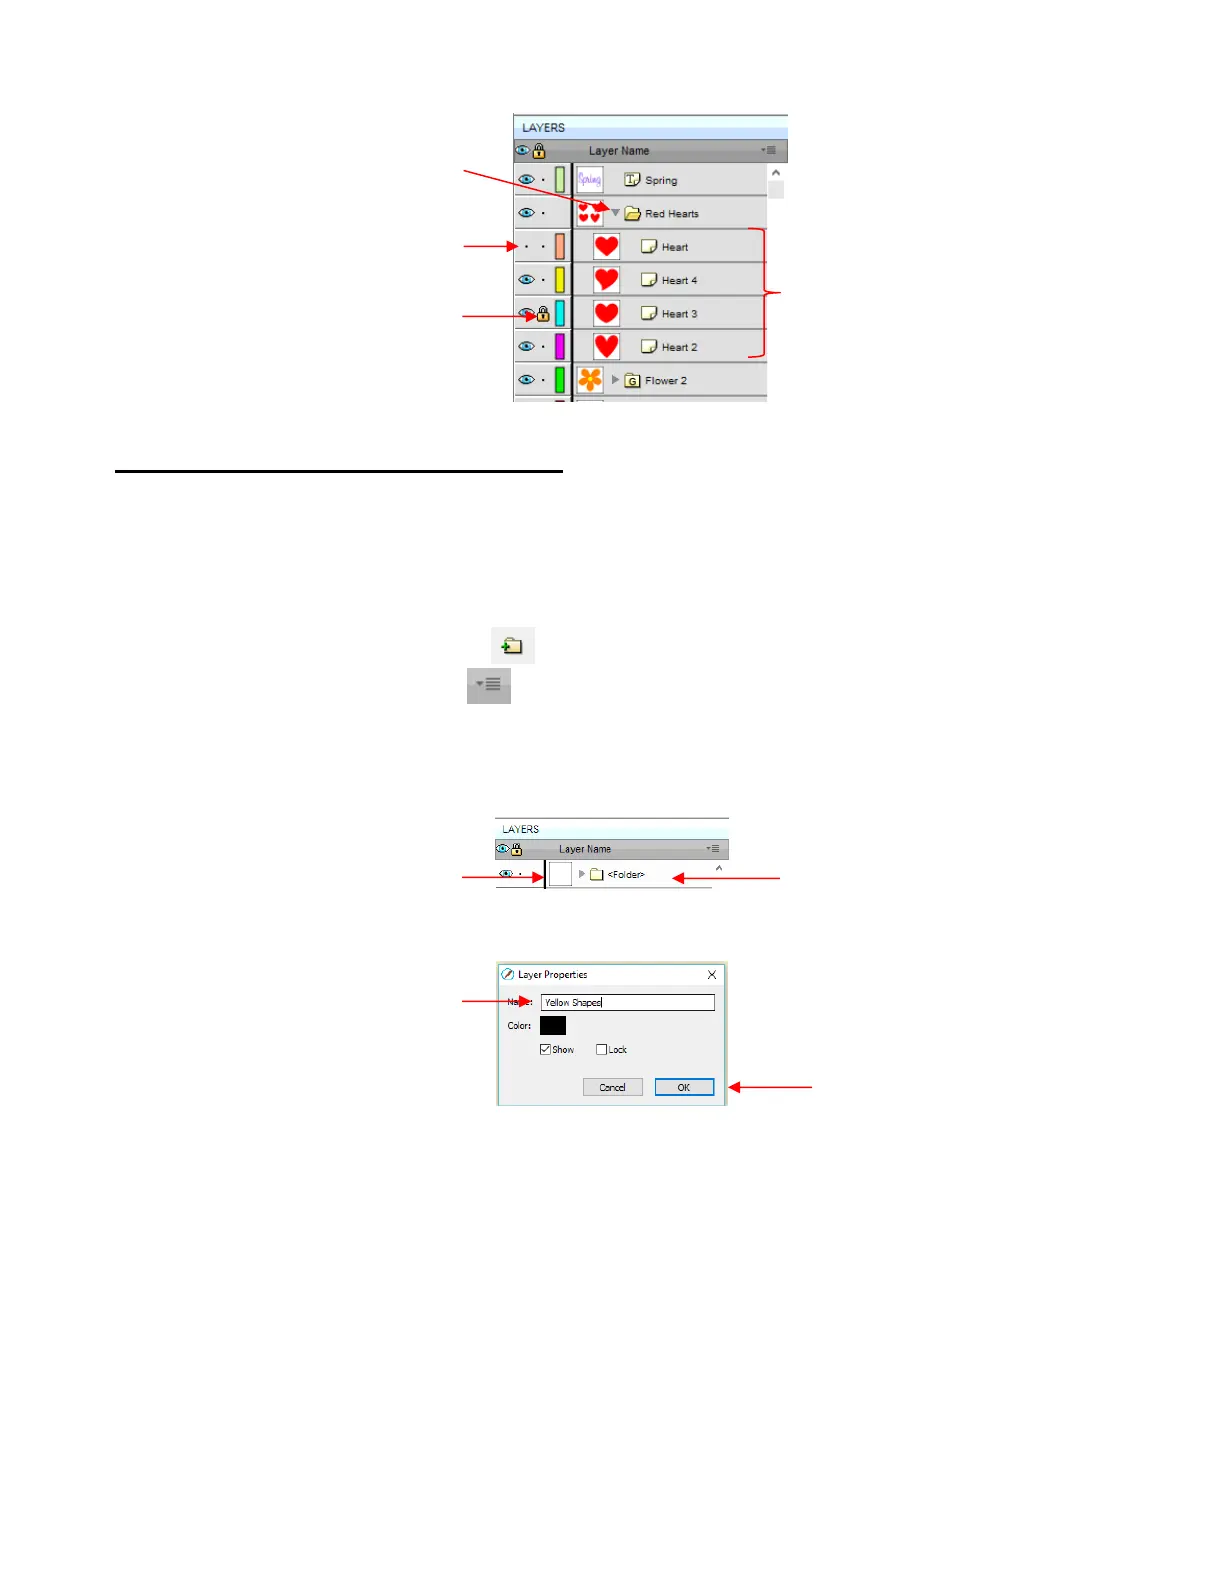
When a new folder is added, it will appear at the top and look like this:
Just as covered in the prior section, if you double-click on this new folder, you can rename it:
In the prior section, it was also noted that layers can be re-ordered using the Arrange option in the Layers
Panel Options menu. Alternatively, layers and folders can also be moved directly on the Layers Panel by
dragging them up or down.
There are two possible outcomes when dragging layers:
The layer is moved to a new location
The layer is moved into an existing folder
The way to control where the layer “lands” is by moving it straight up and down or by dragging a little to the
left while moving it up and down.
If you drag a layer without moving to the left, you will see a short line with an open square. This means it
will be added to the folder directly above it:
 Loading...