Selecting one shape or a layer of shapes on the screen
Controlling what is sent to the cutter or printer
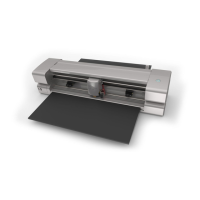
The Layers Panel can be displayed by double-clicking its icon and hidden by double-clicking the small bar
just above its icon:
You do not have to worry about adding shapes to the Layers Panel. They will automatically be assigned to
new layers as you add them. You will want to learn how to move shapes to new layers or combine shapes
into the same layer, depending on the circumstances. This is covered in Section 4.04.3.
Here are a few examples of when shapes need to be on different layers:
Paper piecing or shadowed shape projects where some shapes will be cut from one color and other
shapes from another color (or a number of other colors).
Fold-up projects (boxes, envelopes, popup cards, etc.) where the fold lines will need to have different
settings and/or different tools used than your cut lines.
Rhinestone template projects where you need to cut two different templates, such as a fill that will be
done in one color of rhinestones and an outline in another color.
Other benefits of assigning shapes to specific layers include:
Ability to select, with one click of the mouse, all shapes assigned to a layer
Ability to hide or lock layers so that the shapes on that layer are not inadvertently selected, moved,
resized, etc.
Ability to change the color, line style, and tool choice on all of the shapes assigned to a particular layer.
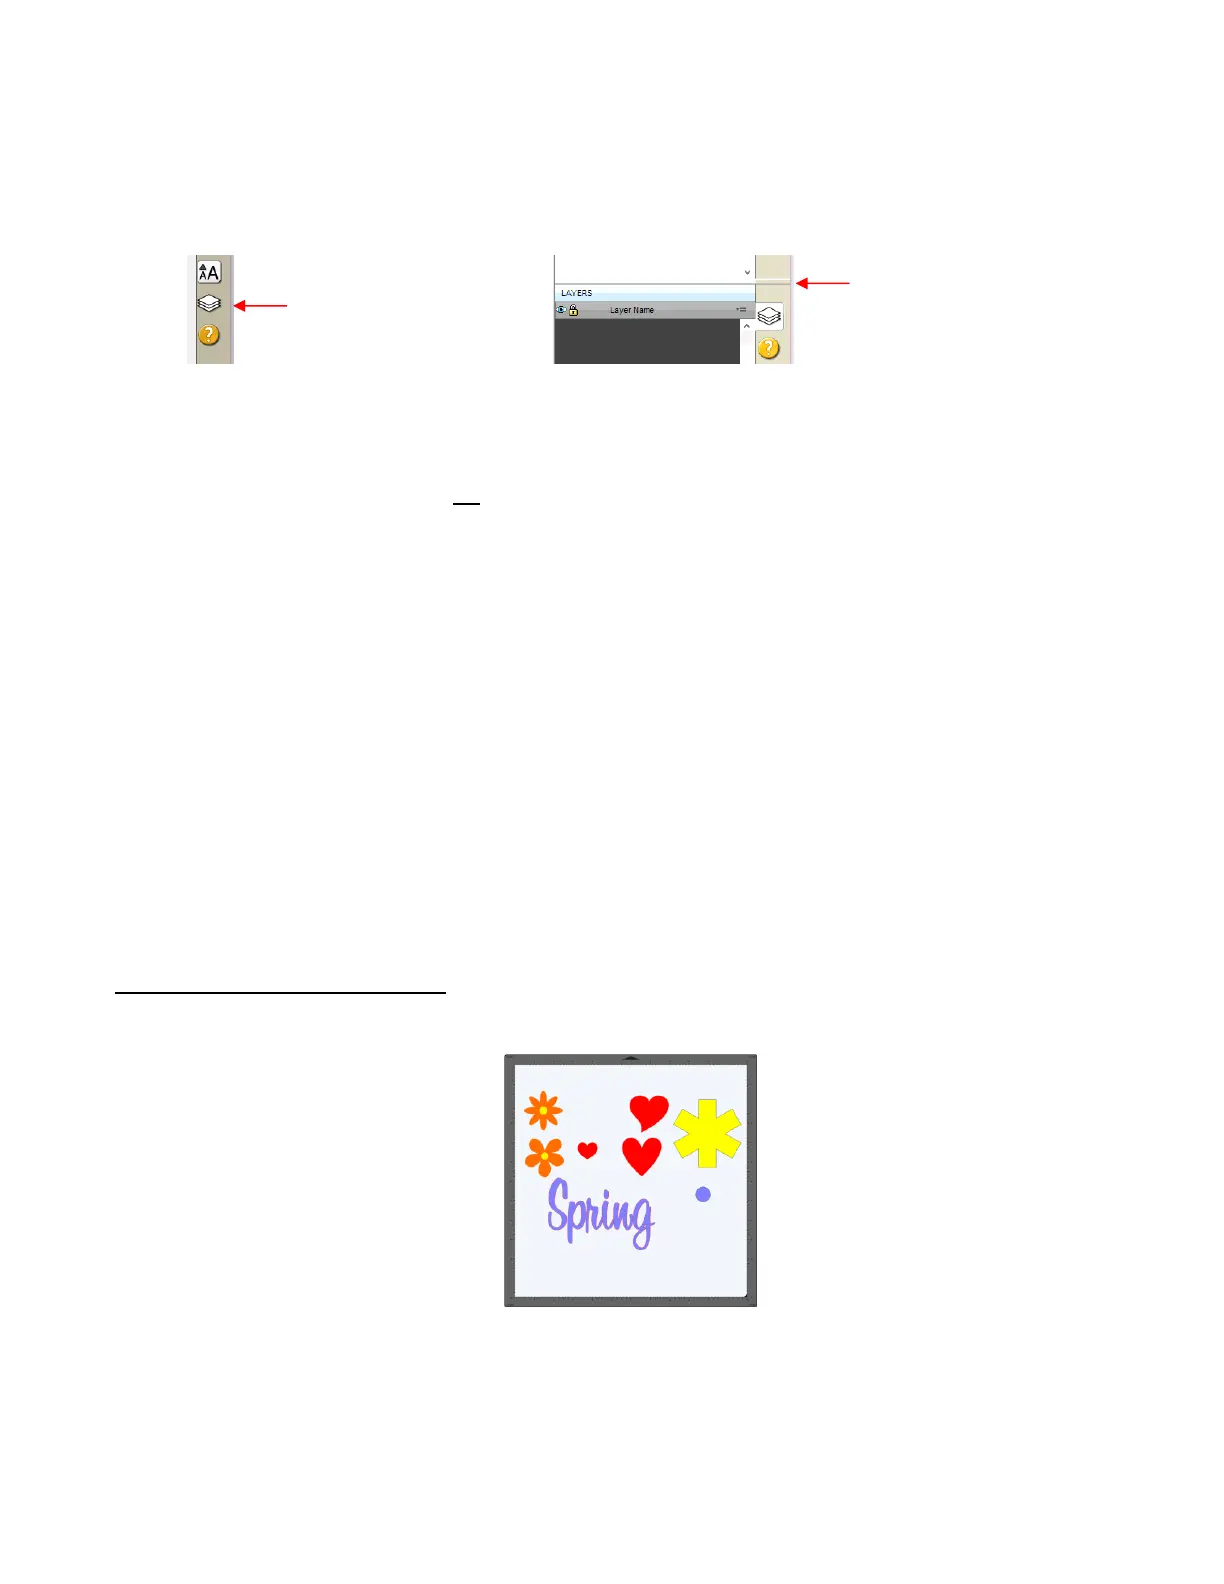
4.04.2 Parts of the Layers Panel
The next few sections will use the following simple project to illustrate the Layers Panel:
The following screenshot identifies the various icons on the Layers Panel:
 Loading...