Throughout this manual, Cutting Mat (capitalized and in bold type) refers to the on-screen simulation of the
actual cutting mat, which will be written with lower case, normal type.
Shapes are the objects or images that you will be adding to your projects. They can be created from scratch
or imported from other sources, such as the Library, your computer, or the eshape Store. As you will see
throughout sections in this user manual, you have many options and resources available to you.
This manual also presents information by topics versus location on the screen. If you need to look up all of
the functions on one particular element, for example the Tool Panel, refer to Appendices D1-D3.
3.03 Language Preference
Six other languages, besides English, are available. Go to Help>Language to change:
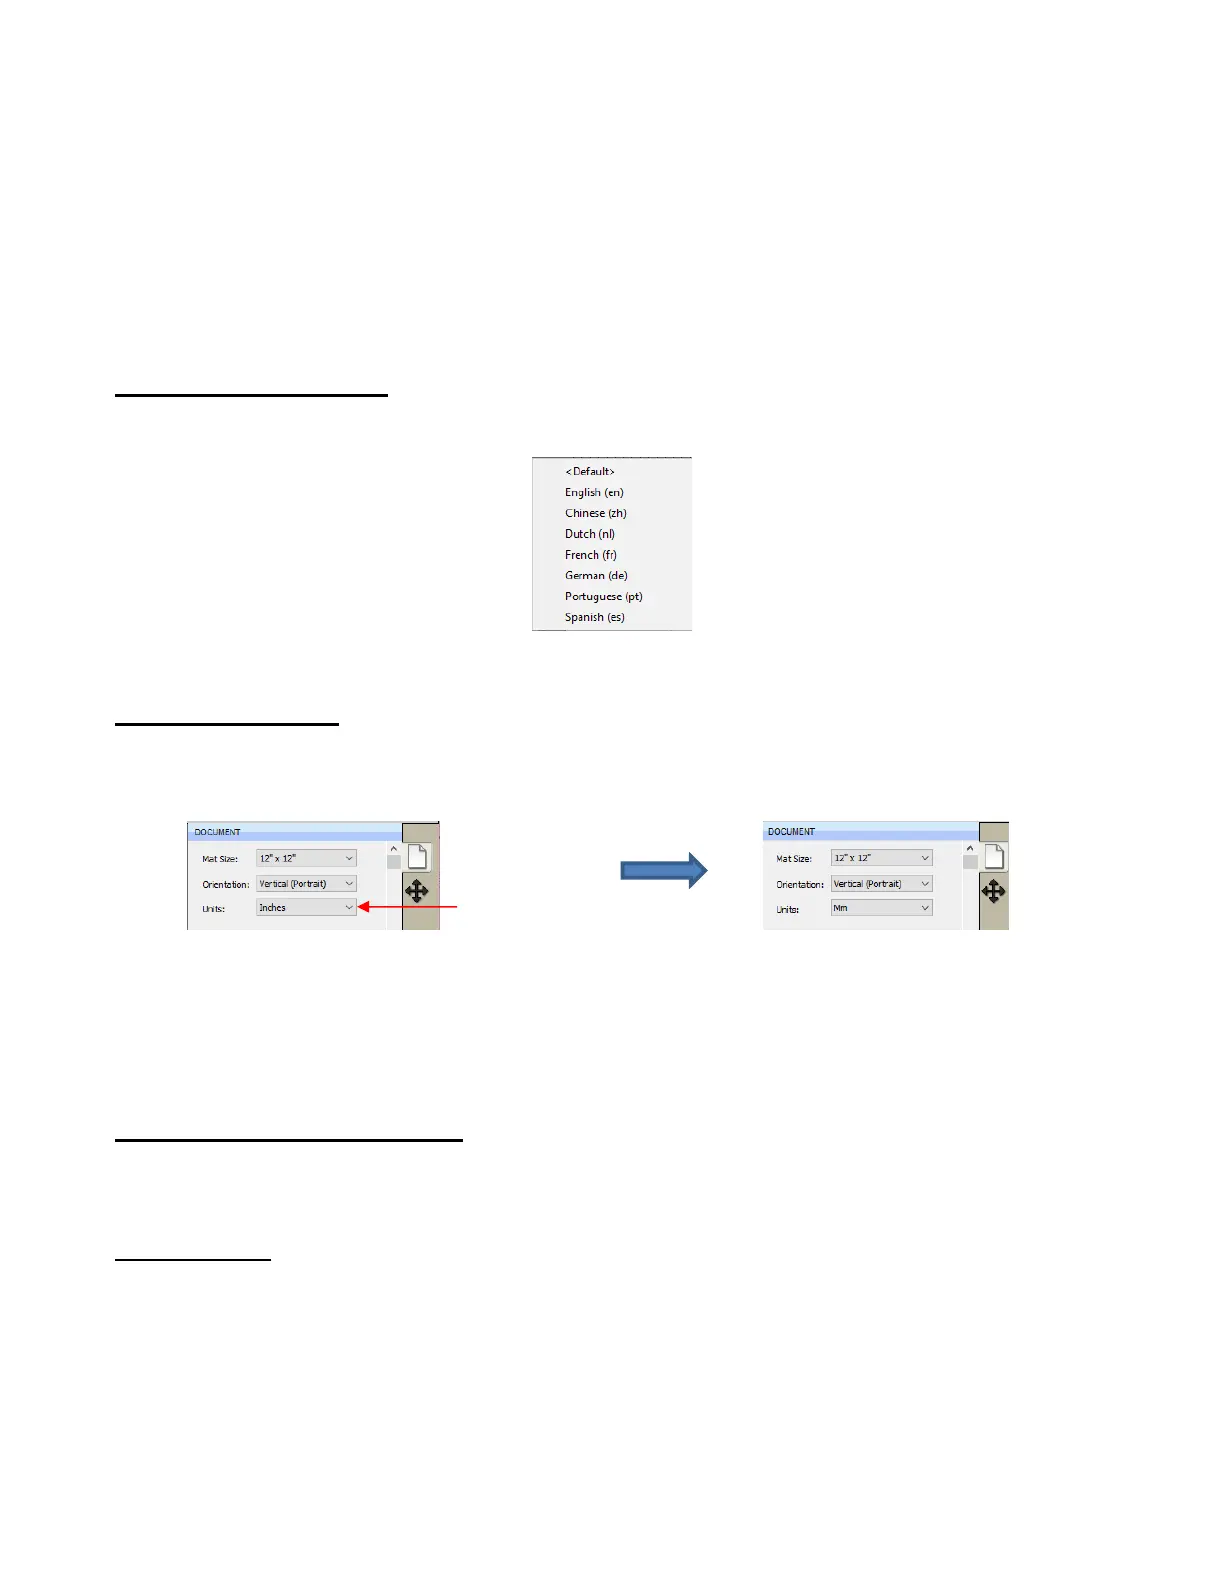
3.04 Units Preference
By default, the unit setting is in inches. To switch to mm or cm, click on the drop-down menu next to Units
on the Documents Panel:
The units can also be changed in either of the following locations:
Go to View>Ruler Units
Right-click on the screen and select Ruler Units
3.05 Customizing the Cutting Mat
The Cutting Mat serves as a design area for the software as well as to indicate, in some cutting modes,
where the shapes will be cut.
3.05.1 Mat Size
There are three ways to access the Cutting Mat menu:
Click on the drop-down menu next to Mat Size on the Documents Panel
Right-click on the screen and select Mat Size
Go to Cutter>Mat Size
There are five options for setting Cutting Mat dimensions under Mat Size. There is also the option to create
a Custom Size for a mat:
 Loading...