04E3920 User Manual QuickTOC
®
purity
ATEX 2 151
8 Care and Maintenance
8.3 Care and Maintenance Tasks
LAR | PROCESS ANALYSERS AG
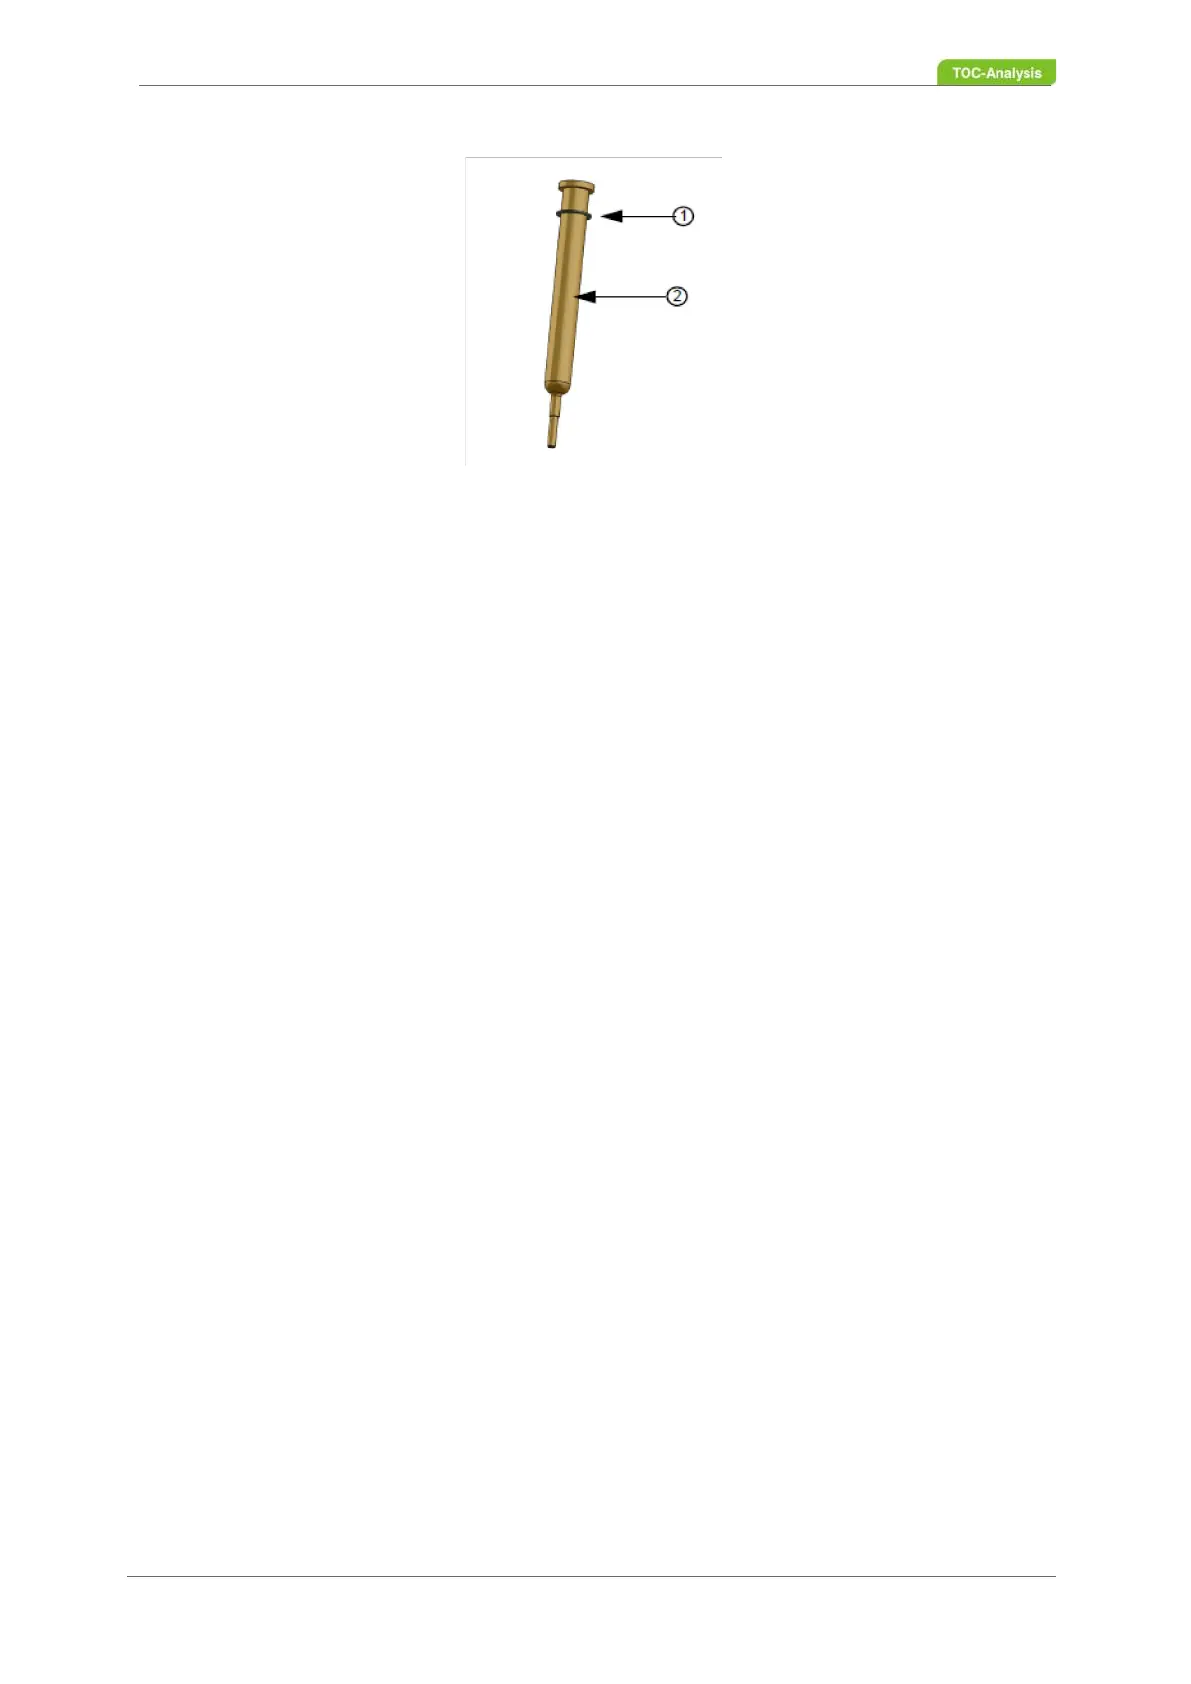
Fig. 107: Ractor pipe
20. Place the reactor tube (2) on a fireproof pad or place it with the taper down in a sand-filled bucket
and allow to cool completely.
21. Remove the protective gasket (1) and replace the gasket with a new gasket.
Assembly:
1. Insert the filled reactor tube (2) from the top into the center of the furnace.
2. Place the oven head on the oven and reactor tube.
3. Connect the black hose to the intended hose connection.
4. Screw the three fixing screws of the furnace head with the oven head plate crosswise.
5. Carefully tighten the injection port until a slight resistance is felt (the injection port should point
diagonally to the left front).
6. Insert the plug of the injection port again.
7. Attach the reactor foot receptacle to the reactor foot plate with three M4x30 screws.
8. Connect the Teflon tube (PFA) to the screwed connection.
9. Screw the screwed connection to the reactor foot receptacle.
10. Insert the reactor bottom from below onto the reactor tube.
11. Screw in the distance bolts (4x).
12. Pull the reactor bottom down so that the gas path is not blocked by the reactor tube.
13. Attach the floor grate again.
14. Reinstall the maintenance flap.
15. Fasten the ventilation grille again.
16. Switch on the oven via the "Service actions" display (Chapter 7.2.12 from page 106).
8.3.19 Loop System Tube
The loop system is located on the left above the ceramic oven.
1. Loosen the hose connectors (3) of the loop hose (2) on the two solenoid valves (1).
2. Cut a new tube as required (50, 100, 200 or 400 μl).
3. Attach the new loop hose to the hose connectors (3).