215651 186 Revision B
5.7.6 Replacing Draper Clips (Option)
Optional draper clips prevent wear to draper cleats caused by friction with the support tracks.
DANGER
To prevent injury or death from the unexpected start-up of the machine, always stop the engine and remove the key
from the ignition before leaving the operator’s seat for any reason.
1. Start the engine. For instructions, refer to the windrower operator’ s manual.
2. Lower the header fully.
3. Raise the reel fully.
4. Engage the reel safety props. For instructions, refer to Engaging Reel Safety Props, page 35.
5. Shut down the engine, and remove the key from the ignition.
NOTE:
Views are from the left end of the header.
$
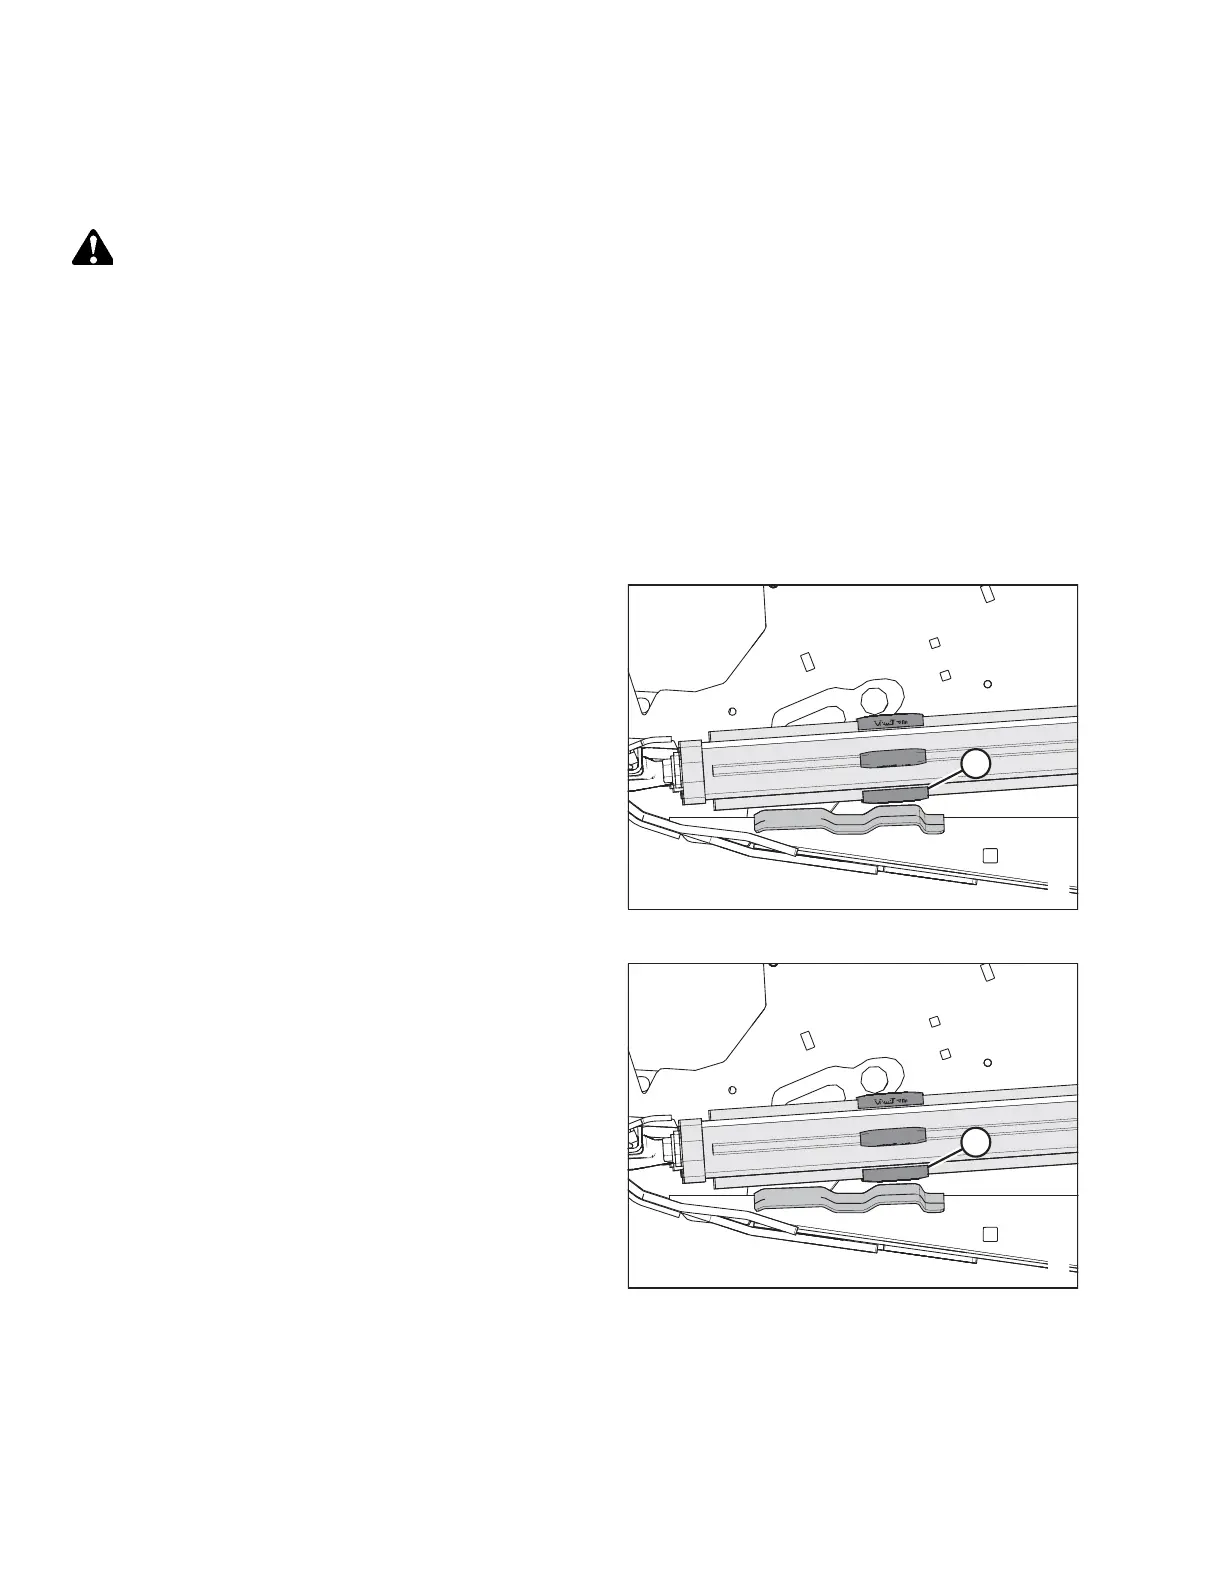
Figure 5.132: Draper Clips
6. Remove the existing draper clips (A) from the draper.
7. Clean the area with water and a rag. Coat the installation
surface of the clip with a small amount of dish soap to
allow the clip to slide on easier.
$
Figure 5.133: Clip Installation
8. Rotate the draper until the cleat is aligned with a roller.
Using a rubber mallet, hit clip (A) directly down onto the
cleat, being careful not to hit too hard as the clip may
break. It may take a couple hits to fit properly.
9. Repeat clip installation for each cleat on both drapers.
NOTE:
The clips may have a small gap (approximately 1 mm
[0.04 in.]) between the draper cleat and the clip.
MAINTENANCE AND SERVICING