4-28
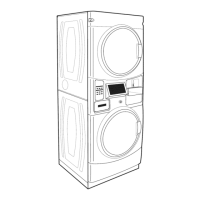
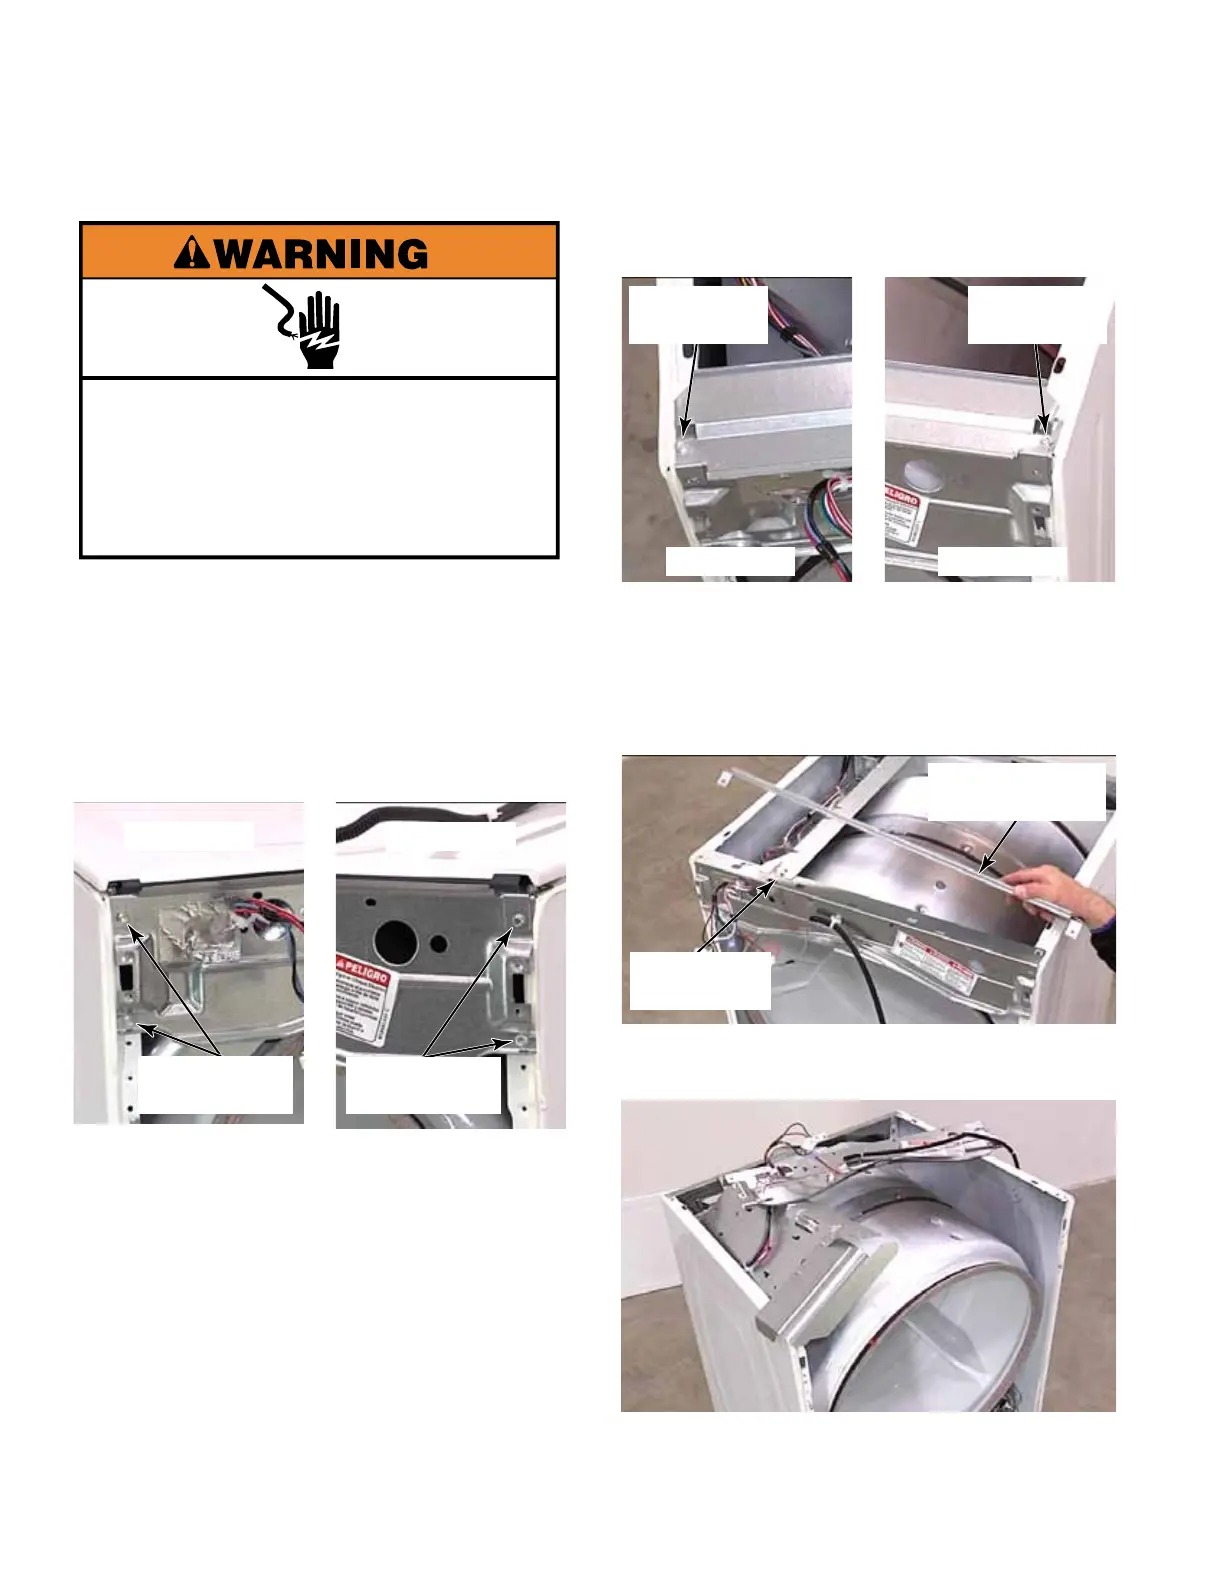
1. Remove the dryer front panel
(See page 4-20).
2. Remove two 1/4” hex head screws from the
left end of the console bracket.
3. Remove two 1/4” hex head screws from the
right end of the console bracket.
4. Remove the dryer top panel
(See page 4-26).
5. Remove the 1/4” hex head screw from the
left end of the water channel bracket.
6. Remove the 1/4” hex head screw from the
right end of the water channel bracket.
7. Lift and remove the water channel bracket.
8. Remove the 1/4” hex head screw securing
the front end of the control bracket to the
top edge of the console bracket.
9. Pull the console bracket forward and lift the
brackets up and place them on top of dryer.
CONSOLE BRACKET - DRYER
Electrical Shock Hazard
Disconnect power before servicing.
Replace all parts and panels before
operating.
Failure to do so can result in death or
electrical shock.
Two 1/4” Hex
Head Screws
Two 1/4” Hex
Head Screws
Left End Right End
1/4” Hex
Head Screw
1/4” Hex
Head Screw
Left End Right End
Water Channel
Bracket
1/4” Hex
Head Screw