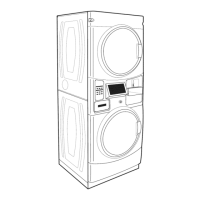
4-62
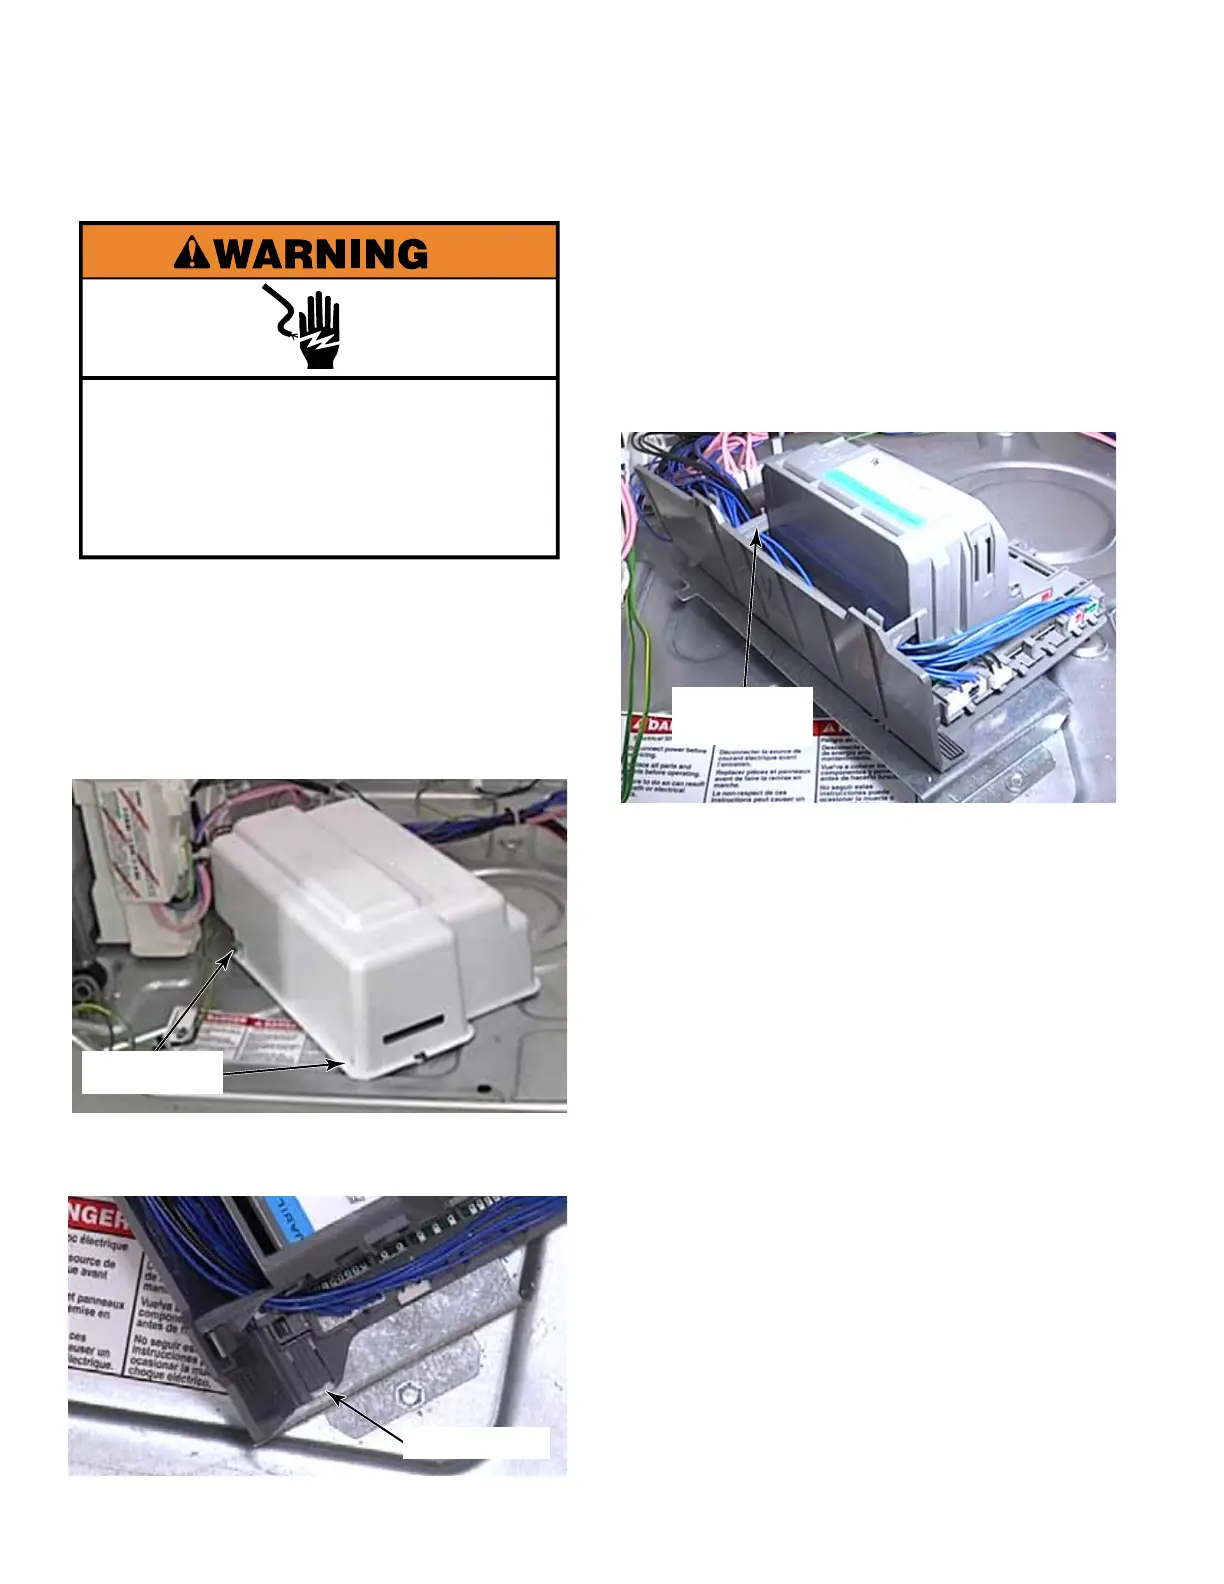
1. Unplug washer or disconnect power.
2. Remove the toe panel (See page 4-61).
3. Remove the drip cover by lifting it off the
CCU. There are metal tabs on the bracket
that fit into slots at front and back of cover.
4. Use a small flat blade screwdriver to lift the
locking tab securing CCU to the washer.
5. Slide the CCU towards the front of the
washer to release tabs from keyhole slots in
the bracket, in the base of the washer, and
remove it.
6. Release two clips securing the side access
cover and open the cover to gain access to
the wire connectors.
7. It is advisable to take a picture of the wire
connectors, before disconnecting them, for
proper reinstallation.
8. Disconnect the wires from the CCU by
pressing the locking tab down and pulling
the Rast connector out.
9. There are colored marks on the rast
connectors that correspond to the colors
on the CCU for each connector. Rast
connectors are also keyed to help in proper
reinstallation.
10. Continue disconnecting until all Rast
connectors have been removed from the
CCU.
11. Disconnect three more wire connectors on
the top of the CCU by pressing the locking
tab and pulling the connector out.
12. Slide the CCU forward to release the tabs
from the mounting bracket. Remove the
CCU.
CENTRAL CONTROL UNIT (CCU) - WASHER
Electrical Shock Hazard
Disconnect power before servicing.
Replace all parts and panels before
operating.
Failure to do so can result in death or
electrical shock.
Tab Slots
Locking Tab
Two Access
Cover Clips