3-40 PCWS 2015 Setup Guide - 2nd Edition
What’s Inside?
Installing Options
Protégé Customer Display System - Pole Mount
The Pole Mount Protégé is shipped pre-assembled with a 19” interface cable,
6” Pole, base and nut. The Protégé can attach to one of the two custom powered
USB ports on the 2015 IO Panel.
1. Attach the base to a cash drawer, or using the base of the pole as a template,
attach to the counter surface. Appendix A provides details of the base hole
pattern dimensions.
2. Route the Protégé Display Cable through the pole and through the stand (if
used) to the PCWS 2015 IO Panel.
o Note: The Protege Customer Display System cabling is based in 1x8
connectors and is not compatible with the LCD Customer Display
cable, which uses a 1x7 connector.
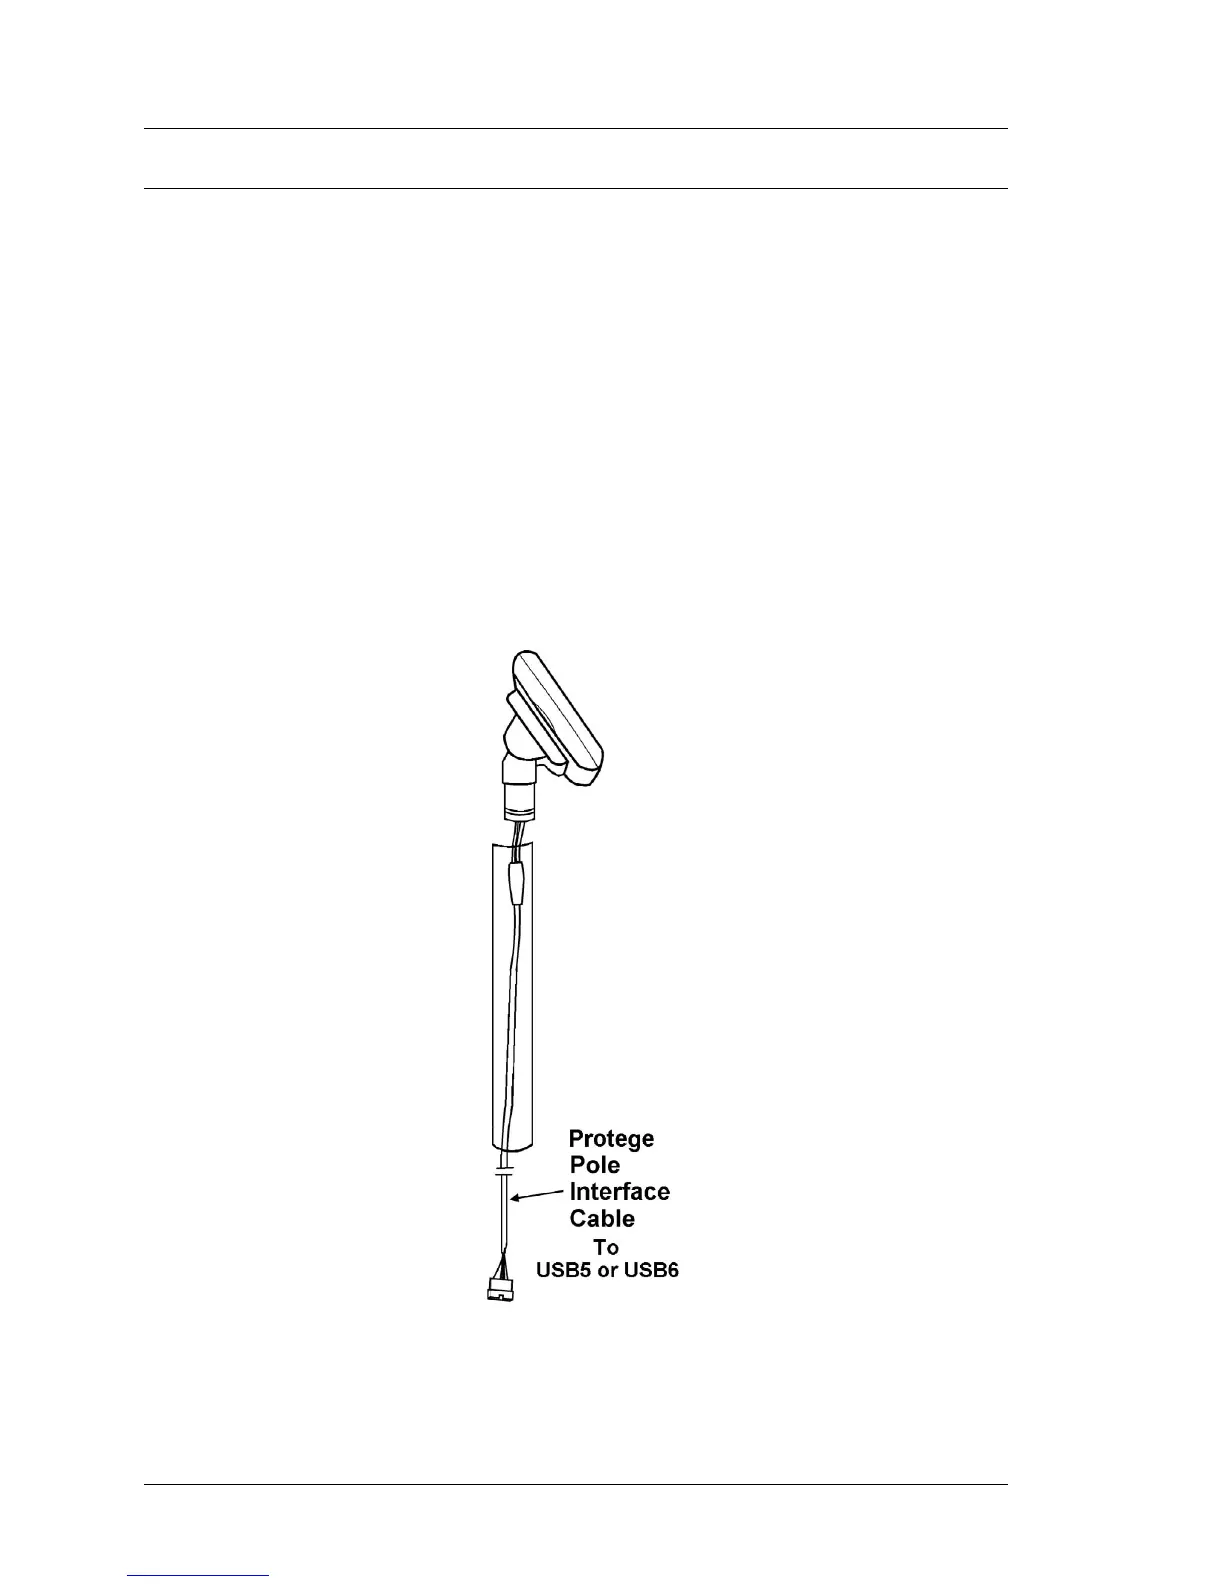
3. Attach the Protégé to the pole. When the display is in the desired position,
tighten the 1.5mm set screw.
Figure 3-36: Attaching the Protégé Customer Display System to a 6” Pole
4. Connect the Protégé to the USB5 or USB6 on the PCWS 2015 IO Panel.