3-46 PCWS 2015 Setup Guide - 2nd Edition
What’s Inside?
Installing Options
Building the RAID Array
The following provides an overview of the steps required to build a two-drive
RAID.
1. Select the drives for use in the RAID array.
o For best results, the drives should be from the same manufacturer, have
the same model number and capacity.
2. Install both drives.
o Refer to Figure 3-39 for an example of installing a SATA disk drive.
3. With a USB keyboard attached, start the unit and press [F2] to enter the
System BIOS.
4. Proceed to the Advanced tab, scroll down, select ‘HDD Configuration’ and
press [Enter].
o The HDD configuration screen appears.
5. Scroll to the ‘Interface Combination’ field press enter. Select ‘RAID’ and
press [F10] then ‘Y’ to save and reboot.
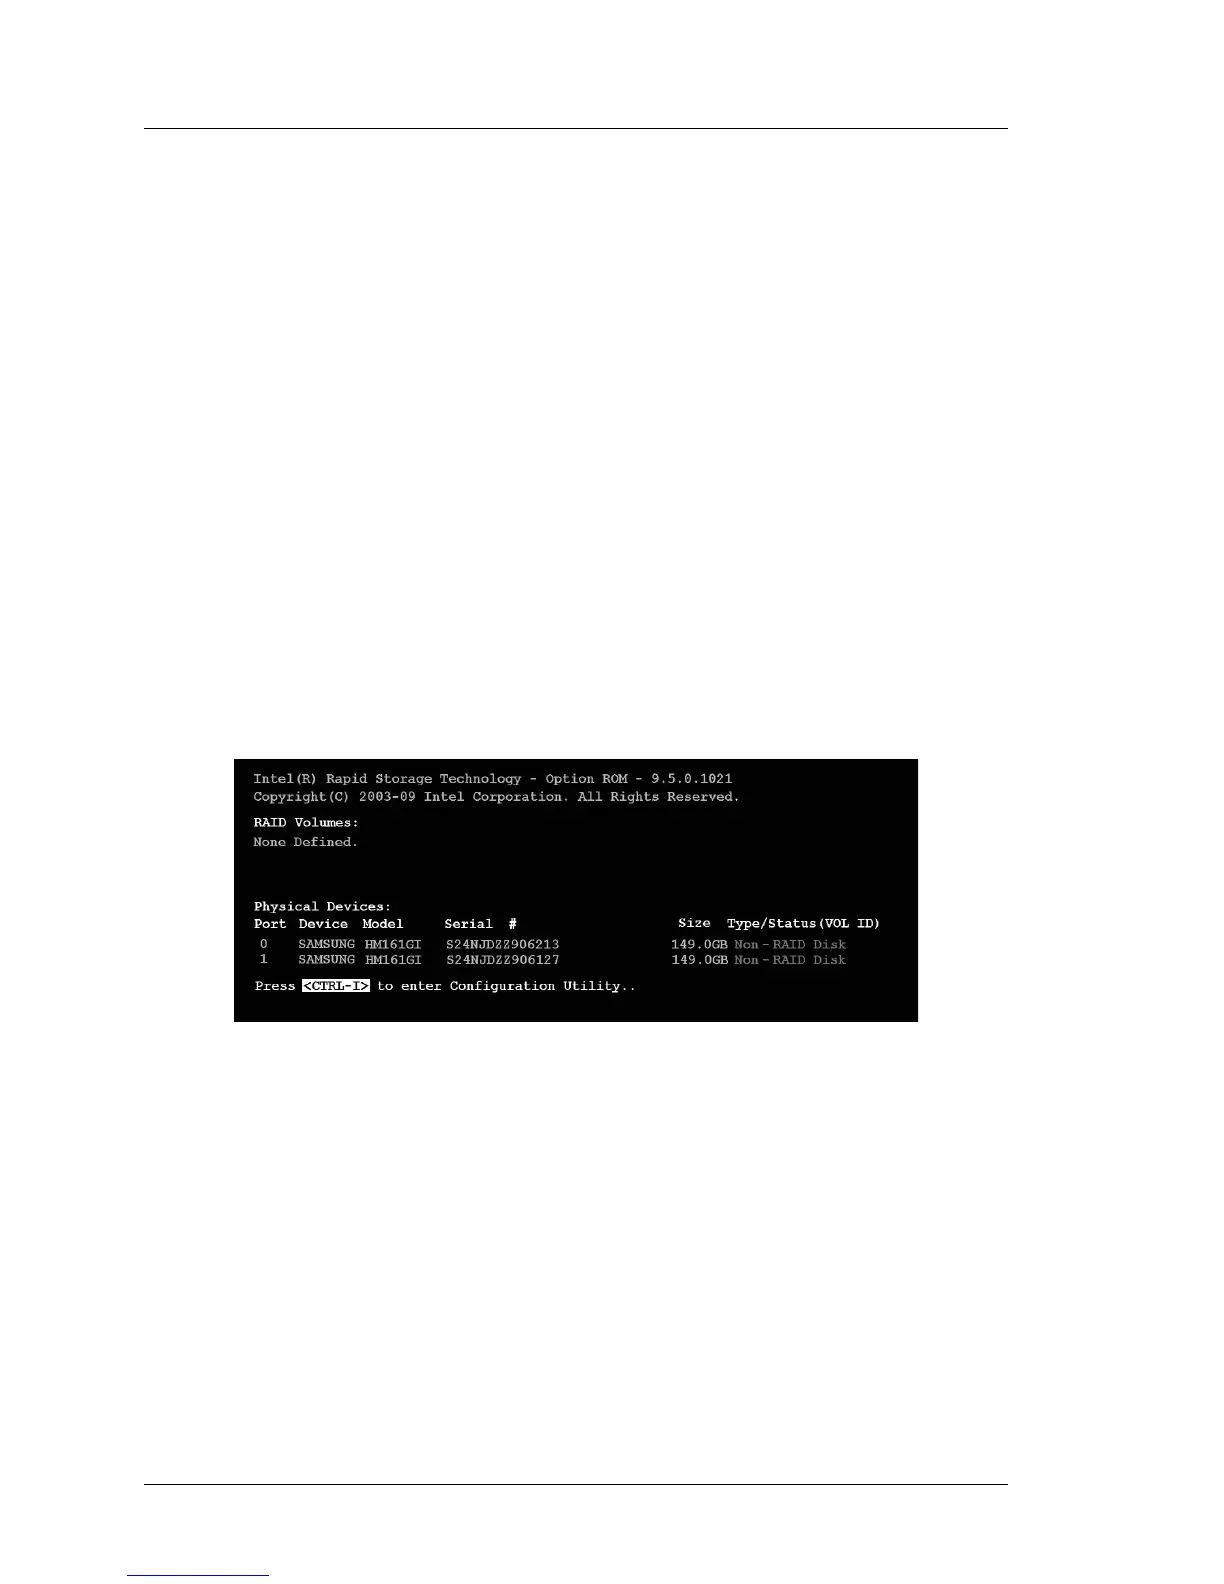
o Immediately after the blue splash screen, a screen similar to that shown
below should appear.
Figure 3-40: Using CTRL-I to enter the RAID Option ROM
o The RAID Option ROM is integrated into the main BIOS to provide,
prior to each boot, a pre-boot text mode user interface where you create
or delete RAID volumes or select recovery options should they be
required.
o When you enable RAID, two drives must be installed or the menu
shown above does not appear.