4. Service Procedures - Replace Components - DRV Module
116 Morgana DocuMaster MFC - Service Manual
Before you start:
• Open the hinged front panel and the hinged top panel (See Section 4.2.3).
Caution: Always wear an anti-static wrist band or earth yourself to the MFC before you
touch a PCB.
Step Action Information
1 Disconnect all of the cable
connectors from the interface PCB.
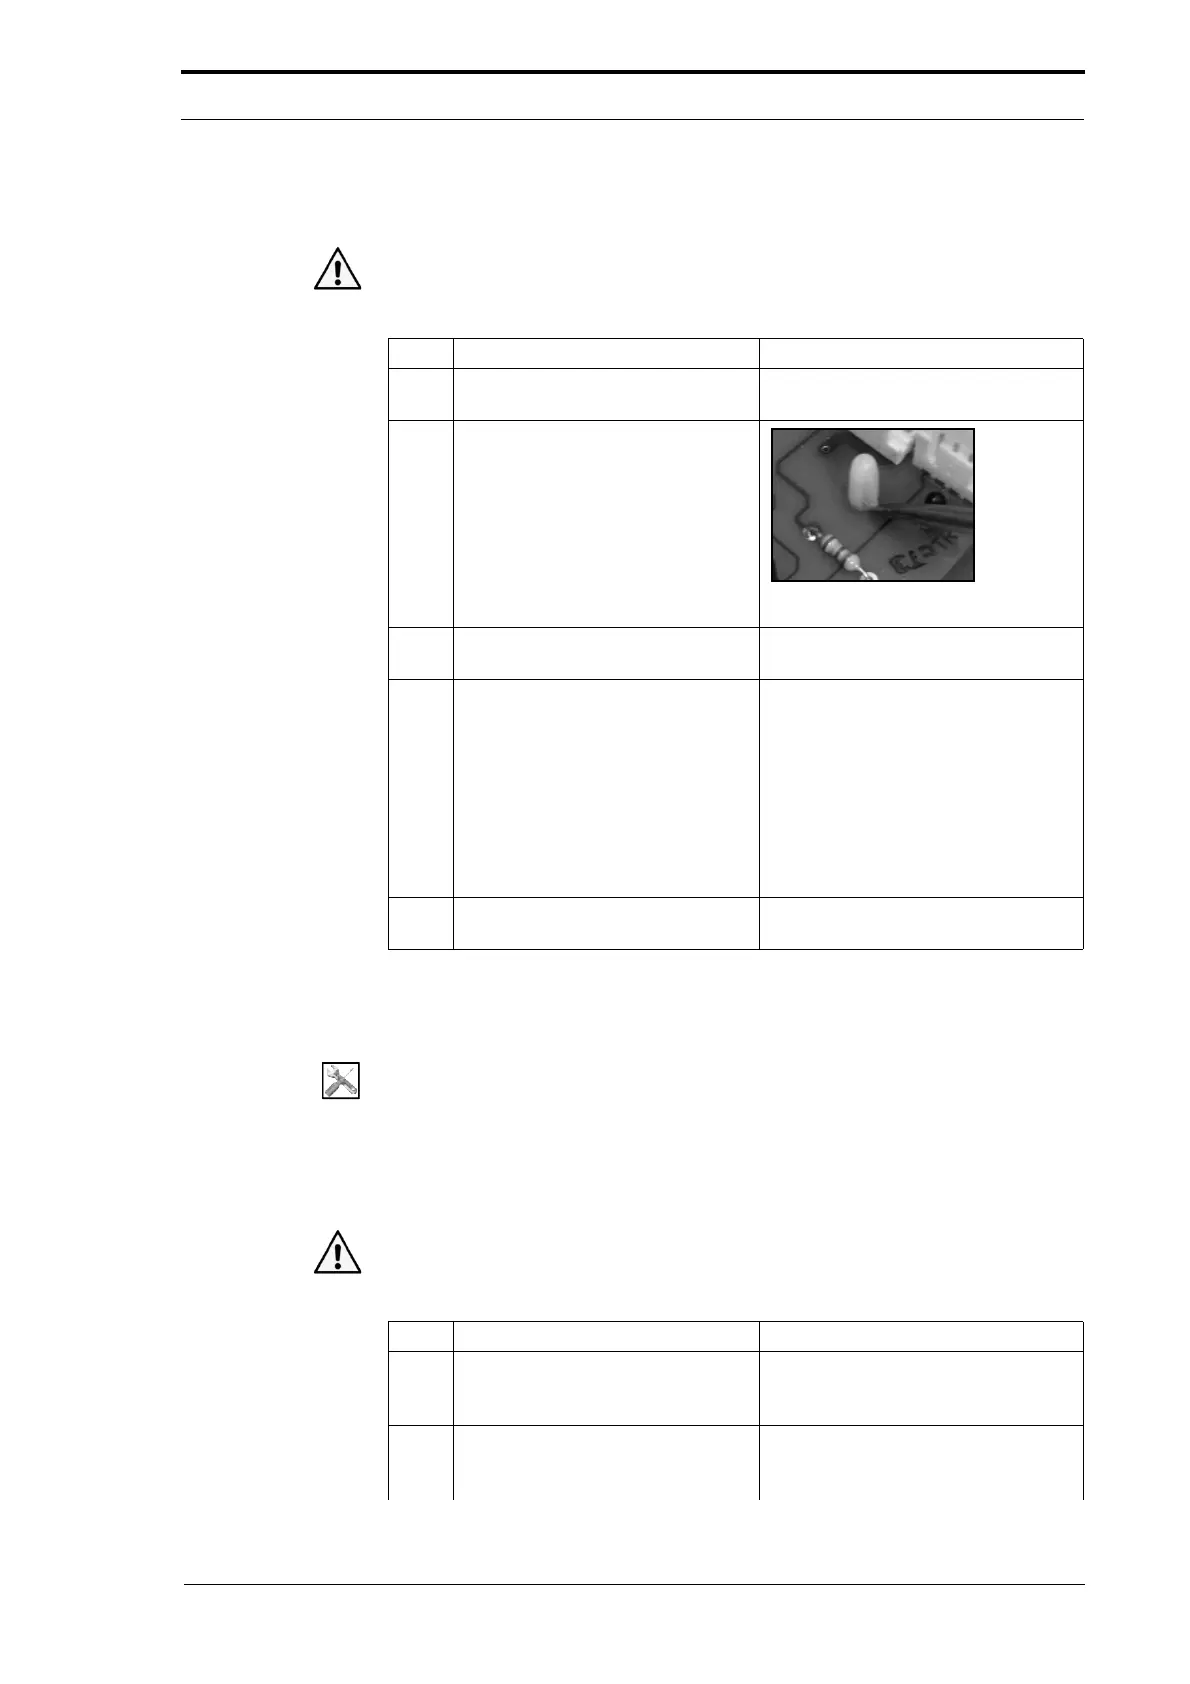
2 Push in the latch on each of the
four PCB support post
s, and gently
lift the PCB.
Figure 4.105 PCB Support Post
3 Lift the interface PCB away from
the DRV module.
4 Interchange the Zerox PCB from
the
defective interface PCB onto
replacement interface PCB.
• Find the Zerox PCB on the
interface PCB (see Figure
4.104).
• Gently pull the Zerox PCB away
from the plug on the interface
PCB.
• Install the Zerox PCB in to the
plug on the replacement
interface PCB.
5 Install the replacement interface
PCB
.
4.7.6 Replace the Motor Drive PCB
Tools:
• Screwdriver: Small Flat-blade
• Anti-static Wrist Band.
Before you start:
• Open the front panel and the hinged top panel (See Section 4.2.3).
Caution: Always wear an anti-static wrist band or earth yourself to the MFC before you
touch a PCB.
Step Action Information
1 Disconnect all of the cable
connectors from the interface PCB.
Note: Disconnect the orange
connector from the
rear of the motor
drive PCB.
2 Push in the latch on each of the
four PCB support post
s, and gently
lift the PCB.