Chapter 8 Disassembly/Reassembly Procedures
8.1 Introduction
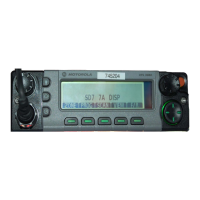
This section details the procedures necessary to remove and replace the printed circuit board in the
ASTRO XTL 5000 radio. After troubleshooting and determining what needs to be replaced,
disconnect the test equipment, the antenna cable, and the power cable.
Locate the exploded view of the radio in Chapter 11. Exploded Views and Parts Lists. Keep it handy
for reference as you disassemble and reassemble the radio.
When installing a new circuit board, all mounting screws should be started before any are torqued.
This will help ensure proper alignment.
After installing a new board, perform a complete alignment procedure as outlined in Chapter 6.
Radio Alignment Procedures.
8.2 Replacement Procedures
8.2.1 Required Tools and Supplies
Disconnect the power cable from the radio before
opening and removing the PCB. Failure to remove power
can result in unit damage caused by transients or
accidental shorts, as well as presenting a shock hazard.
After performing alignment procedures, always exit the SERVICE menu
entirely (to the MAIN MENU) to properly save all changes. Failure to do so can
result in an alignment, or other, failure.
Table 8-1. Required Tools and Supplies
Tools and Supplies
Motorola
Part Number
2.5 mm hex-key bit
Anti-static grounding kit 0180386A82
Chassis eliminator 8180384N71
Control-head button extraction tool 6685629A01
Control-head interconnect service cable
Dismantling tool 6686119B01
Electromagnetic Interference (EMI) metallic shielding
tape, or equivalent
1185984D01
Flat-blade screwdriver
!
W A R N I N G
!
!
C a u t i o n

 Loading...