DMTA-10026-01EN, Rev. D, January 2015
Chapter 4
84
2. Use the up and down arrow keys to highlight the calibration file to open, and then
press [ENTER].
3. Highlight RECALL, and then press [ENTER] to recall the calibration file. Perform
a Q-CAL by removing the target from the probe tip, and then press [Q-CAL]. The
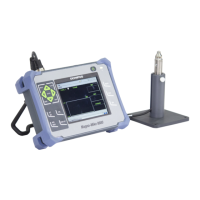
Magna-Mike 8600 is now ready to make measurements using the target
corresponding to the calibration file that was recalled.
OR
Highlight CANCEL, and then press [ENTER] to cancel the recall of the calibration
file.
The user should verify that the instrument is making accurate thickness
measurements after a calibration file is recalled. Recalled calibration files may have
been performed when the instrument was in a different location, or there may have
been changes in the ambient magnetic field or temperature since the calibration file
was saved.
Figure 4-12 Recalling a calibration file
4.8 Measurements
Thickness measurements can be made once the Magna-Mike 8600 is calibrated for a
particular target: ball, disk, or wire. To measure a test piece, simply place the probe tip
on one side of the material, and place the target on the other side near the probe tip.
 Loading...
