© 2011 Omnicell, Inc. 1-, 2-, 3-Cell Color Touch Installation and Service Guide/67-2014 Rev G
Suture Rack 11-5
Installation Procedure
4. Slide the suture rack housing into the brackets and push the housing firmly into the frame.
5. Secure the housing to the mounting bracket using either a 3/32” Allen wrench or a Torx T15
screwdriver.
6. Pull the right rack out as far as it will go, then connect the SPC cable into the wireway
connector.
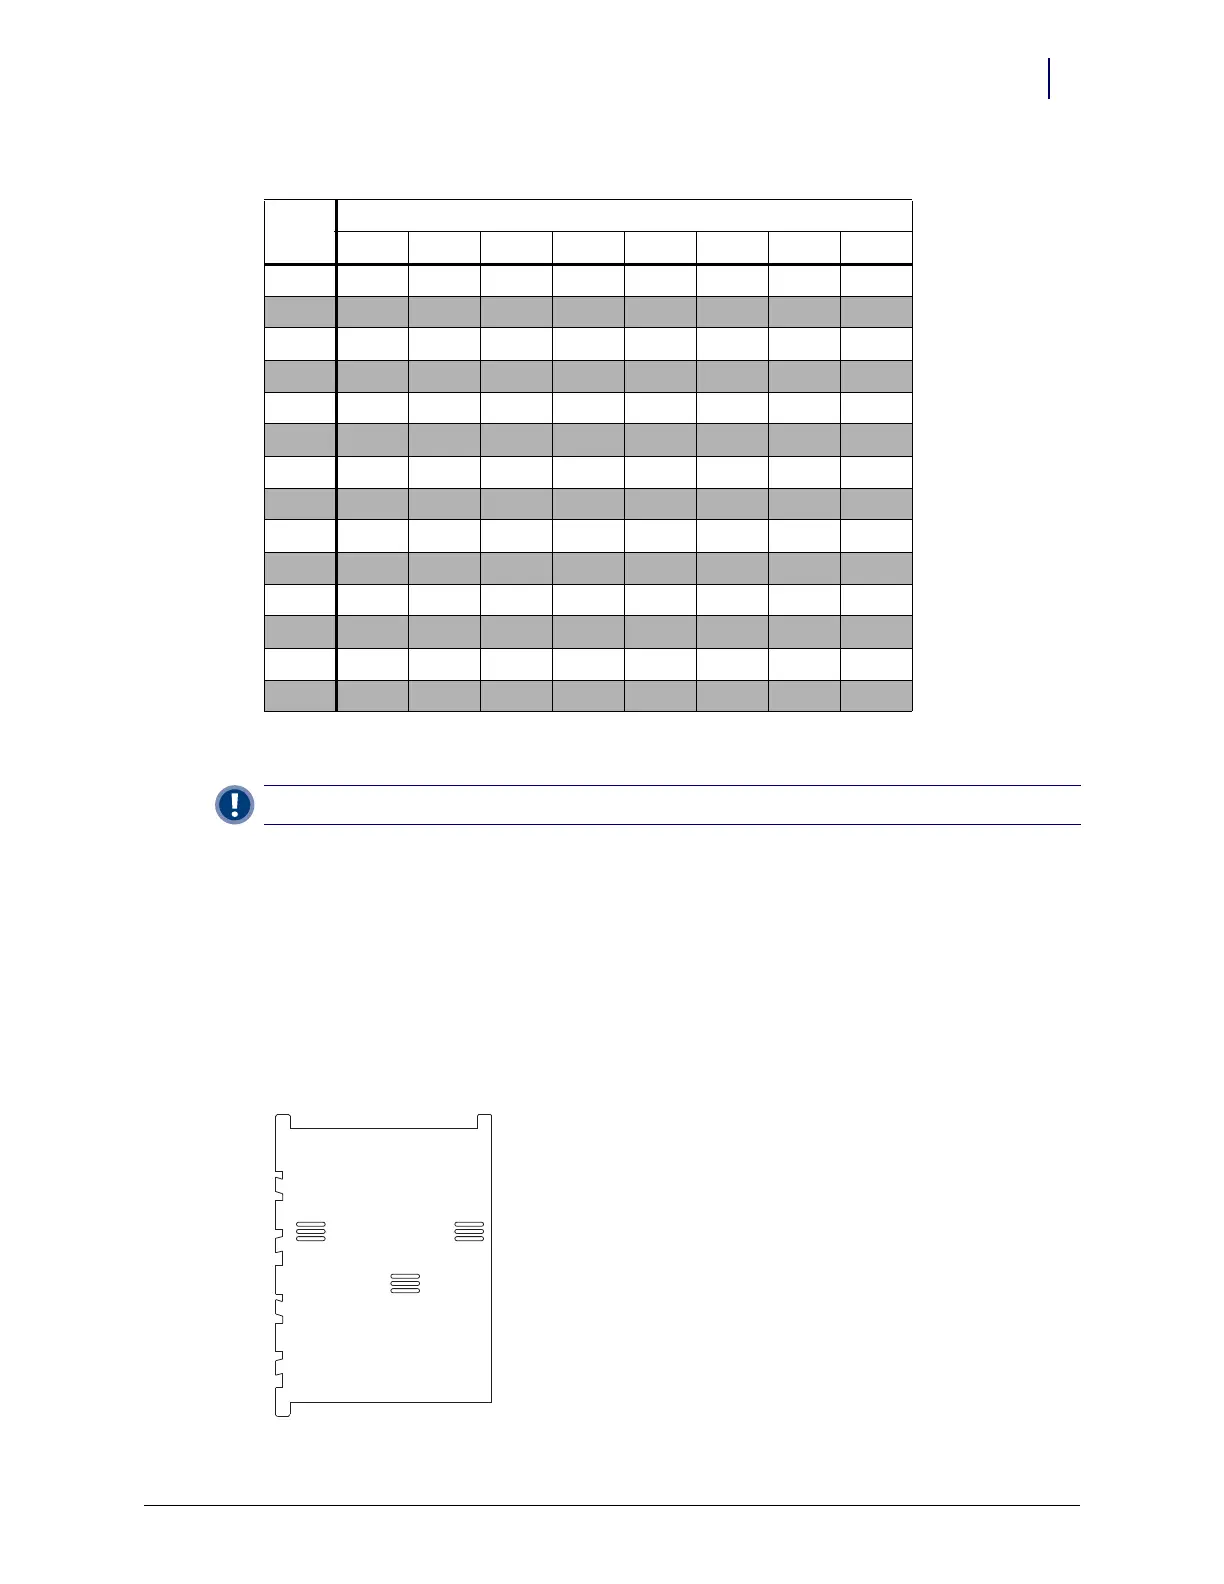
Dividers
Dividers can be placed into a suture rack to help organize and separate different boxes of sutures.
The dividers can be full-height or half-height. A typical full-height divider looks like this:
114 On Off On On Off Off Off Off
115 Off Off On On Off Off Off Off
116 On On Off On Off Off Off Off
117 Off On Off On Off Off Off Off
118 On Off Off On Off Off Off Off
119 Off Off Off On Off Off Off Off
120 On On On Off Off Off Off Off
121 Off On On Off Off Off Off Off
122 On Off On Off Off Off Off Off
123 Off Off On Off Off Off Off Off
124 On On Off Off Off Off Off Off
125 Off On Off Off Off Off Off Off
126 On Off Off Off Off Off Off Off
127 Off Off Off Off Off Off Off Off
Important: Be sure the loose SPC cable does not get pinched or bent while installing the suture rack housing.
Table 11-1. Dip Switch Settings for Cabinet Zones
Zone
Switch
12345678