© 2011 Omnicell, Inc. 1-, 2-, 3-Cell Color Touch Installation and Service Guide/67-2014 Rev G
Drawers 7-7
Installation Procedures
8. Connect a slide to the left side of the carrier using the three screws provided. Tighten the
screws using a Torx T15 screwdriver.
9. Connect the drawer controller cable to the drawer controller board at the rear end of the
drawer.
10. Replace the slide to the slide support bracket with three screws and washers using a Torx T15
screwdriver.
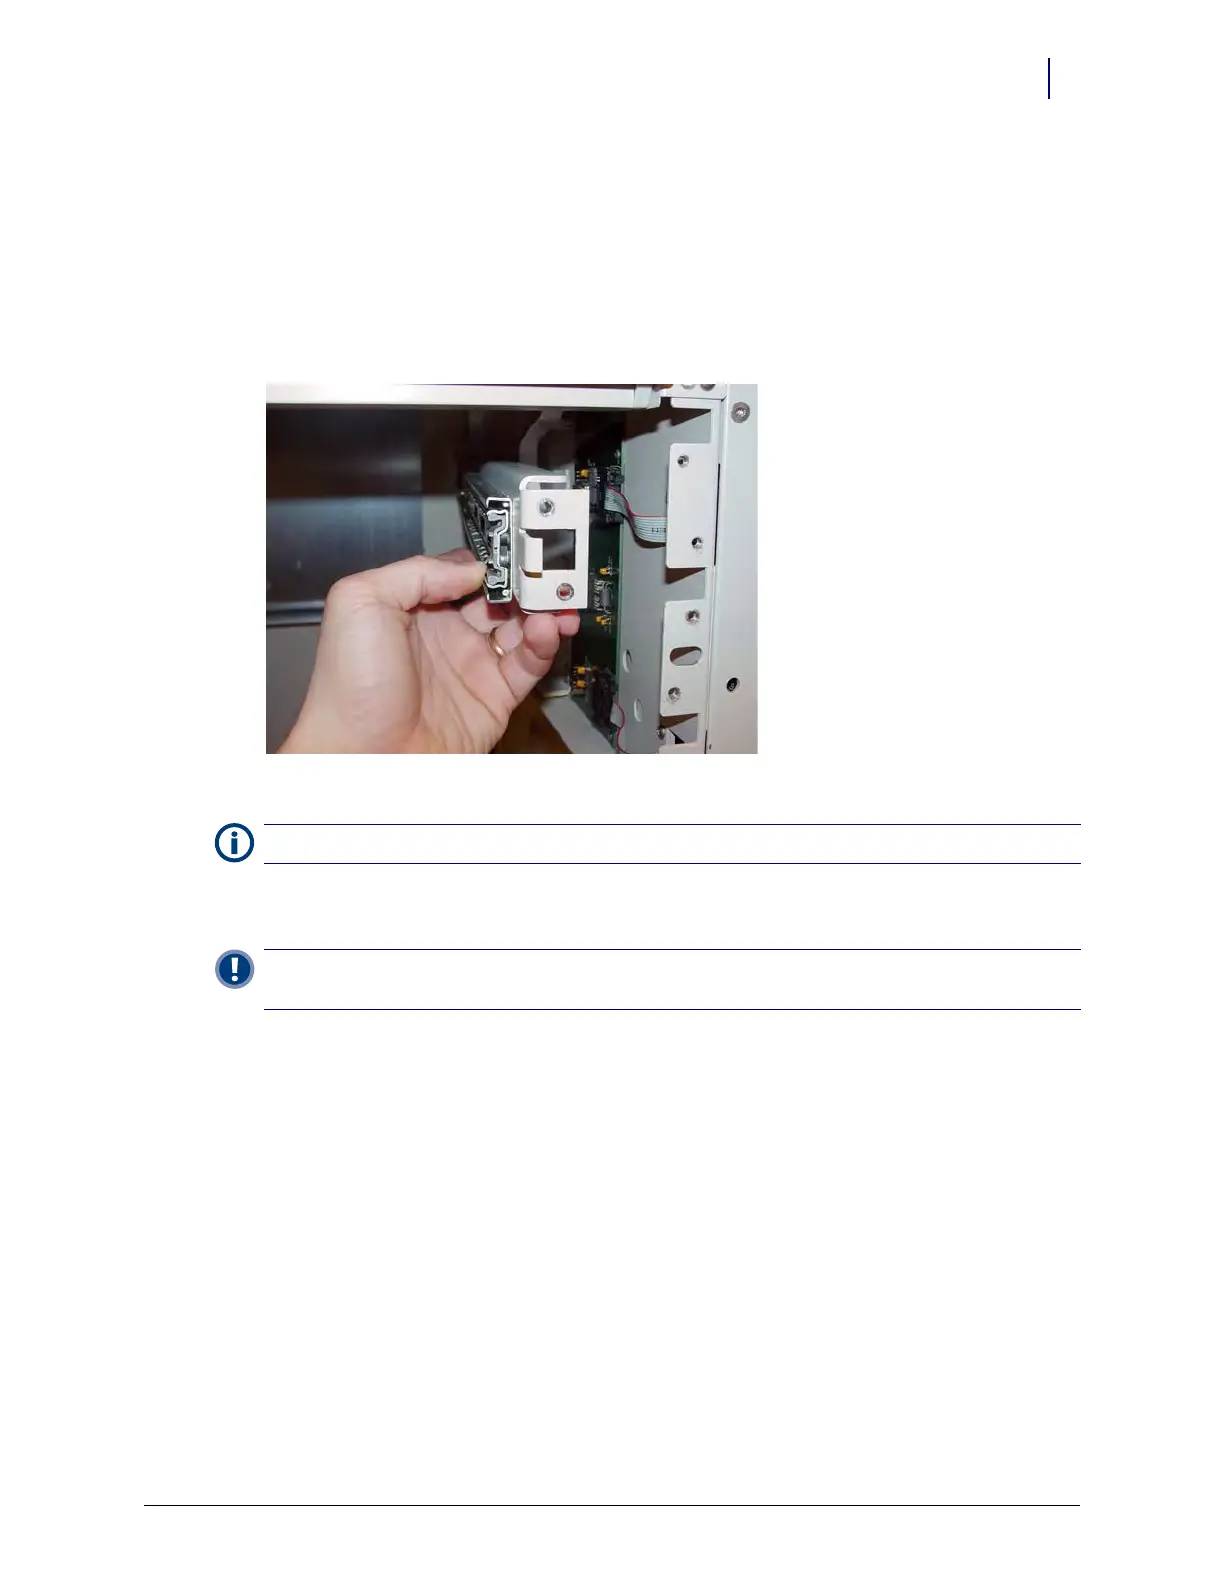
11. Install the slide support bracket with slide attached.
Figure 7-6. Install the new slide support bracket
12. Place the drawer controller cable flat on top of the slide support bracket and hold it down
before replacing the pharmacy drawer.
13. Place the drawer onto the rails and push it all the way into the cabinet.
14. Pull the drawer back out until as far as it will go.
15. Place the drawer controller cable onto the drawer and connect the cable to the drawer.
16. Replace the pharmacy drawer controller cable clamp and the drawer controller cable to the
pharmacy drawer with the two screws provided with a Torx T10 screwdriver.
17. Close the drawer and replace the pharmacy manual override cover.
18. Power up the cabinet.
19. Program the drawer at the OmniSupplier in OmniConfigurations.
Note:
The washers must be used. They ensure that the screw threads do not protrude into the cable path.
Important: The cable must be flat to prevent damage during installation of the drawer. Ensure that the cable
is between the bracket and tab on the right rear of the pharmacy drawer when installing the drawer.