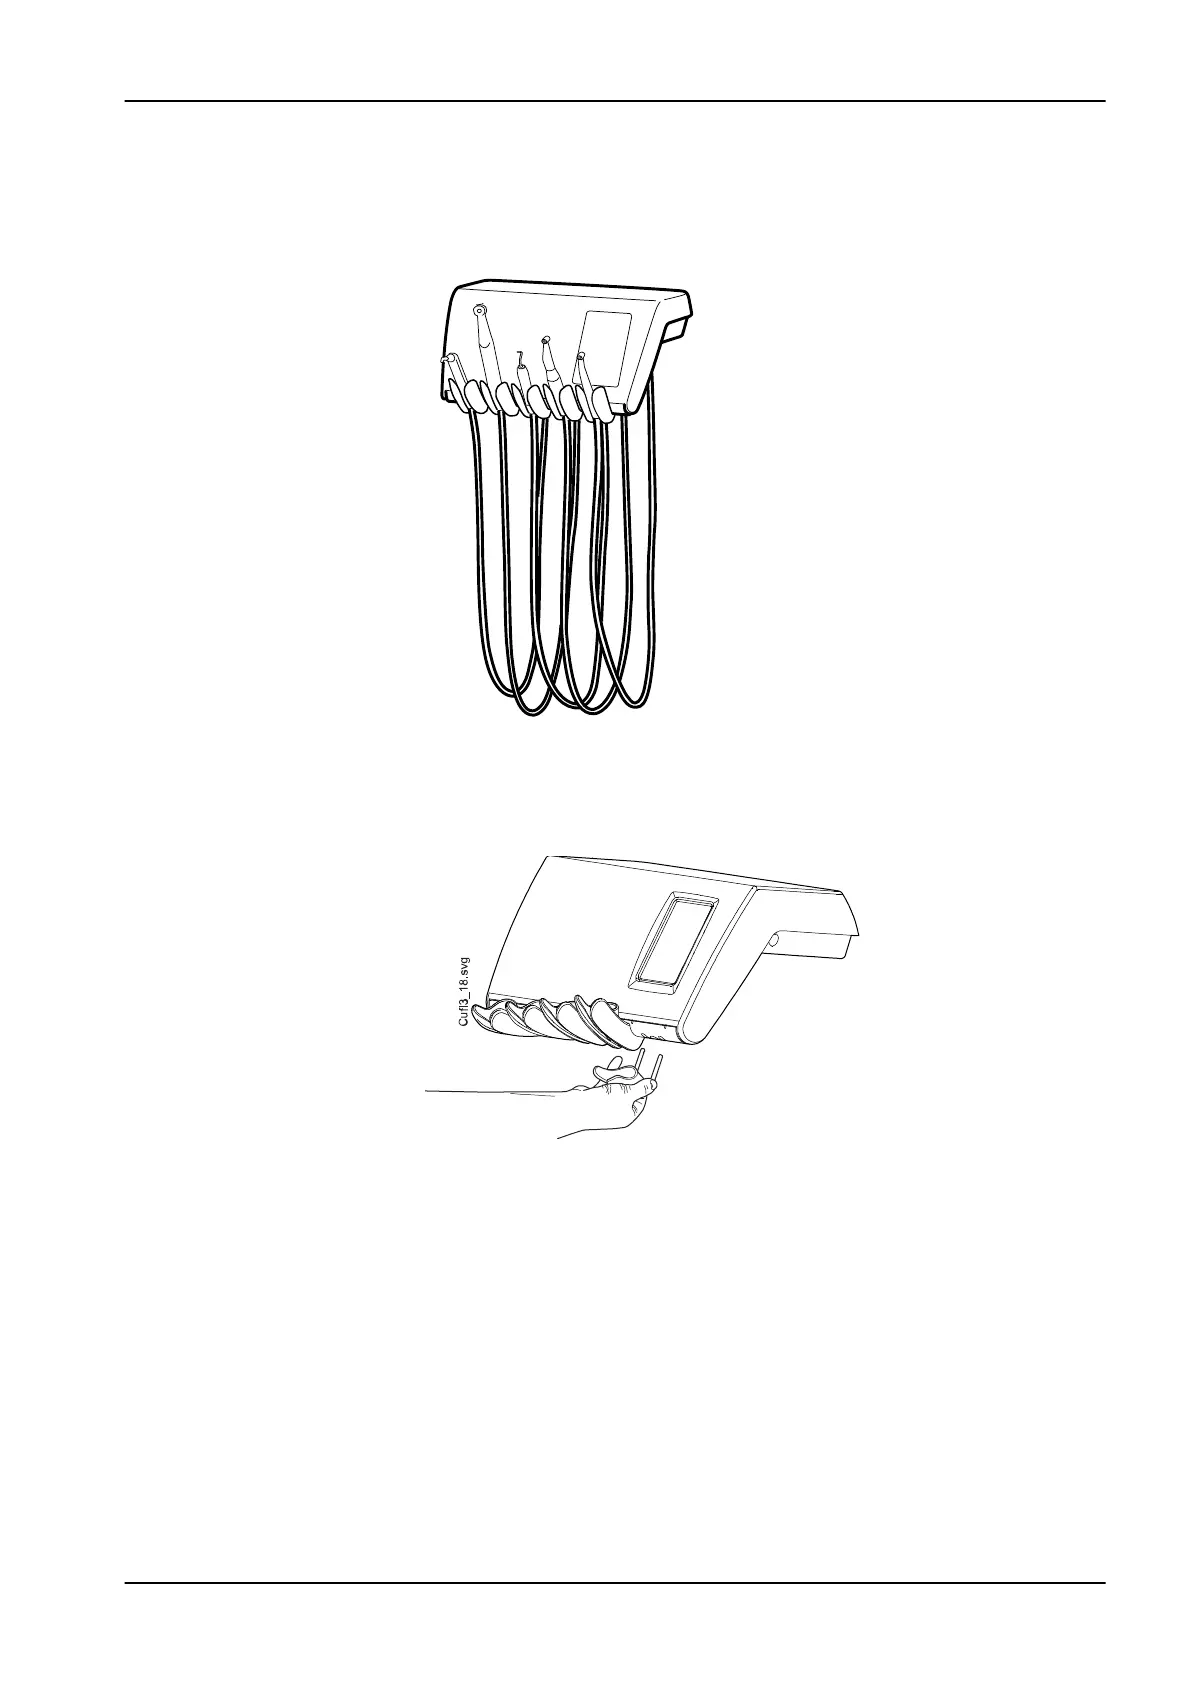
10.2.2 Instrument console with hanging-tube instruments
The console can be equipped with up to five instruments. The leftmost
position is reserved for the syringe only. The other instruments can be
positioned in any order in the four remaining positions.
The instrument holders can be removed by pulling them out from their
openings, for example for cleaning. The holders are replaced simply by
pushing them firmly into their places. The angle of the instrument holder can
be slightly adjusted.
10.3 Quick-connector hoses
The instruments are equipped with quick-connector hoses to be connected
to the instrument console. If a syringe and/or a polymerisation light are
placed in the Flexy-holder, they are connected to the cuspidor.
The hose is connected into place by turning the connector locker clockwise,
and removed by turning the connector counter-clockwise. Make sure that the
flat side of the connector is upward when connecting the quick-connector
hose to the dental unit.
10 Instrument system
User's manual Planmeca Compact i 39