Replacement
Adjustment
21 August 2006
Replacement
Adjustment
3-29
AREA A
Removal
1. Remove Back jogger module (
3.4.9 )
2. Loosen spring [A] with a screwdriver [B], by pulling the screwdriver straight out
according to the arrows [C] ( x1 ).
3. Remove screws [D] (
x2 ).
4. Remove E-clips [E] (
x4 ).
5. Pull out the Back jogger arm shaft [F].
NOTE: Make sure to notice the orientation of the Back jogger ngers [G], [H],
[I] and [J], and the brass bracket [K].
6. Remove nut [L] and dismount the Back jogger nger (
x1 ).
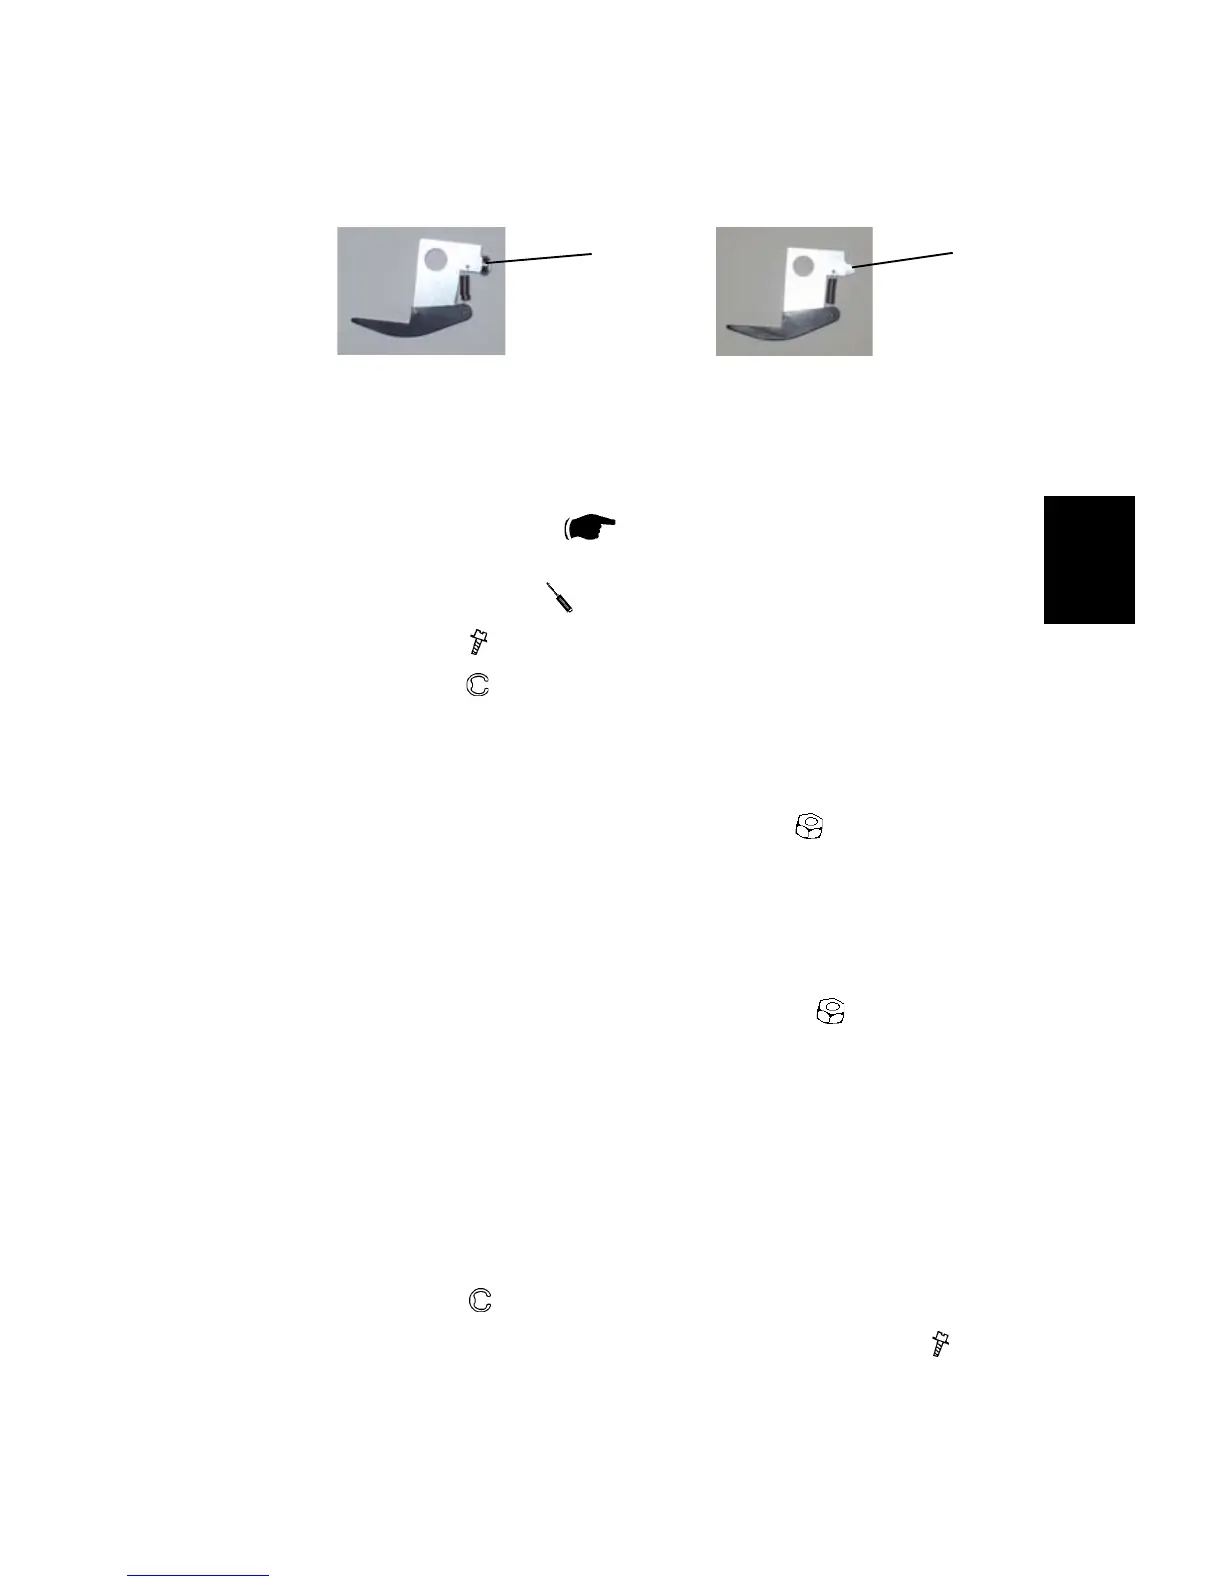
NOTE: There is two different kind of Back jogger ngers. One type with a
bearing [M] and one type without a bearing [N].
Replacement
1. Remount the Back jogger nger and tighten the nut [L] (
x1 ).
NOTE: Tighten the nut nger tight, then tighten the nut ½ revolution with a 19
mm open wrench.
2. Reinstall correct Back jogger nger [G], [H], [ I ] and [J], Bras bracket and the
two bushings [O] on correct place.
NOTE: Make sure to turn the Brass bracket correctly, according to the circles
in the picture.
3. Slide Back jogger arm shaft [F] in place.
NOTE: Make sure to turn the shaft the correct way [ P].
4. Reinstall E-clips [E] (
x4 ).
5. Reinstall Back jogger arm module in place, and tighten screws [D] (
x2 ).
6. Push the spring [A] back with your thumb.
NOTE: Make sure that the bearing is in the slot on the feather spring.
7. Reverse the rest of the removal procedure.
[M] [N]
 Loading...