223
– Press the [RUN] button to play to a point close to the
end of a file t stop playback t press the [RUN]
button again.
Perform the following operation if playback freezes.
– Recall another register t recal
l the target register t
press the [REWIND] button t press the [RUN]
button.
• Some operating limitations apply when the video disk
co
mmunications protocol is used.
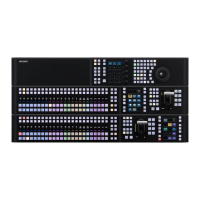
These are explained with reference to the following
fi
gure, which illustrates creation of a timeline that plays
from the video of file A to the video of file B.
– With the following settings, black video or still image
ap
pears momentarily when playback switches from
file A to file B:
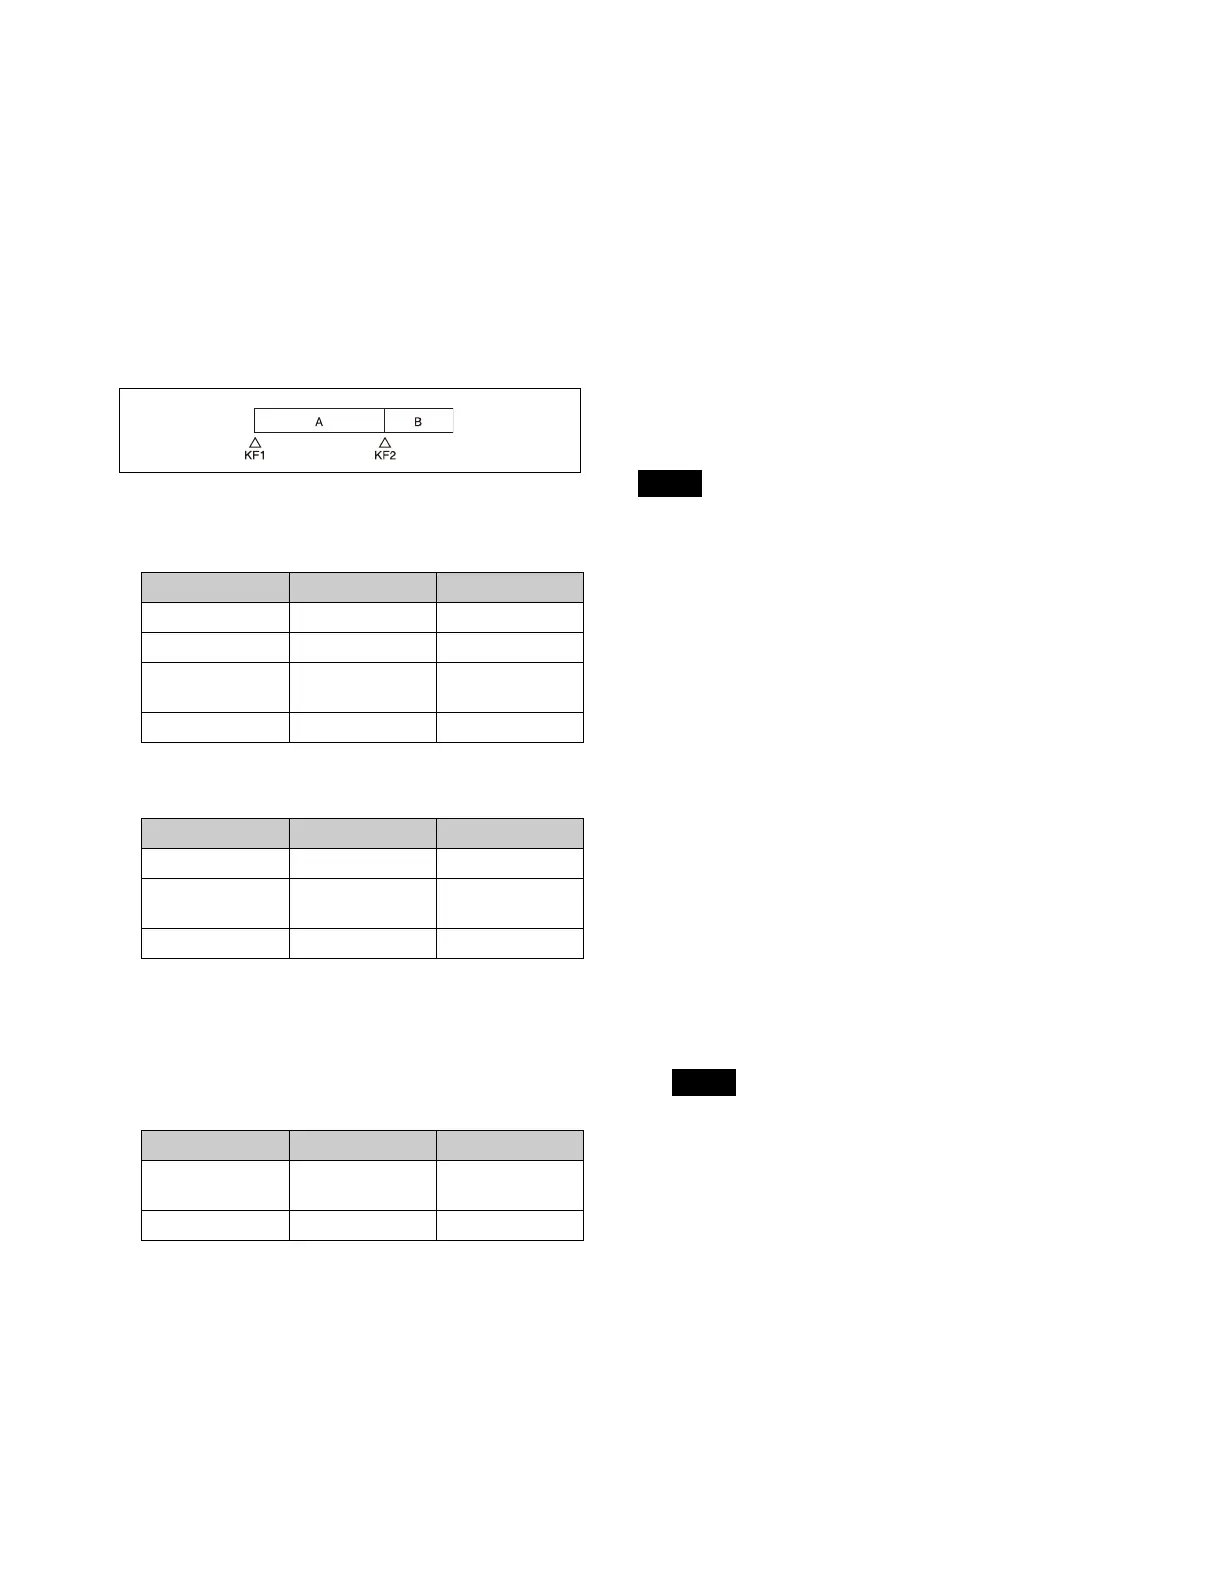
– Some actions may not operate with the following
setti
ngs.
Does not operate when KF2 variable speed is set to a
negat
ive value. It does operate when the file B action
is set to “Start” and then variable speed is set to a
negative value after file B starts playing.
– With the following settings, switching from file A to
file
B does not occur.
If playback continues to show video of file A without
sw
itching to file B, a “Stop” action is required for file
A in order to switch to file B.
• Loop/recue cannot be set on a timeline for the video
di
sk communications protocol.
• When using the Odetics protocol, the variable speed
act
ion may not operate, depending on the connected
device.
• Folder selection cannot be set on a timeline for the
A
MP protocol.
Setting an action
You can configure an action at a keyframe point on an
effect timeline.
For details about setting an effect timeline, see “Effect
Timeline Operations (Menu)” (page 262).
For a disk recorder, the target file must be loaded.
For details about loading a file, see “Disk Recorder File
Operations” (page 224).
• Up to eight files can be configured for a single effect
t
imeline.
• If you have not configured a file, the file loaded at the
keyframe
point when the effect timeline is executed
becomes the target of the action.
• AMP protocol folder selection cannot be set on an
effect
timeline. The folder loaded at the keyframe point
when an effect timeline is executed becomes the target
of the action.
1
Open the Home > External Device > Device >
Timeline > Action menu (16101.41).
DDR/VTR timeline settings information is displayed
f
or each device channel number (1 to 12).
2
Select the target device for operation.
3
In the [Action] group, select an action to set.
Cueup: Set
a cueup action.
Start: S
et a start action.
Stop: Set
a stop action.
• When both a stop point and variable speed are set
for a st
art action, the variable speed setting takes
priority.
• When a stop point timecode or the disk recorder
end
-of-file is reached before executing a stop
action, operation stops at that point.
• When a start point is not set for a cueup action for a
d
isk recorder, set cueup to the start of the file.
4
Press the left button in the [Start TC] group and enter
a start point timecode in the numeric keypad window.
KF1 action Status of file A KF2 action
Start Playback Start
Start Playback Cueup
Variable Speed Playback at
va
riable speed
Cueup
Cueup Cueup Cueup
KF1 action Status of file A KF2 action
Start Playback Variable Speed
Variable Speed Playback at
va
riable speed
Variable Speed
Cueup Cueup Variable Speed
KF1 action Status of file A KF2 action
Variable Speed Playback at
va
riable speed
Start
Cueup Cueup Start
Notes
Notes
 Loading...


