ELECTRICAL
4203781 First Edition 4-105
4
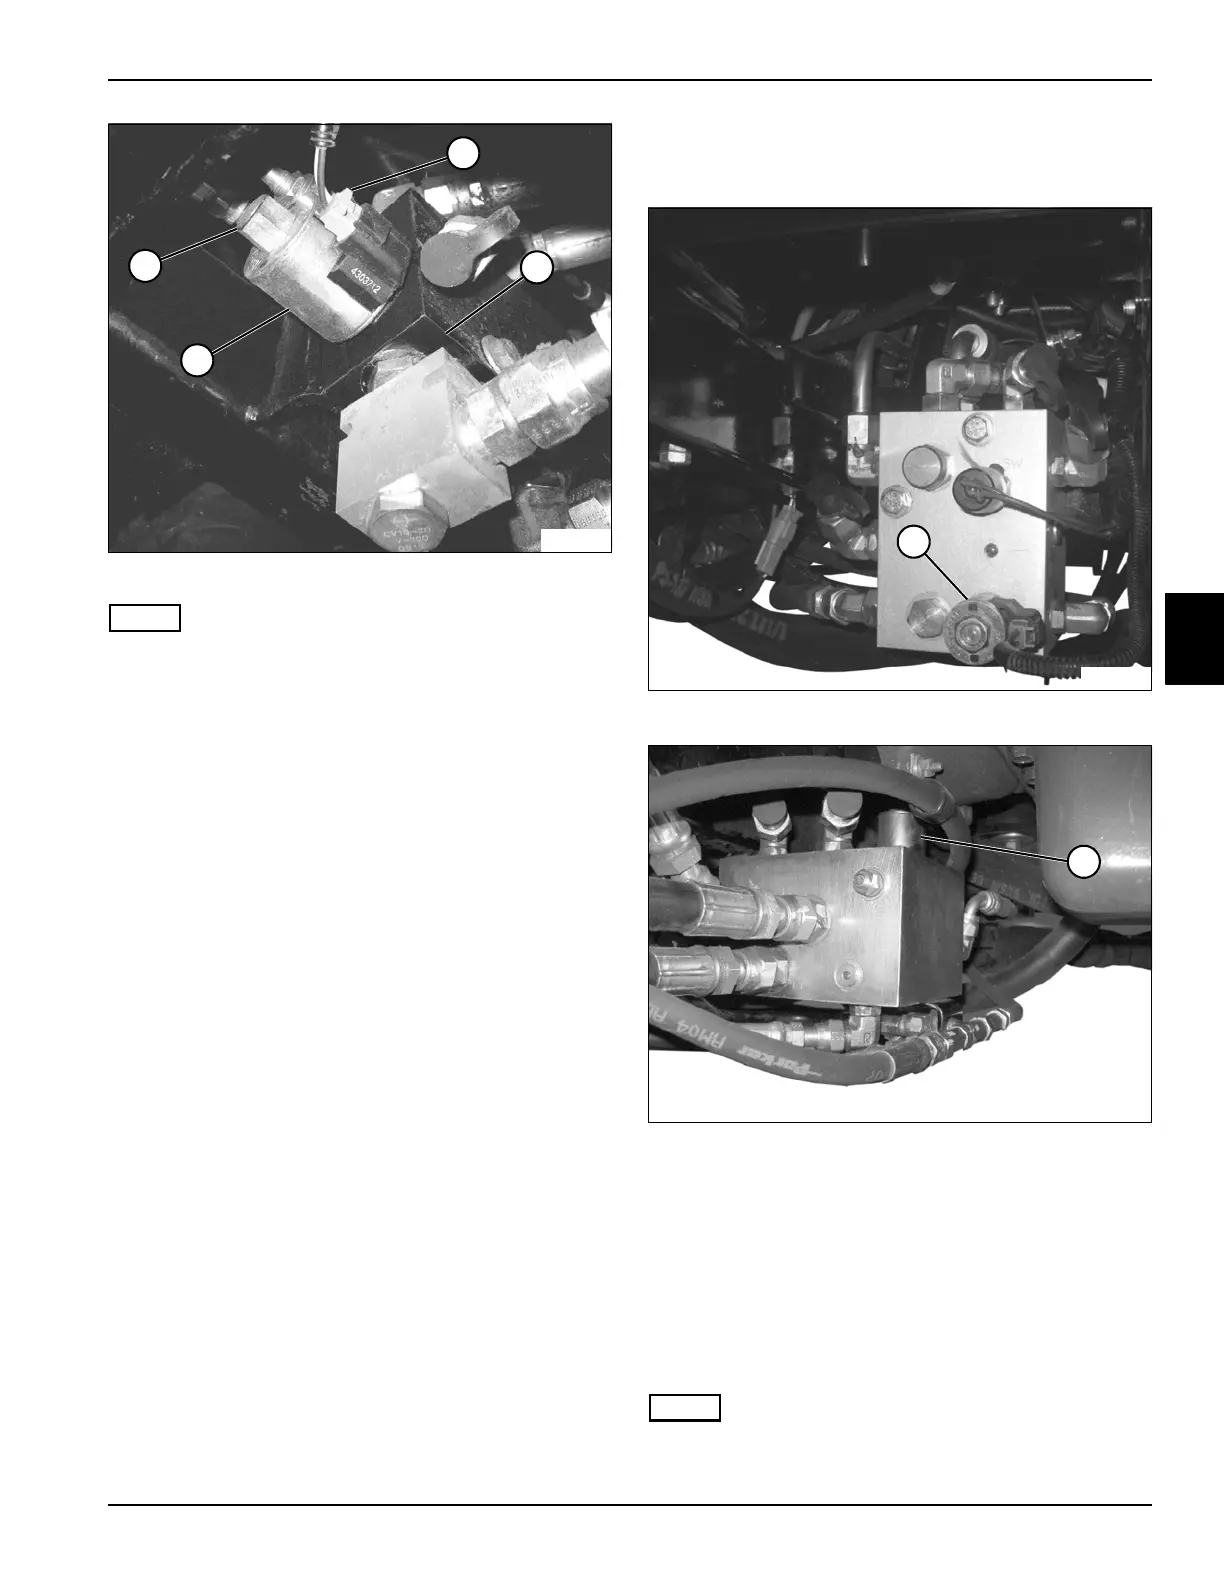
Figure 4-104
NOTE
Label connectors before disconnecting to ensure correct
installation.
4. Disconnect connector (4) from solenoid (6).
5. Remove nut (7) and solenoid (6) from the valve (5).
Installation Notes
• Clean cartridge of any debris or surface rust and
apply dielectric grease (Jacobsen PN 365422) to
cartridge before installation.
• Install the solenoid by reversing the order of removal.
• Tighten nut (7) to 5–7 lb-ft (6.8–9.5 N·m).
4WD Solenoids
See Figures 4-105 and 4-106.
Figure 4-105: 4WD Solenoid
Figure 4-106: 4WD Rev Solenoid
This procedure applies to the following solenoids:
• 4WD Solenoid (1)
• 4WD Rev Solenoid (2)
The 4WD solenoid is located on the control valve.
The 4WD rev solenoid is located on the 4WD valve.
Removal and Installation
See Figure 4-107.
NOTE
The 4WD solenoid is shown; all solenoids are removed
and installed the same way.
TN2269
7
6
5
4
TN2334
1
TN1929
2

 Loading...

