HYDRAULICS
4203781 First Edition 6-37
6
31. Calculate front cutting unit right motor leakage.
(Step 19 – Step 29 / Step 19 x 100 = Leak
Percentage)
Is front cutting unit right motor leakage 10% or
less?
YES The front cutting unit right motor is good.
Proceed to step 32.
NO Proceed to next question.
Is front cutting unit right motor leakage 11% to
20%?
YES The front cutting unit right motor is marginal.
Determine component(s) with greatest
leakage and repair or replace as necessary.
NO Proceed to next question.
Is front cutting unit right motor leakage 21% or
more?
YES Repair or replace front cutting unit right
motor. (See “Deck Motors” on page 6-62.)
32. Remove device or tool from front cutting unit right
motor.
33. Disconnect and remove test equipment. Install all
hoses, lines, and fittings as noted prior to removal.
34. Install and connect all components as noted prior to
test.
35. Check hydraulic oil level. Add oil as needed. (Refer to
“Safety, Operation, and Maintenance Manual” for
correct oil specifications.)
Right Wing Cutting Unit Circuit Test
See Figures 6-30 through 6-32.
IMPORTANT
• This test works together with the right cutting
unit motors test to isolate a problem with the
right cutting unit circuit.
• Performing this test will isolate the right wing
cutting unit pump, deck valve, and right wing
cutting unit outside motor from the rest of the
right wing cutting unit circuit.
!
WARNING
1. Park the mower safely. (See “Park Mower Safely” on
page 1-6.)
2. Raise the seat and seat platform.
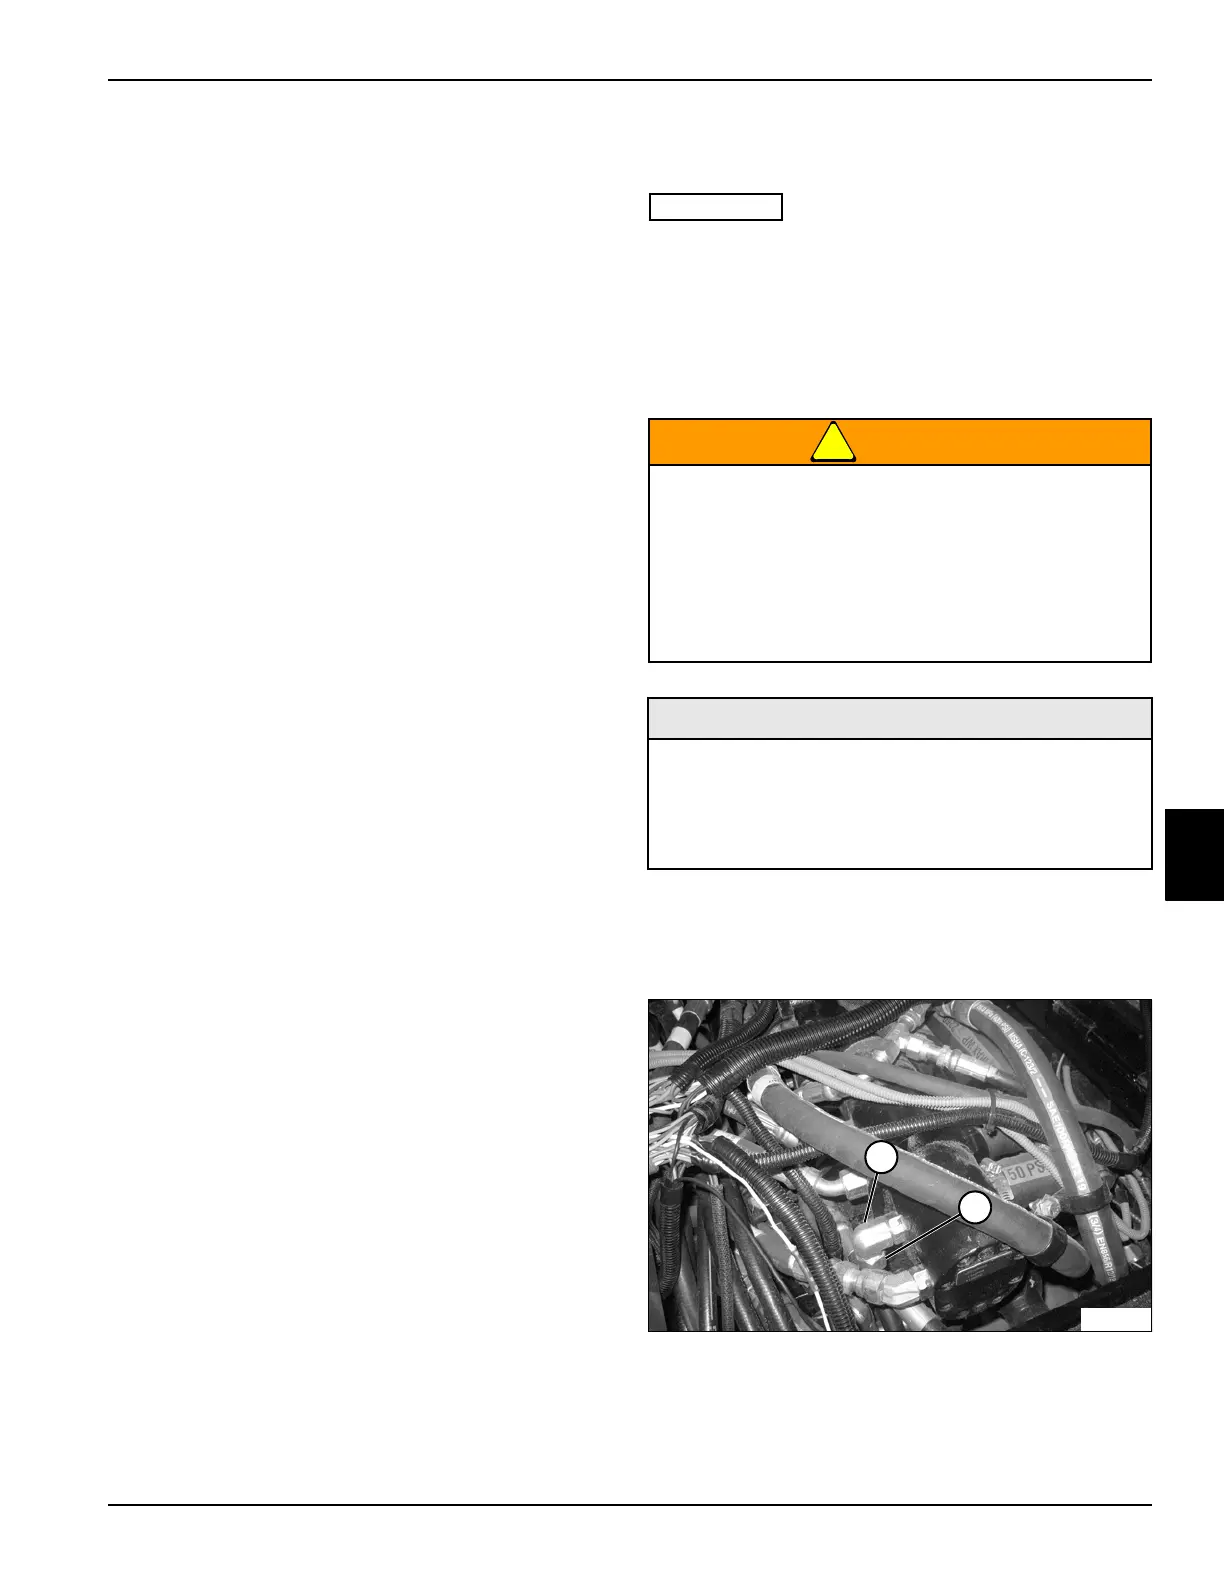
Figure 6-30
3. Disconnect hose (2) from fitting (1).
The hydraulic system is under pressure, and the
oil will be hot.
• Always relieve pressure in the hydraulic
system before performing service.
• Failure to follow appropriate safety
precautions may result in death or serious
injury.
Required Tools and Materials
• Flow Meter
• -10 ORFS Test Hose 3600 psi (248 bar)
• -10 ORFS Tee Fitting
• Blocking Device or Tool
TN2237
1
2

 Loading...

