6-76 4203781 First Edition
HYDRAULICS
6
Hydraulic Oil Tank
Removal and Installation
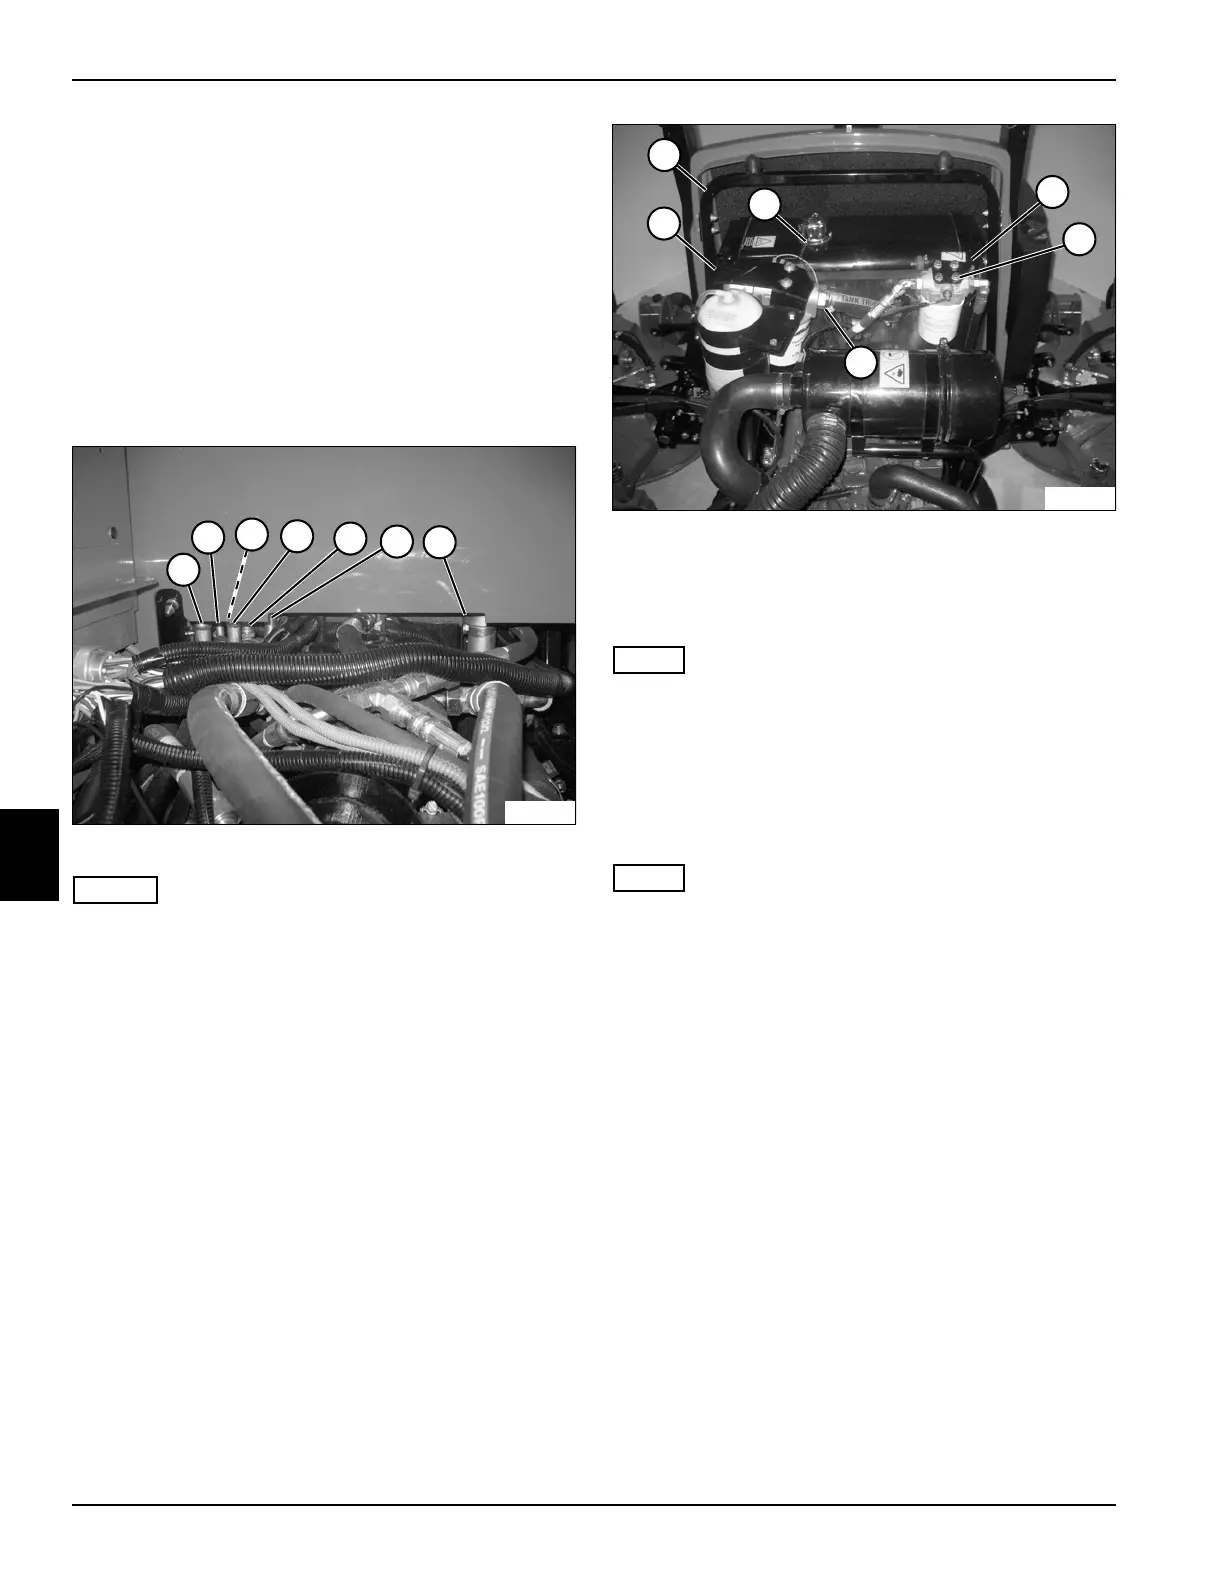
See Figures 6-80 through 6-82.
1. Park the mower safely. (See “Park Mower Safely” on
page 1-6.)
2. Disconnect the negative (–) battery cable from the
battery.
3. Raise the seat and seat platform.
4. Drain hydraulic oil tank. (See “Hydraulic Oil Tank—
Drain Procedure” on page 6-58.)
Figure 6-80
NOTES
• Label all hydraulic hoses before disconnecting to aid
in installation.
• Close all openings with caps or plugs to prevent
contamination.
5. Disconnect hoses (1 and 2) from hydraulic oil tank.
6. Disconnect electrical connector (3), located on the
bottom of hydraulic tank.
7. Disconnect hoses (4 through 7) from hydraulic oil
tank.
Figure 6-81
8. Disconnect electrical connectors (10 and 12).
9. Disconnect charge pressure filter bracket (11) from
tank support.
NOTE
Leave charge pressure filter attached to charge pressure
filter bracket.
10. Lay charge pressure filter bracket (11) aside to gain
access to hydraulic oil tank.
11. Disconnect hydraulic hose (13).
12. Disconnect return filter bracket (8) from tank support.
NOTE
Leave return filter and recovery bottle attached to return
filter bracket.
13. Lay return filter bracket (8) aside to gain access to
hydraulic oil tank.
14. Remove hood support (9).
TN2304
7
2
1
5
4
6
3
TN2303
10
9
8
13
12
11

 Loading...


