BRAKES,
WHEELS
AND
TIRES
F
.,
Remember that when replacing the tire,
It
Is
very
easy to
ca'Jse
another puncture
by
nippIng the Inner
tube with the levers. unless great care is
excercised.
Some
new tires have balance
adjustment
rubbers
inside
the
casing.
They
are
not
patches
and
should
not
be
disturbed.
When
there
Is
a
white
spotts)
near
the
bead It
should be placed at
the
valve position
or,
If
two
security bolts
are
fitted, midway
between
the
bolts.
If
one security bolt
Is
fitted
the
white
spot(s)
should be located
at
this position.
If
the spokes have been tensioned,
or
renewed,
they
must not
project
through
the
nipples. File flush any
that
are showing
through.
First place
the
rim band
into
the
well
of
the
rim and
make
sure
that
the
rough side
qf
the
band
Is
fitted
against
the
rim and
that
the
band
is
central
In
the
well. Replace
the
valve
core
and inflate
the
Inner
tube
s"fficiently
to
round It oUt
without
stretch.
Dust It with french chalk and
Insert
it
Into
the
cover with
the
valve located
at
the
white
"balancing
spot"
leaving
the
tube
protruding
outside
the
beads
for about four
Incheselthersldeofthe
valve(Flg.F18).
At
this stage
it
Is
advisable
to
lubricate
the
beads
and levers with soapy
water.
Squeeze
the
beads
together
at
the
valve position
to
prevent
the
tube
from slipping back Inside
the
tire
and offer
the
cover
to
the
rim, as shownin'Flg.F19at
the
same
time
threading
the
valve
through
the
valve holes
In
the
rim band and rim. Allow
the
first bead
to
enter
the
well
of
the
rim and
the
other
bead
to
lie
above
the
level
of
the
rim flange.
Fig.
flO. Levering
the
first bead
onto
the
rim
Fig. FiB.
Cover
and
tube
assembled
ready
(or
fitting
to
the
wheel
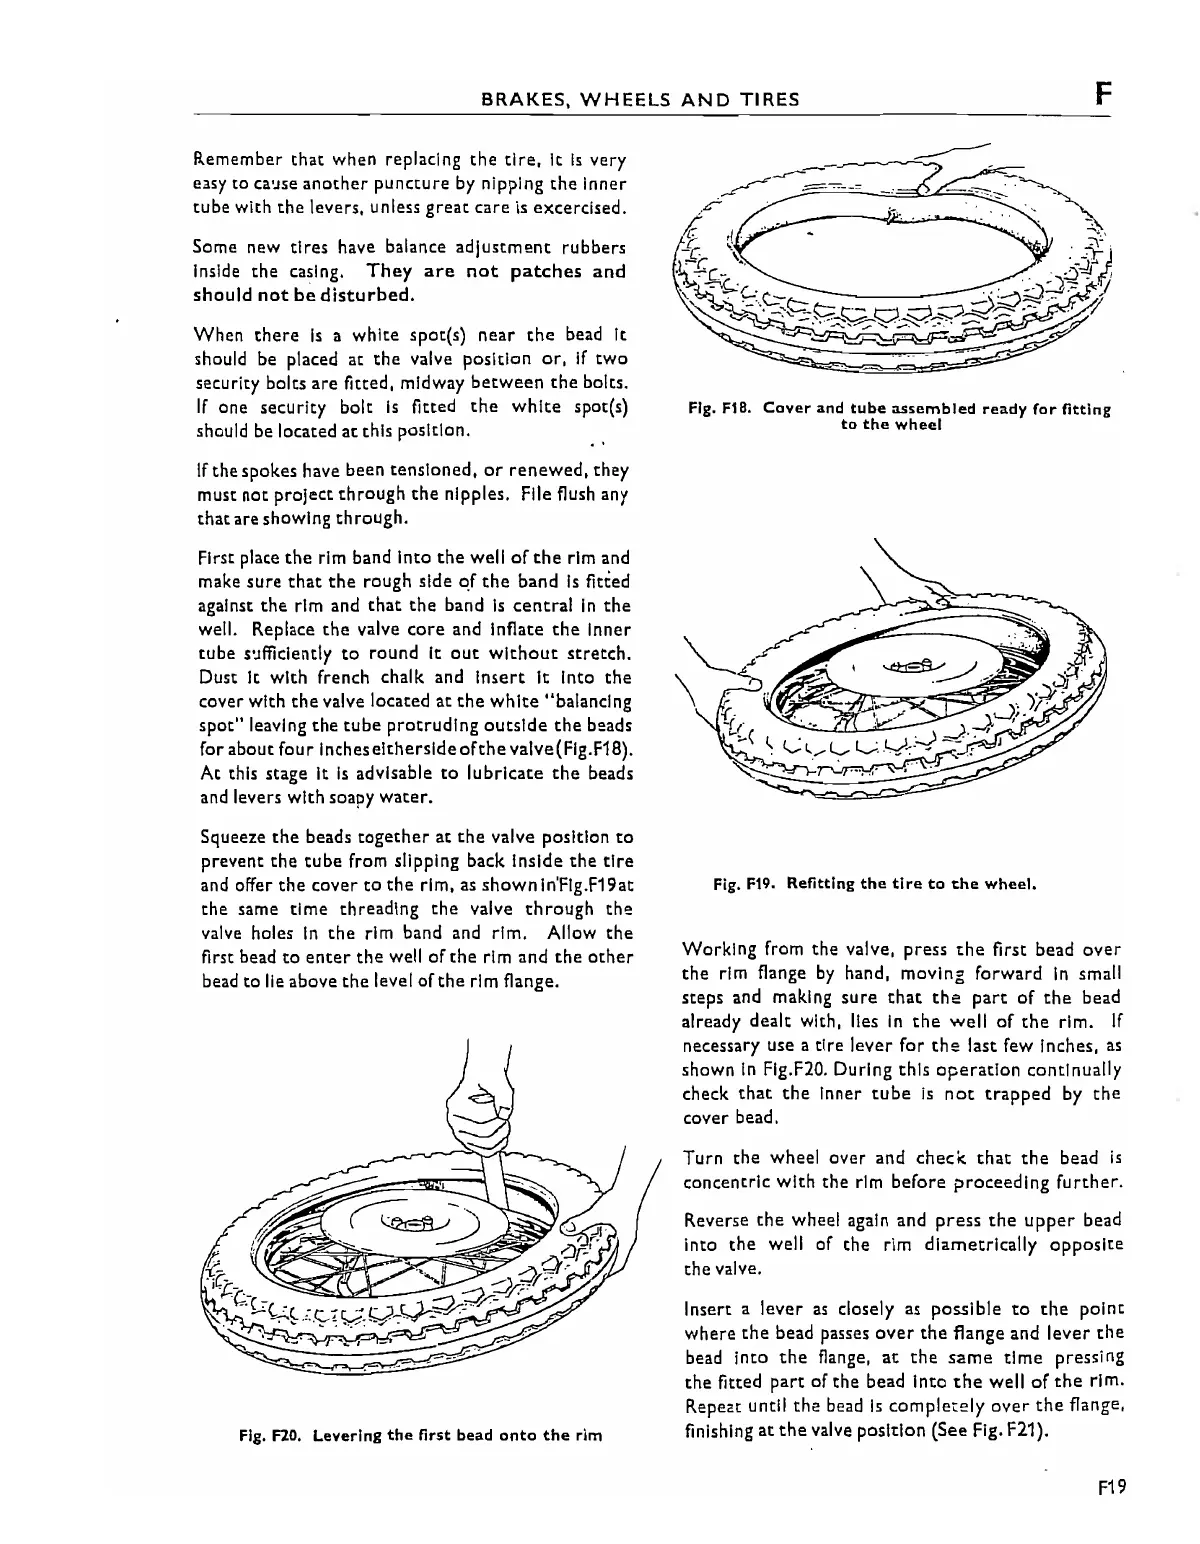
Fig.
F19.
Refitting
the
tire
to
ehe
wheel.
Working
from
the
valve, press
the
first bead
over
the
rim flange
by
hand, moving forward
in
small
steps and making
sure
that
the
part
of
the
bead
already dealt with, lies
In
the
well
of
the
rim.
If
necessary use a tire
lever
for
ths::
last
few
Inches,
as
shown
In
Flg.F20. During this
operation
continually
check
that
the
Inner
tube
Is
not
trapped
by
the
cover bead.
Turn
the
wheel
over
and
check
that
the
bead
is
concentric
with
the
rim
before
proceeding
further.
Reverse
the
wheel again and
press
the
upper
bead
into
the
well of
the
rim diametrically
opposite
the
valve.
Insert a
lever
as
ciosely as possible
to
the
point
where
the
bead passes
over
the
flange and
lever
the
bead Into
the
flange,
at
the
same
time
pressing
the
fitted
part
of
the
bead
into
the
well
of
the
rim.
Repeat until
the
bead
Is
completely
over
the
flange,
finishing
at
the
valve position (See Fig. F21).
F19