F
BRAKES,
WHEELS
AND
TIRES
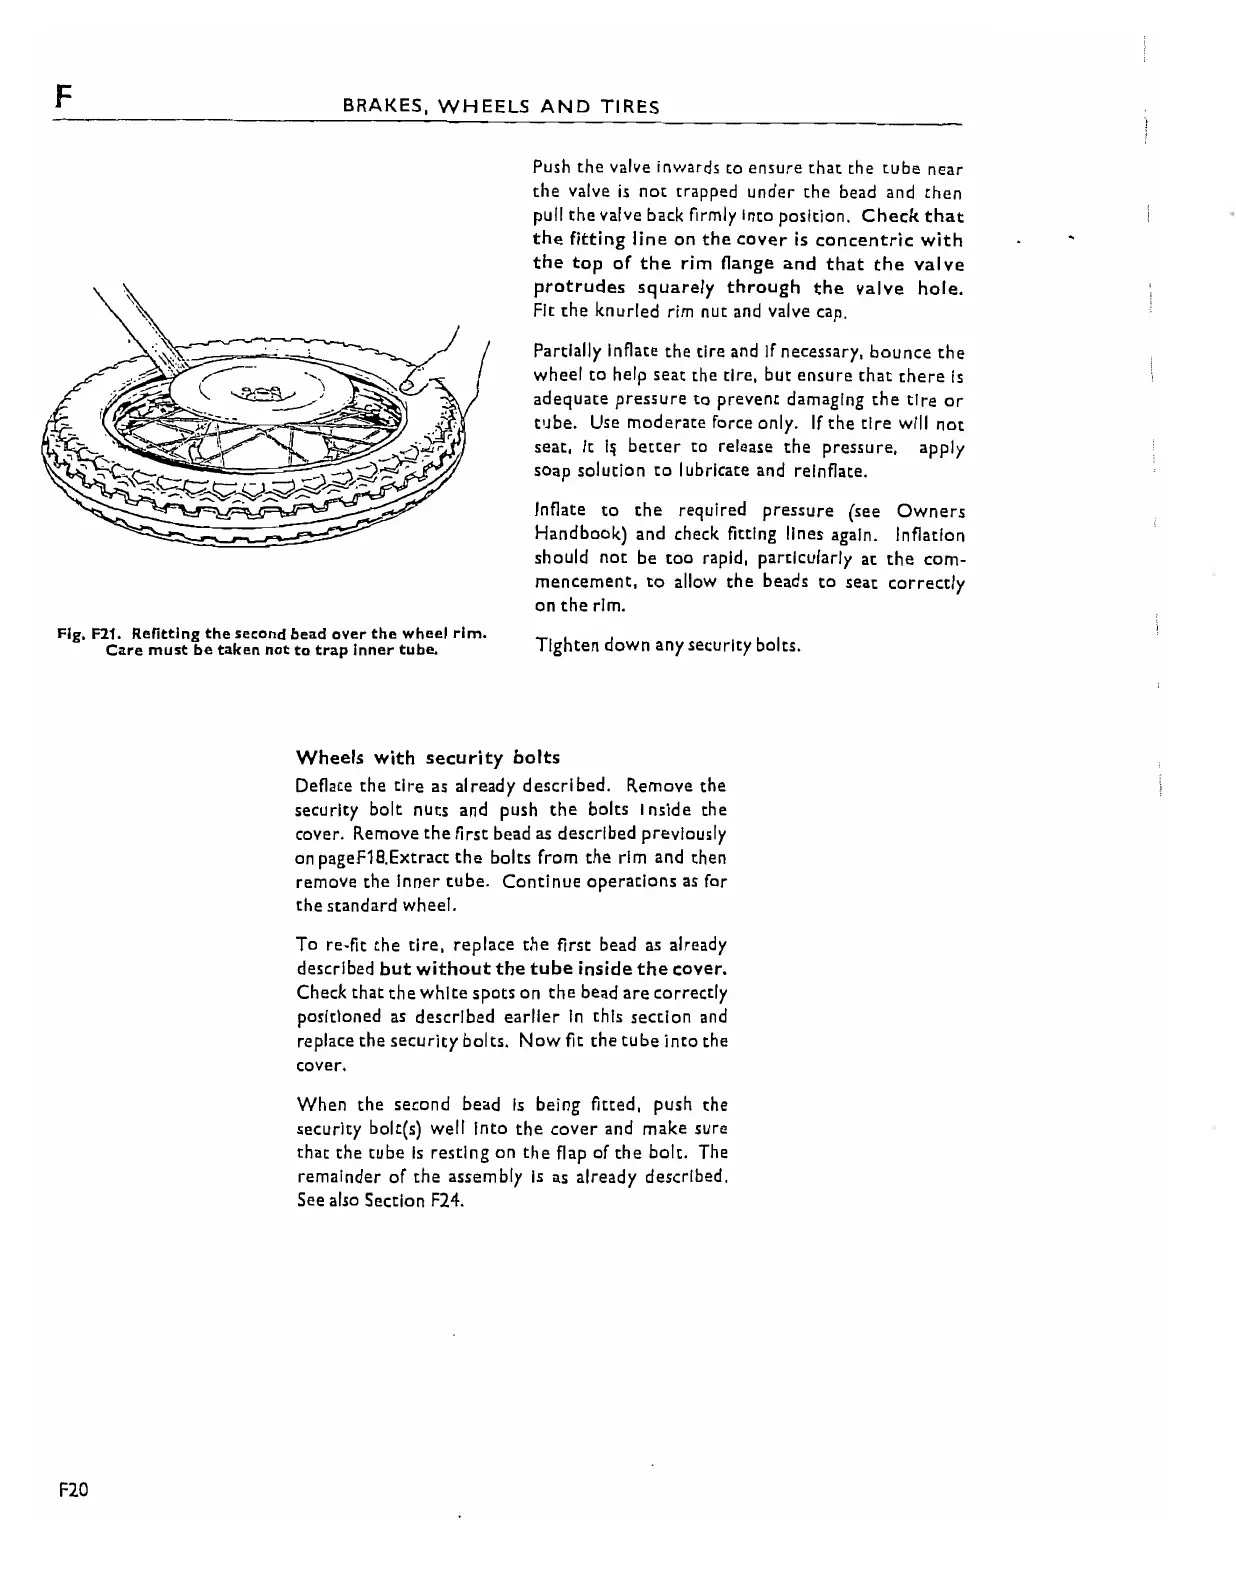
Fig.
F21.
Refitting
the
second bead
over
the
wheel
rim.
Care
must
be
taken
not
to
trap
inner
tube.
Push
the
valve inwards
to
ensure
that
the
tube
near
the valve
is
not
trapped
under the
bead
and
then
pull
the
valve back f'rmly into position.
Check
that
the
fitting
line
on
the
coyer
is
concentric
with
the
top
of
the
rim
flange
and
that
the
valve
protrudes
squarely
through
the
valve
hole.
Fit
the
knurled rim nut and valve cap.
Partially Inflate the tire and
If
necessary,
bounce
the
wheel
to
help
seat
the tire,
but
ensure
that
there
Is
adequate pressure
to
prevem
damaging
the
tire
or
t'lbe.
Use
moderate
force only.
If
the
tire
wI/I
not
seat, It
Ii
better
to release
the
pressure. apply
soap solution to lubricate
and
reinflate.
Inflate
to
the
reqUired pressure (see
Owners
Handbook) and check fitting lines again. Inflation
should
not
be
tOO
rapid, particularly
ac
the
com-
mencement,
to
allow
the
beads
to
seat
correctly
on
the
rim.
Tighten down anysecurity bolts.
Wheels
with
security
bolts
Deflate
the
tire
as already
described.
Remove
the
security
bolt
nUts and push
the
bolts Inside the
cover. Remove
the
first bead as described preViously
on pageF18.Extracc
the
bolts from
the
rim and then
remove the Inner
tube.
Continue
operations
as
for
the
standard wheel.
To re-fit
the
tire,
replace
the
first bead
as
already
described
but
without
the
tube
inside
the
cover.
Check
that
the
white
spots
on
the
bead
are
correctly
pOSitioned
as
described
earlier
In
this
section
and
replace
the
security
bolts.
Now
fit
the
tube
into
the
cover.
When
the
second bead
Is
being fitted, push the
security bolt(s) well Into
the
cover
and make sure
that
the
tube
Is
resting
on
the
flap of
the
bolt. The
remainder
of
the
assembly
is
as already described.
See also Section F24.
F20