NOTE: You can put a user into more than one region by placing a comma in between each region
name. E.g. Admin Region,User Region.
NOTE: If the Region field is left blank then ‘All Regions’ is assumed.
The Excel Spreadsheet must be in a pre-defined format. Blank spreadsheets are available from the root of the
Traka32 installation, for example 'C:\Program Files\Traka Limited\Traka32\Import\Traka32 User Import.xls'.
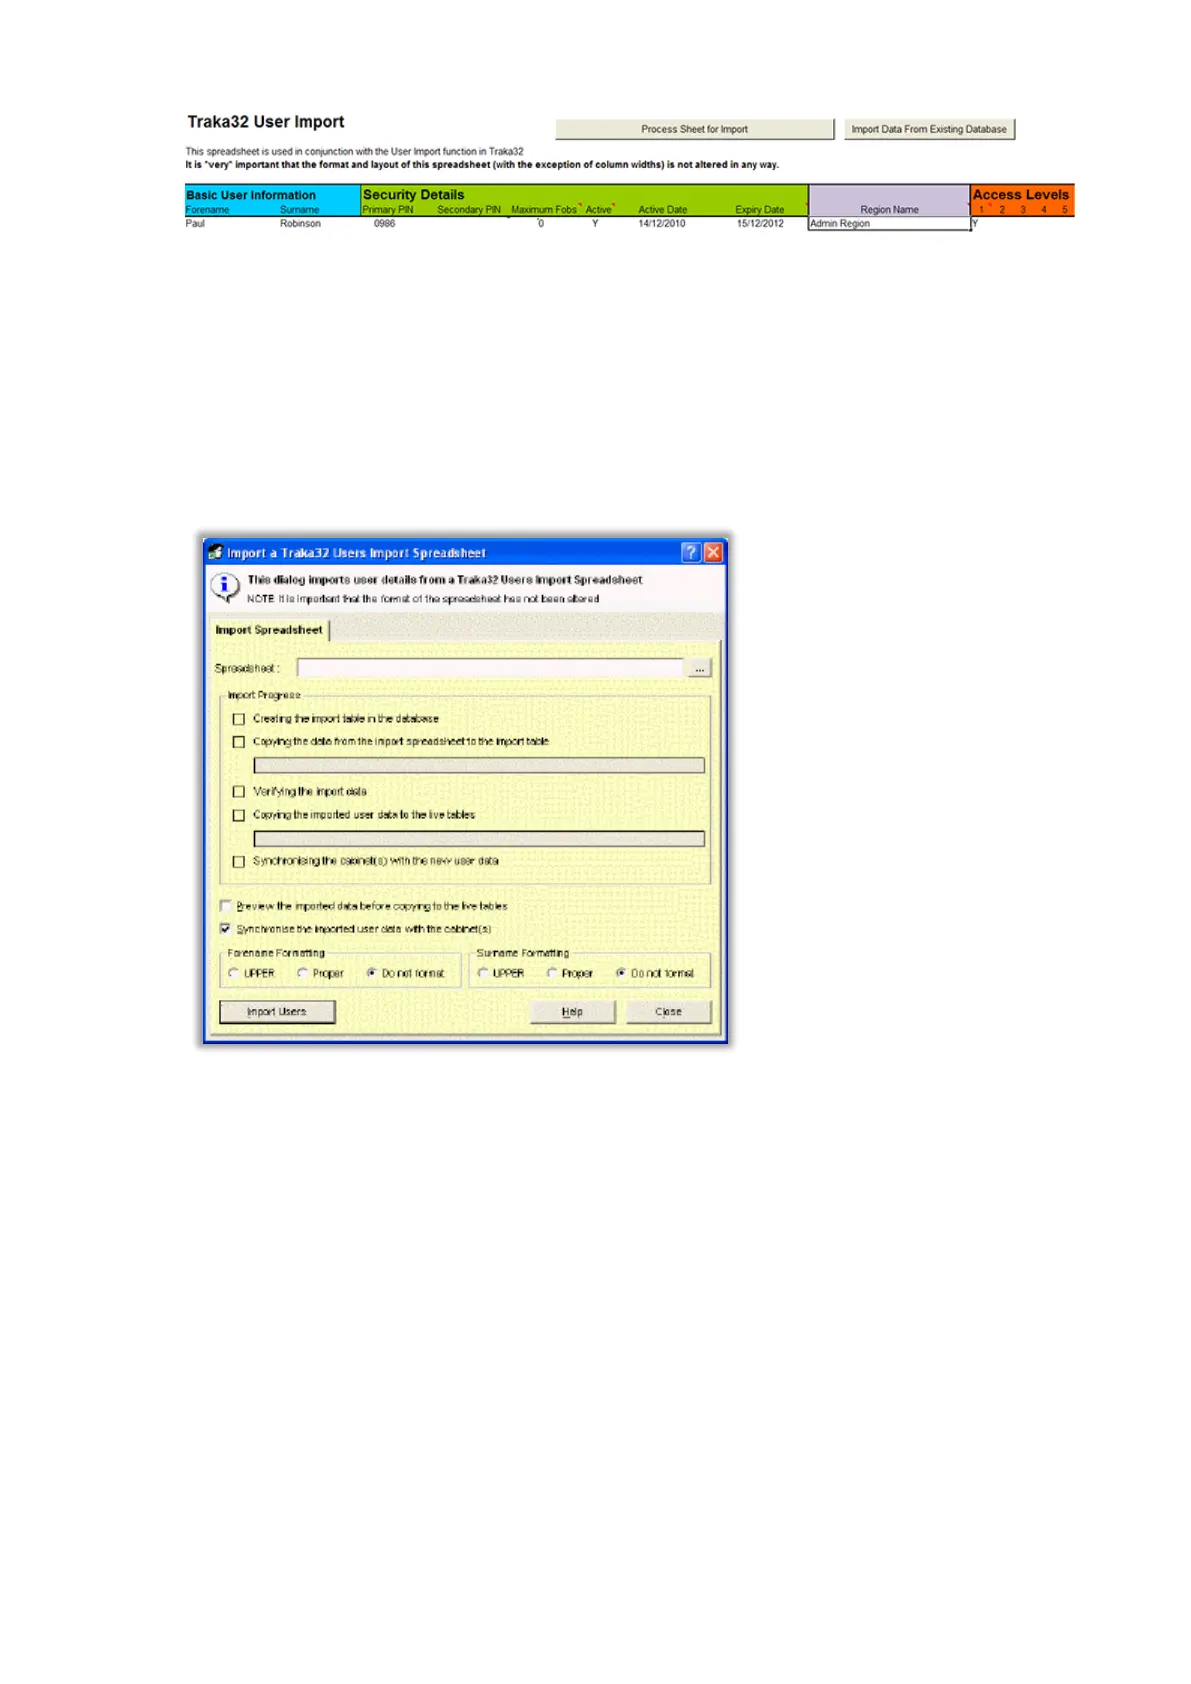
3. Close any open windows within Traka32 so you have a grey screen.
4. Click on Tools followed by Import Users from Spreadsheet from the main menu.
5. Select the path to the spreadsheet that you wish to import. To search for the spreadsheet file simply click on
the ... button.
6. To preview the data before the data is imported, select the Preview the imported data before copying to
the live tables' checkbox.
7. To automatically upload the data to the relevant Traka Systems, select the Synchronise the imported user
data with the cabinet(s) checkbox.
8. Select the appropriate formatting for the Forenames and Surnames.
9. When you are happy with your selections, simply click on Import Users.
NOTE: If the region name inside the spreadsheet is non-existent or is spelled incorrectly then an
error message will appear telling you the import could not continue. You will need to correct the
spreadsheet and begin again.