2.3.7.2 L-SERIES POD PREPARATION
Before attaching an L-Series Pod to the wall you will need to remove various parts in order to access the various fixing
holes. Please refer to the anti static precautions before preparing the pod.
NOTE: Any plastic protective film should be removed after installation in order to protect the stainless
steel finish.
1. Carefully unpack your Traka Pod and ensure your all the necessary parts are there using the check list.
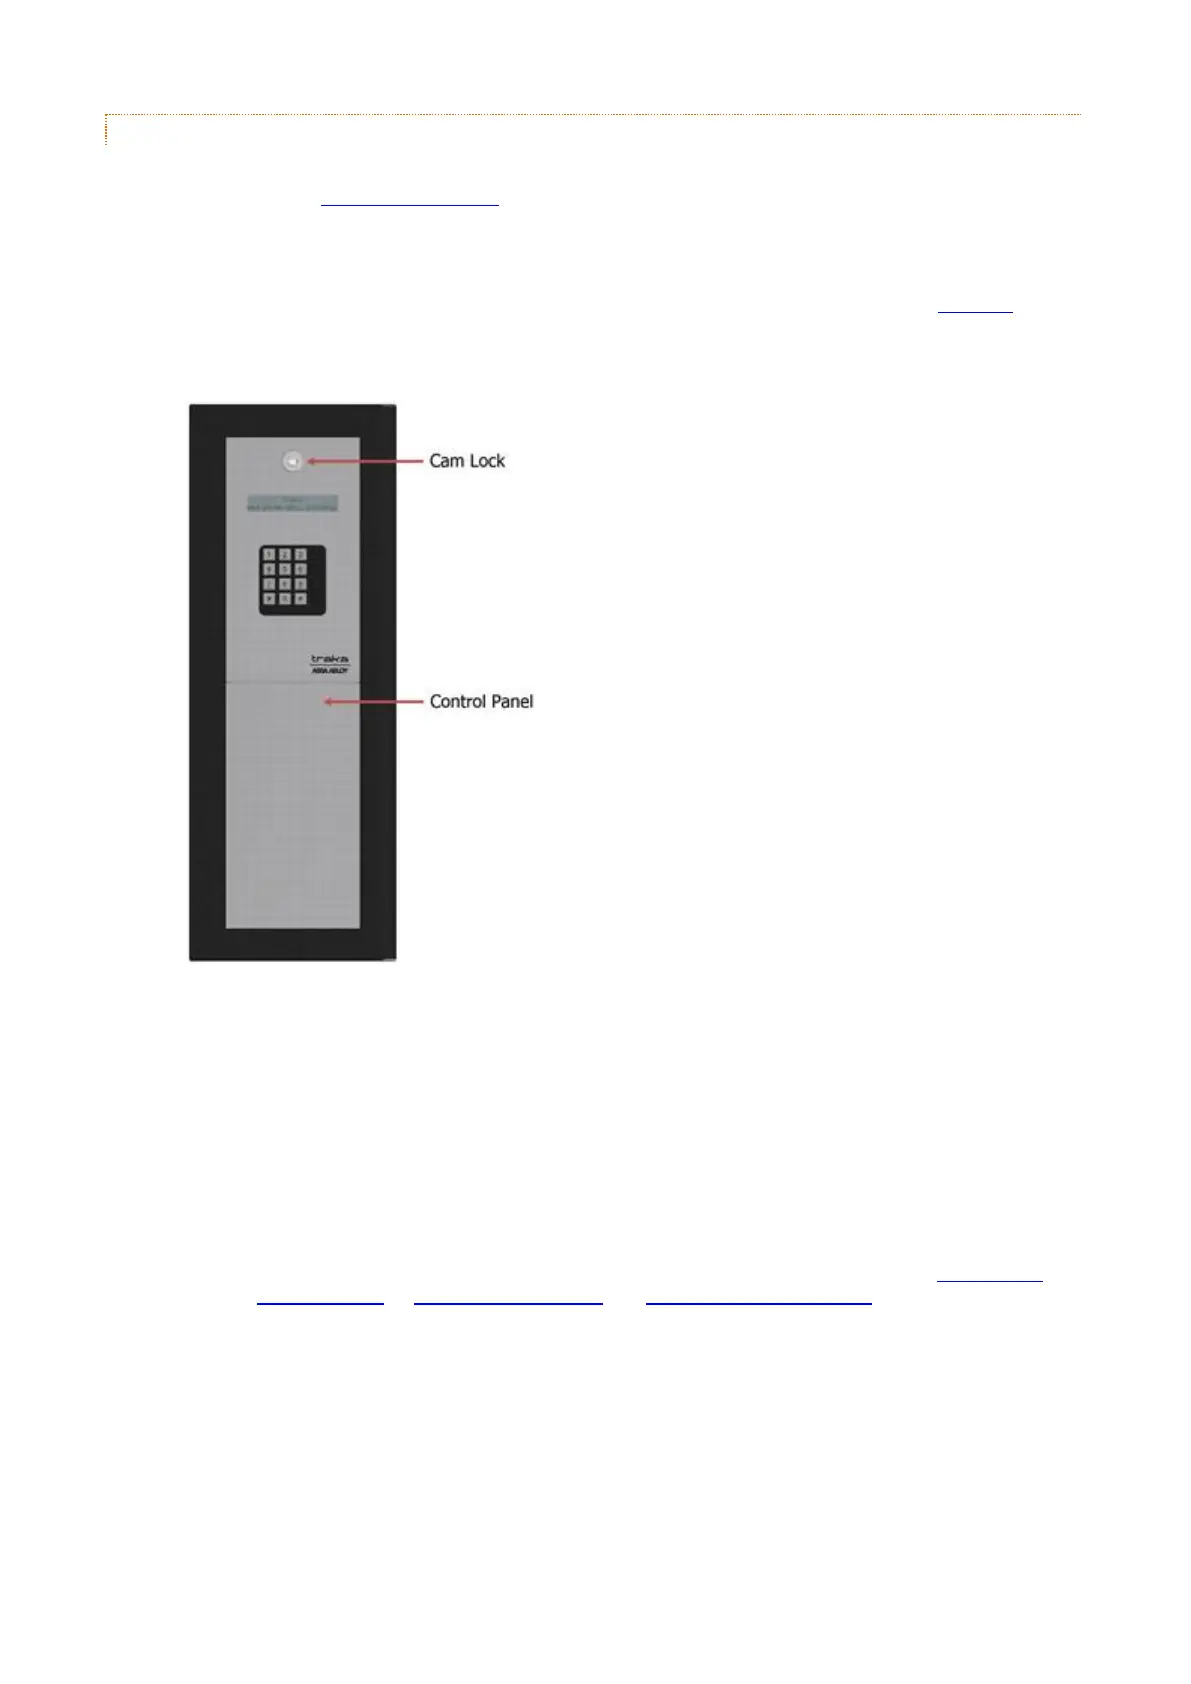
2. The Control Panel is hooked in at the bottom and locked at the top. Using the Master Key, unlock the Cam
Lock.
3. Carefully begin to remove the Control Panel. You will see that there are several wires connected to the
Control PCB that are attached to the control panel. Carefully disconnect the following wires noting where and
how they connect.
LCD
Keypad
Card Reader (optional)
Earth Lead
NOTE: For more details on the various PCB connections, please refer to the 8bit Control
PCB Diagrams or 16bit I/O PCB layout and 16bit Control PCB Layout sections of the
Traka32 Help Guide.