Chapter 6: Running Samples with the Loader 159
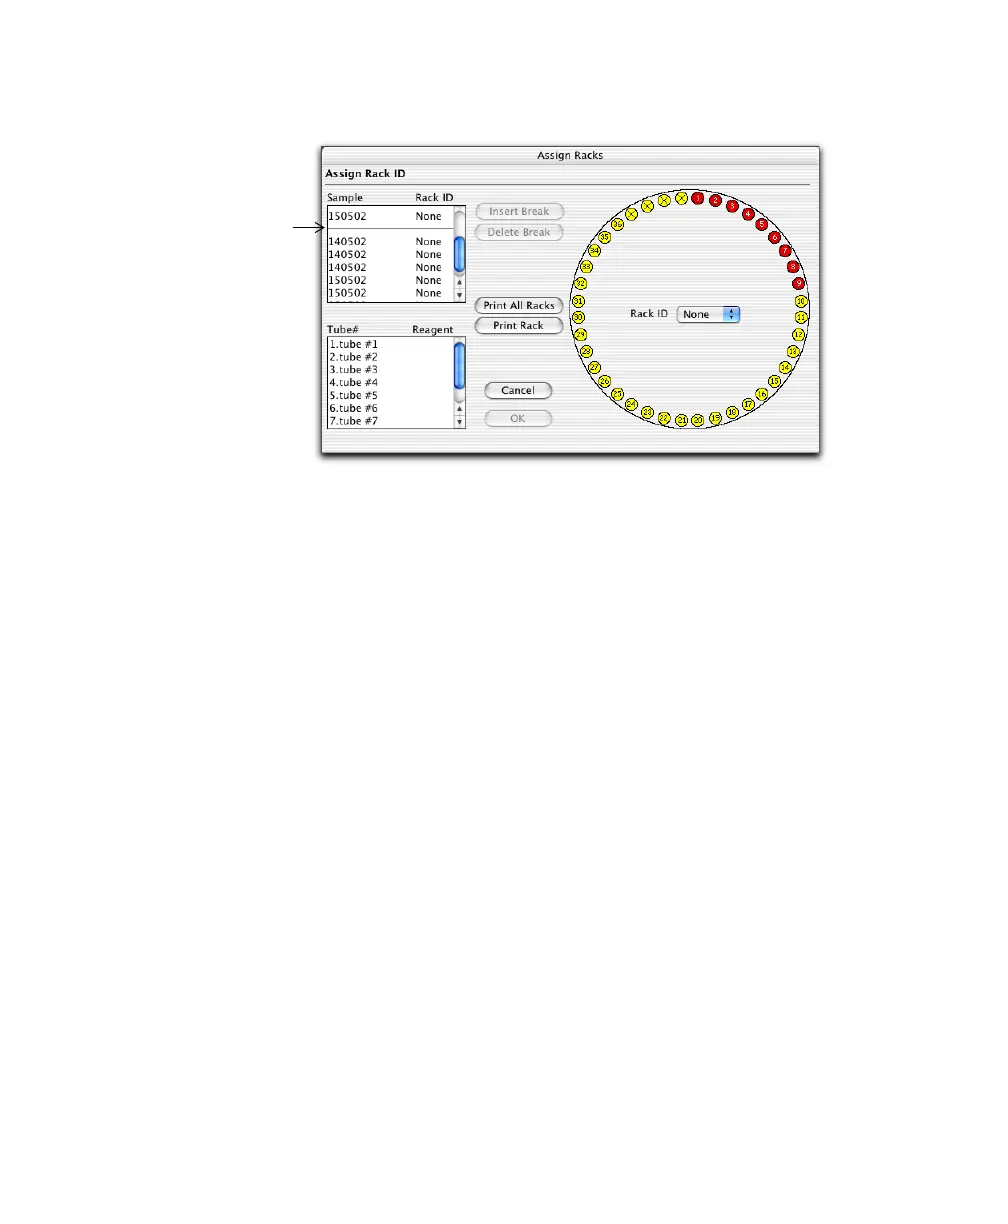
Figure 6-1 Assigning racks
NOTICE Different BD CellQuest Pro panels can be associated with
different mix settings. BD Biosciences recommends that you consider mix
settings when you group samples from different panels on the same rack.
4 Choose a Rack ID.
Rack IDs are printed on top of each rack and on a label inside the rack
which can be read optically by the Loader.
After a rack ID is assigned, entries in the Location, Assay, and Panel Name
columns cannot be changed, and rack breaks cannot be inserted or deleted.
5 Print the Rack Manifest report, and click OK.
Click Print Rack to print a report for the current rack; click Print All Racks
to print reports for all assigned racks. The Rack Manifest contains sample
information, reagent names, and tube locations as well as a rack diagram
with the entry numbers for each sample.
6 To edit rack assignments, click Release Rack.
Use the Release Rack dialog to edit entries after racks have been assigned
or to reassign racks.
rack
break