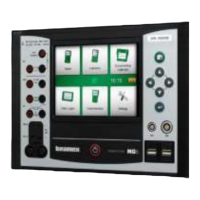
MC6's Light Emitting Diode (LED) indicates battery/charging status as follows:
When charger is connected and charging is in progress, the LED flashes
approximately once every second.
The LED is constantly lit when the charging of the batteries is ready
(with charger still connected).
When battery charge level is low, the LED is lit for a second in approx.
10 second intervals.
Note.
When batteries have capacity enough to continue working with
MC6, the LED is not lit during normal operation.
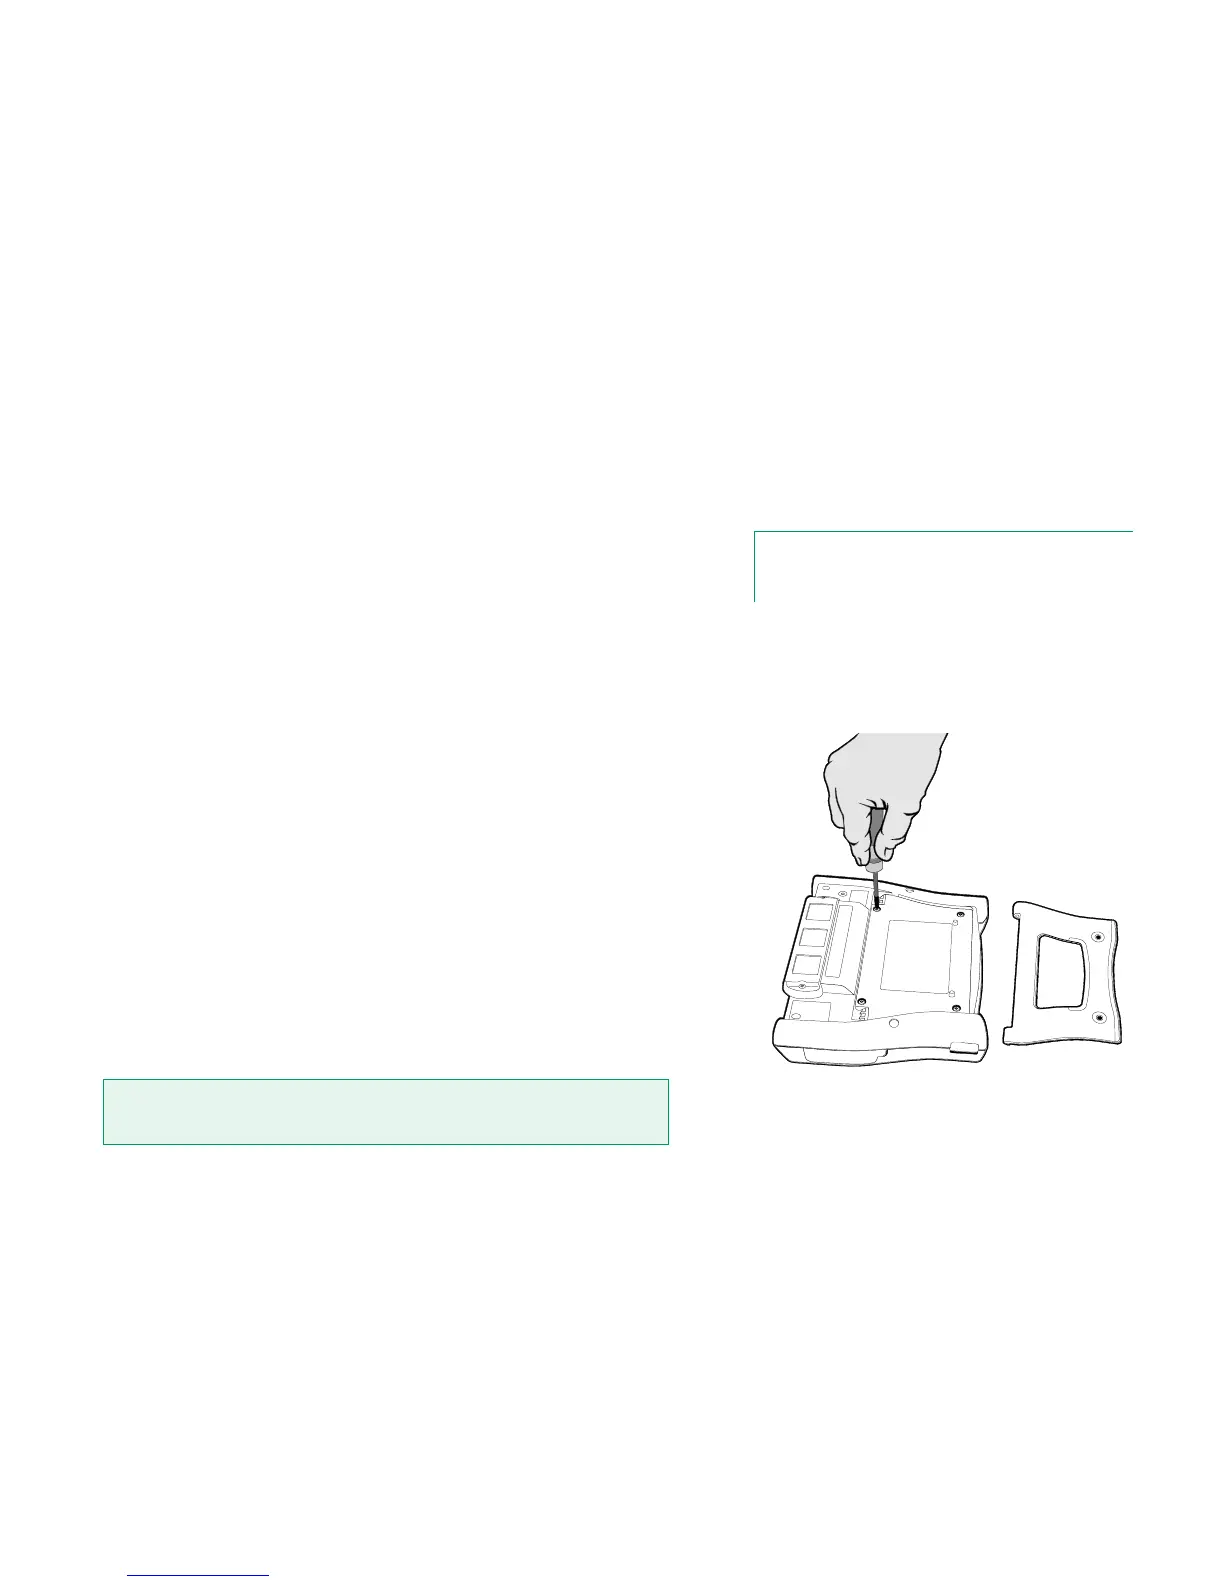
To remove or replace the Lithium Polymer batteries, perform the following pro-
cedure:
1. Important! Make sure charger is not connected to MC6.
2. Shut off MC6 and turn it upside down (the display facing the table top).
Twist and remove the support.
3. Unscrew the four screws holding the battery compartment cover. See
adjacent picture.
4. Bend the clip holding the battery pack connector and gently pull the
connector out.
5. To replace the battery pack, push the connector of the new battery pack
in its place (noting the polarity!) and put the battery pack in its slot.
Note that MC6 immediately starts after the battery pack is connected.
6. Put the battery compartment cover back on place and fasten the battery
compartment cover.
7. Press the support back on place.
"Teach" MC6 the capacity of the new battery back by charging and fully dis-
charging the battery back at least once before taking it into normal use.
Important!
Read the warnings presented in chapter Warnings Concerning the Lithium Polymer Bat-
tery Pack in Appendix.