14. To print wipe results from the Wipe View Details screen, Wipe History screen or Reports,
select <Printer> from the top right corner of the screen. The selected Wipe Report will now
be displayed. Select <Printer> again to print the report. Selecting the <+> or <-> icons
enlarges or decreases the report on the screen for viewing purposes. To save a copy of the
Wipe Report to the computer, <Save> and follow the standard Windows save procedure.
Select <Back> to return to the View Wipe Details screen. Select <Back> to return to the Wipe
History screen.
NOTE: Wipe results may also be printed from the <Reports> menu on the <Home> screen.
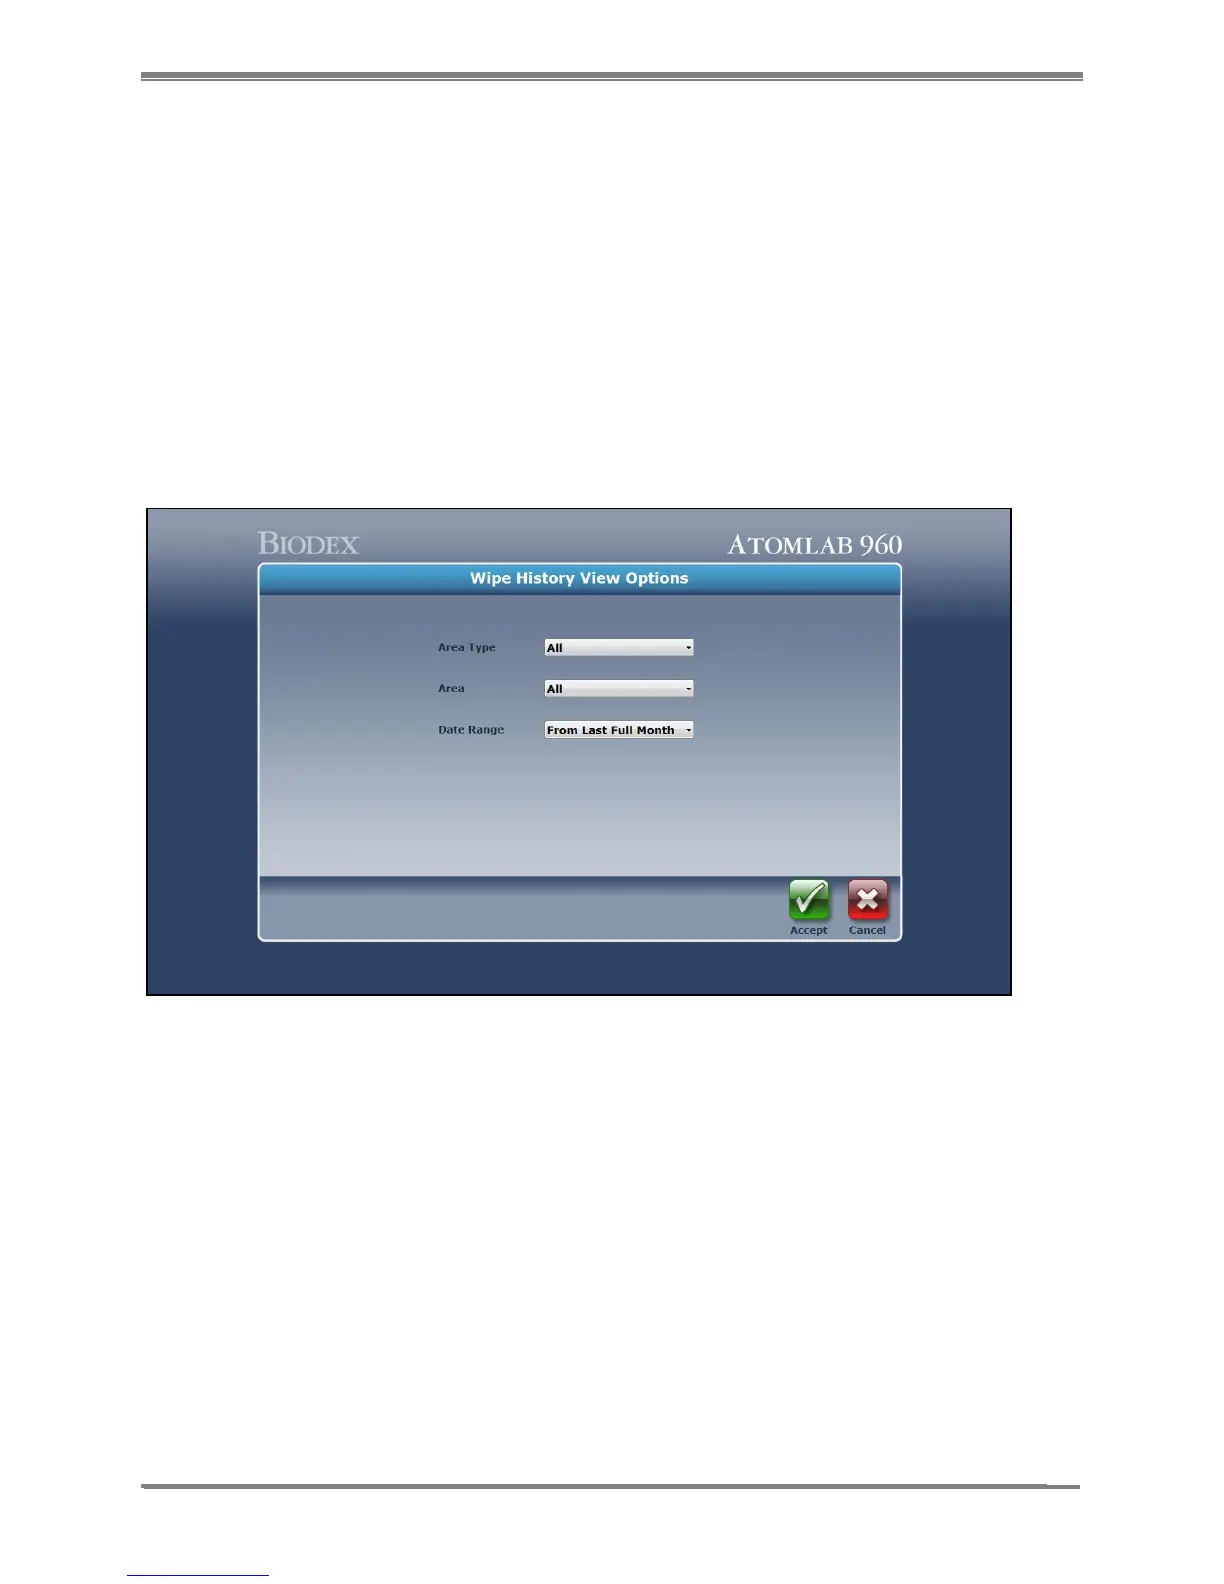
15. On the Wipe History screen, select <View Options>. The Wipe History View Options screen
is now displayed. This screen allows the user to select specific “area types”, specific “areas”
or “all” areas, and the date range to be displayed as the results of the testing on the Wipe
History screen.
Figure 8.9. Wipe History View Options screen.
16. On the <Wipe History View Options> screen, select <Area Type> to choose your type or
area, or “all” that you wish to view. Choose <Area> to display a listing of all the specific
areas in the specific area type selected or in all areas. Select <Date Range> to set the date
range accordingly. Select <Accept> to record any changes.
NOTE: Selecting <Last Full Month> will prompt the system to display the last full month
completed, plus any additional days from the current month. There are a number of
choices you can select.