Add A Detector
(See Figure 4.10.)
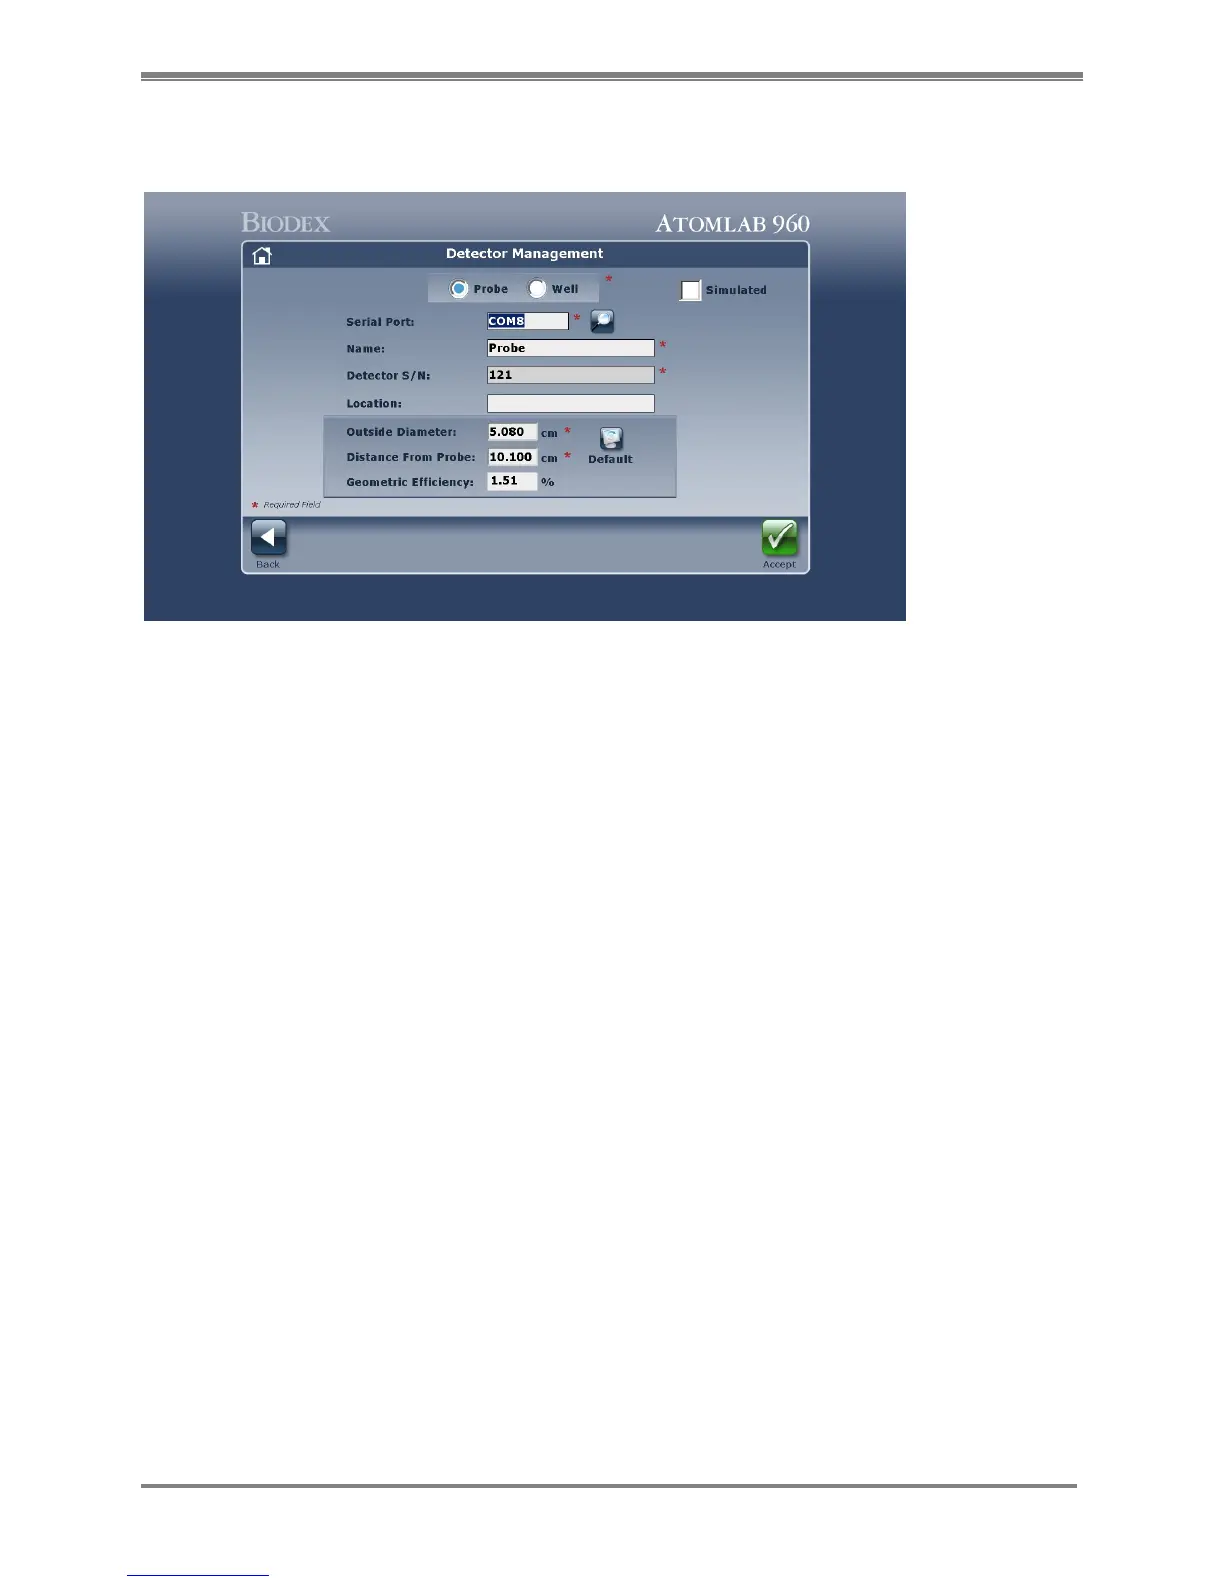
Figure 4.10. The Detector Management screen.
1. Select <Add Detector> from the Detectors screen. The Detector Management screen is now
displayed. Fields with a red * require mandatory completion.
2. Select <Probe> or <Well> as appropriate for the detector to be added. If your system has only
one detector, the probe or well designation will be automatically selected. Select <Search> to
see the attached detectors. The serial port is automatically displayed.
NOTE: If you are not sure which port is being used, select the <Search> icon (magnifying
glass). The system will scan for the new detector and provide the port, version, serial
number and description. Select <Accept> to record the scanned detector information or
<Cancel> to return to the Detector Management screen without recording the scanned
detector information.
3. Enter the name to be used for the new detector. Each detector added should have a unique
name.
4. If desired, enter the location to be displayed for the new detector.
5. Enter the outside diameter of the new detector. The default value for the probe is 5.08 cm
6. For the well, enter the inside diameter. The default value is 1.905 cm.