NOTE: You can set a system wide default for all “Data History Display” from the <Utilities>
menu on the <Home> screen. From the <Utilities> select <System Setup> and then select
the <General> tab.
Next to <Data History Displays From:> you can select from the following choices:
“All Available Data”, “Last Full Month”, “Last 3 Full Months”, “Last 6 Full Months”, and “Last
Year”.
For example: Selecting <Last Full Month> will prompt the system to display the last full
month completed, plus any additional days from the current month.
17. To delete a specific wipe test from the Wipe History screen, highlight the wipe to delete
and select <Delete>. Select <Accept> to confirm the deletion on the warning screen.
Figure 8.11. Report Wipe Type Selection screen.
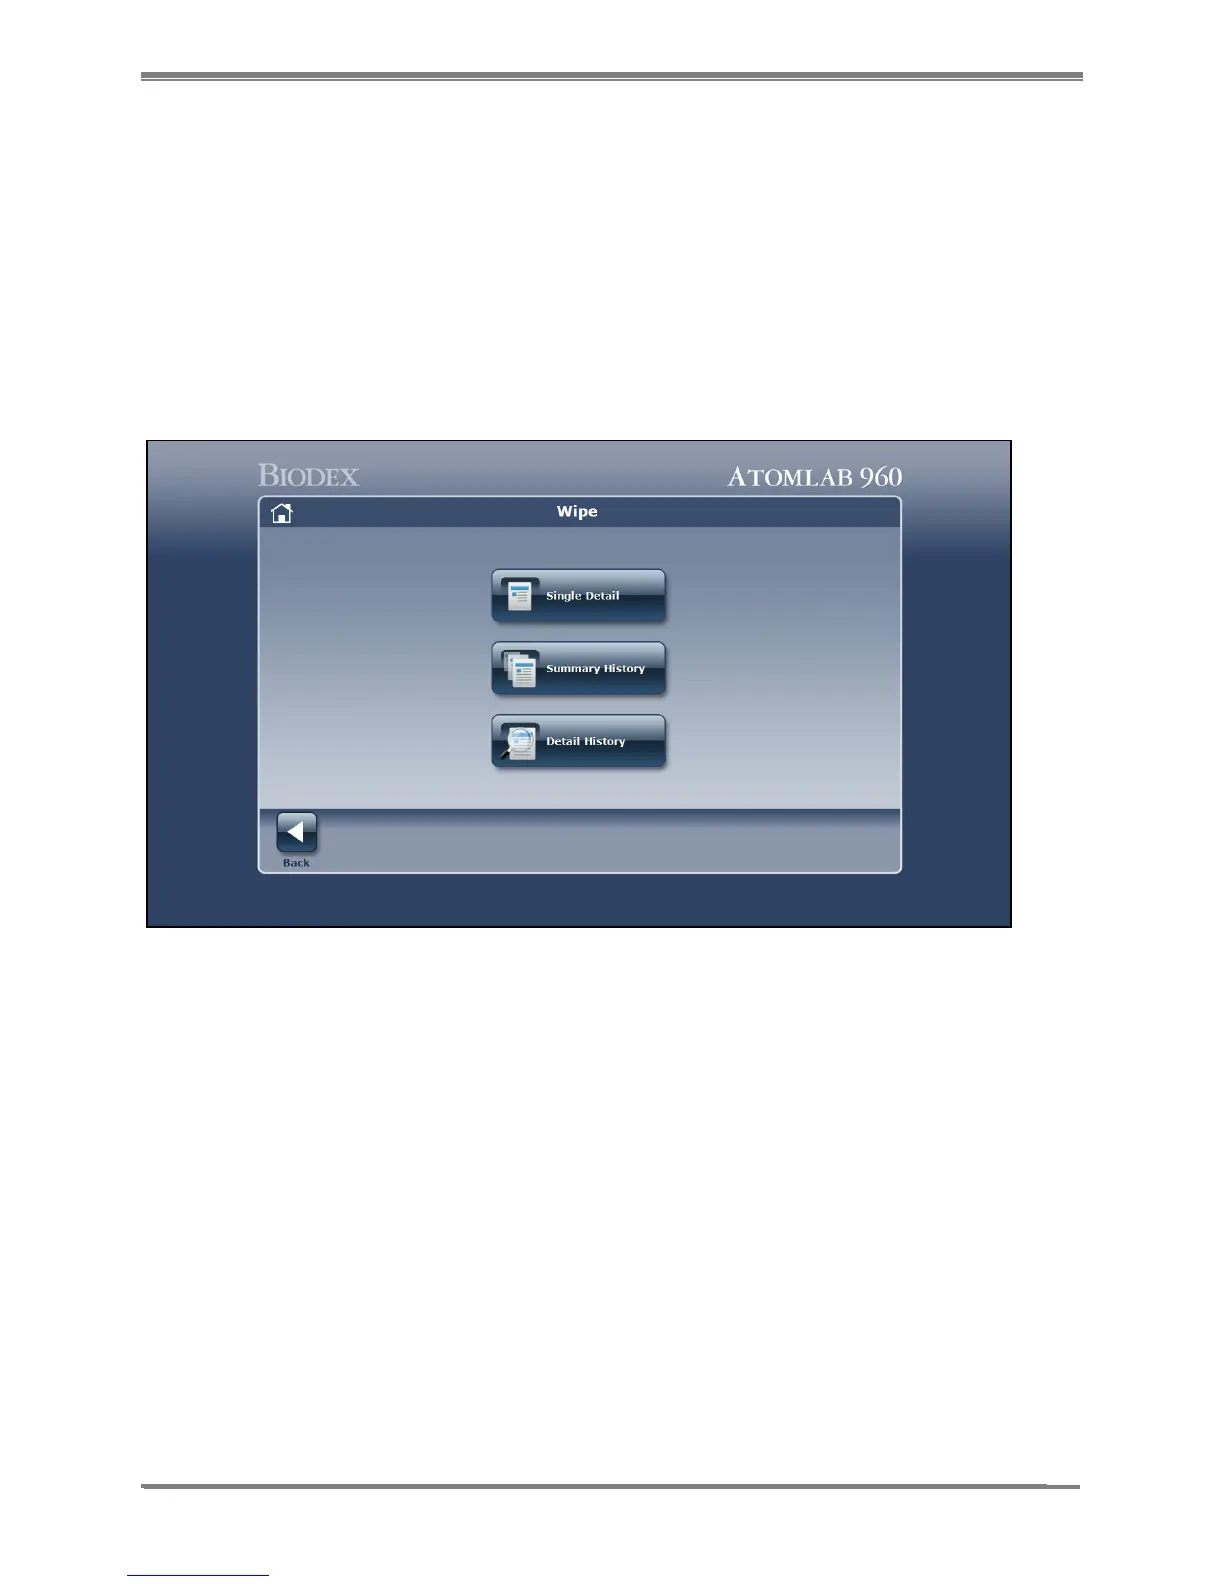
18. Select <Reports> to view and Select the type of Wipe Test Report To View or Print. Choose
from <Single Detail>, <Summary History> or <Detail History> as follows:
- <Single Detail>: allows the user to select a single wipe and view or print the results for that
specific wipe.
- <Summary History>: allows the user to select the <Area Type>, <Area> or <Date Range>
and create a Wipe Test Summary Report. The Wipe Test Summary Report lists the wide
window results along with the overall status of the selected options.
- <Detail History>: allows the user to select the <Area Type>, <Area> or <Date Range> and
create a Wipe Test Detail Report. The Wipe Test Detail Report shows all the isotopes in
each wipe for the selected options.
19. Select <Back> twice to return to the Wipe History screen from any of the reports.