Removing the PL Mount
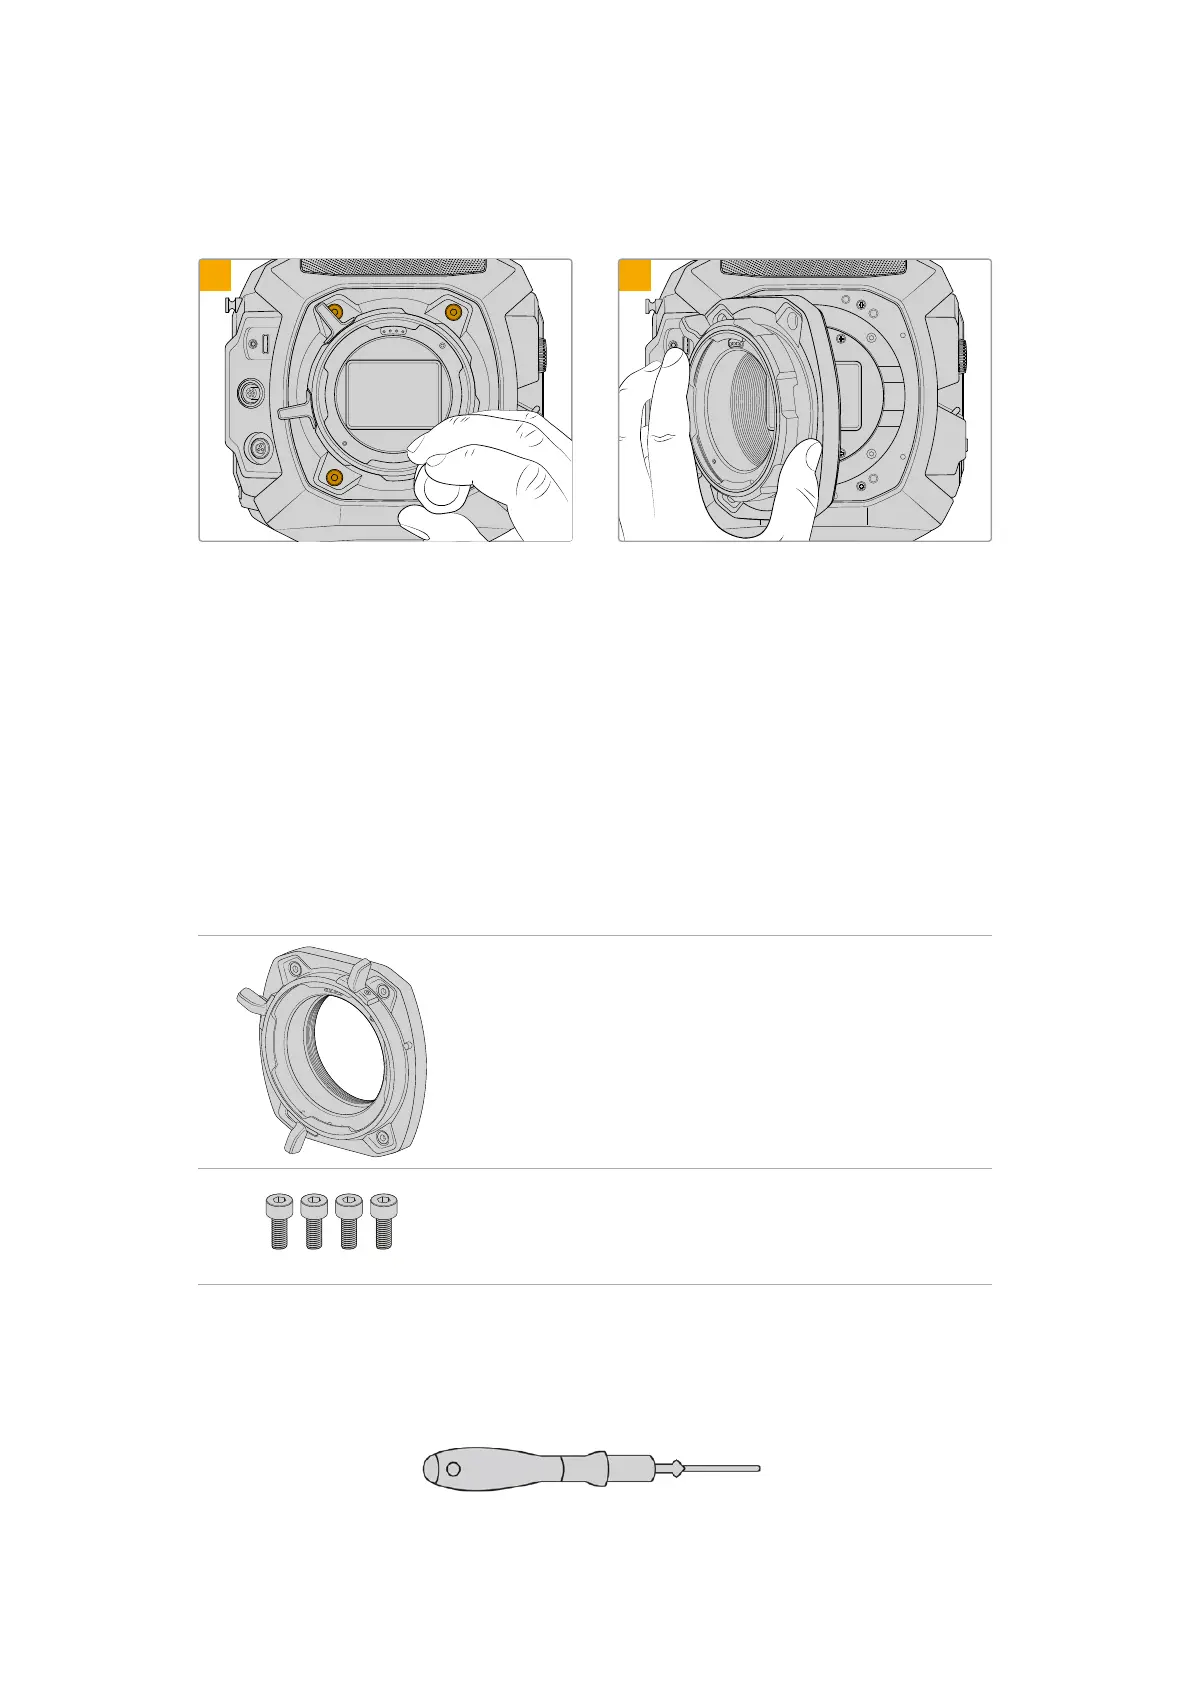
To remove the original PL mount from URSA Cine:
VIEWFINDER
EXT
RS
1
VIEWFINDER
EXT
RS
2
First ensure power has been disconnected from
your camera. Unscrew and remove all of the mount
screws using a 3mm Hex driver. When removing the
PL mount you may need to rotate the locking ring
slightly to access any obscured screws.
Gently remove the lens mount.
Keep reading this section for details about the LPL and EF lens mount kits and how to install
each mount to your URSA Cine.
Blackmagic URSA Cine Mount LPL
Attaching the LPL mount to your URSA Cine lets you use high end precision cinema that are
designed for large format digital cinema camera sensors.
The LPL mount kit includes:
1 x LPL mount
The LPL mount is shipped with a protective dust cap.
4 x 3mm Hex screws
The LPL mount kit also comes with a full spare sets of screws in
case the originals are misplaced.
Tools Required
When attaching the LPL mount, you will need a 3mm Hex driver. While it’s not absolutely
required, we recommend using a torque wrench able to accurately set a maximum torque
of1.5Nm to remove the potential of over tightening the screws.
3mm Hex driver
170Interchangeable Lens Mount
 Loading...