Updating Camera Software for a Windows Computer
After downloading the Blackmagic Camera Setup utility software and unzipping the
downloaded file, you should see a Blackmagic Camera Setup folder containing this PDF manual
and the Blackmagic Camera Setup Installer. Double click the installer and follow the on screen
prompts to complete the installation.
Click the start button and select ‘all apps’. Scroll down to the Blackmagic design folder. From
here you can launch Blackmagic Camera Setup.
How to Update the Camera Software
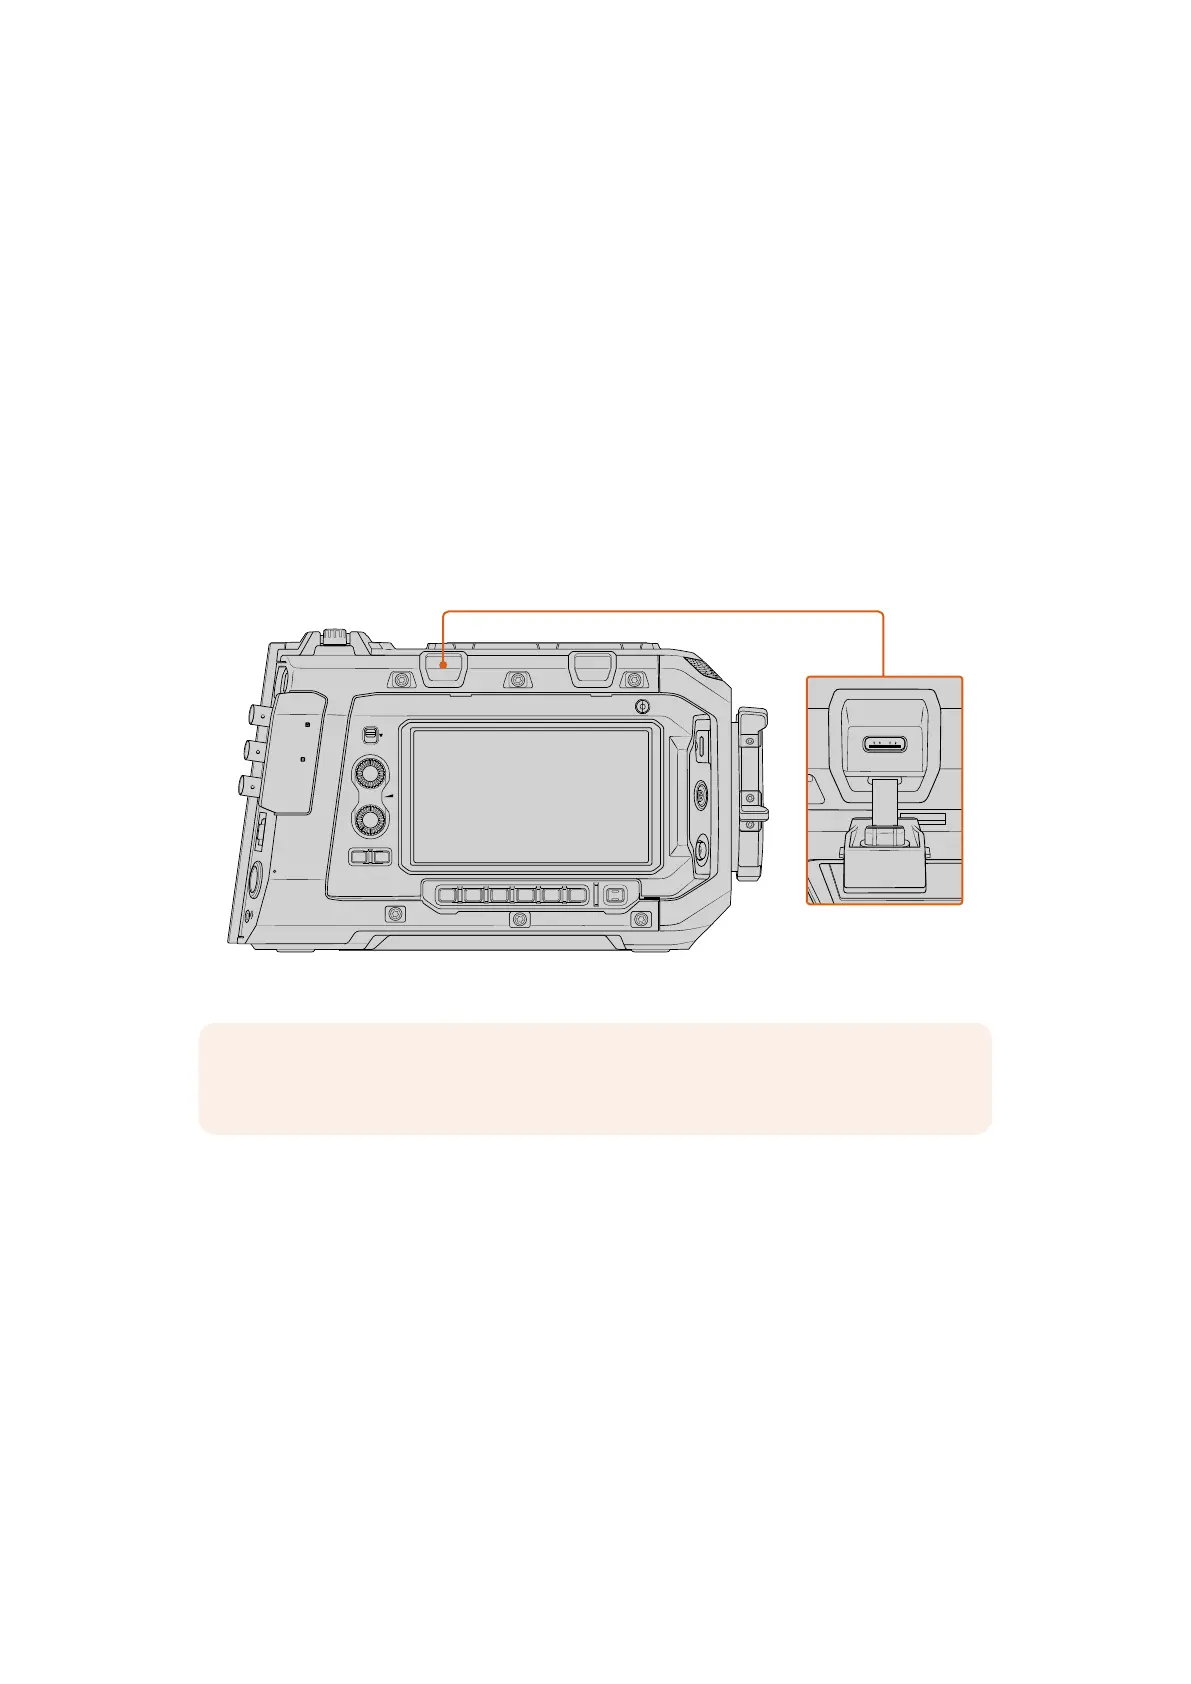
After installing the latest Blackmagic Camera Setup utility on your computer, connect a
USBcable between the computer and your URSA Cine. Use the left USB port on the assist
station above the LCD touchscreen. Simply open the rubber cap to access the port.
Launch the Blackmagic Camera Setup utility and follow the on screen prompts to update the
camera software.
12G SDI OUT
CH1/3
LOCK
EXT
RS
VIEWFINDER
CH1/2 CH3/4
DISP LENS SLATE AUD
STRM
…
REC
CH2/4
USB
12G SDI OUT
REF IN/ TC IN
10G
12V/24V
The USB-C port near the rear panel is used to update the camera software
NOTE If you are updating your camera using a laptop computer, it’s important to
connect your laptop to mains power during the update process.
176Blackmagic Camera Setup
 Loading...