If you want to revert your clip to one of the default gamma options available, simply select it from the gamma
dropdown menu.
TIP Gamma controls are disabled for footage shot with the ‘video’ dynamic range,
butyou have not lost your Blackmagic RAW data. Simply select Blackmagic Design
Film or Blackmagic Design Extended Video from the dropdown gamma menu and
make your adjustments.
To save your Blackmagic RAW changes:
1 Adjust the gamma controls for your Blackmagic RAW clip.
2 Click the ‘update sidecar’ button.
A ‘sidecar’ file will now be created in the same folder as your .braw file. When another
user imports the Blackmagic RAW files, the sidecar files will automatically be read by
DaVinci Resolve. If you make additional adjustments, press ‘update sidecar’ again.
TIP To remove your sidecar file, you can simply delete it from its location on your
media drive.
Project Settings for Blackmagic RAW
If you need to make a setting change that is common to all the clips, for example a global
change to the white balance or ISO setting, you can set the clips to use the project ‘camera raw’
settings and make global changes from there.
To set project settings for Blackmagic RAW:
1 Enter the project settings menu by clicking ‘file,’ and selecting ‘project settings.’
2 In the ‘Camera RAW’ tab, you’ll see a menu next to RAW profile. Click on the arrow to select
Blackmagic RAW from the list.
3 Select ‘project’ in the ‘Decode Using’ menu.
4 Select a Color Science option from the menu.
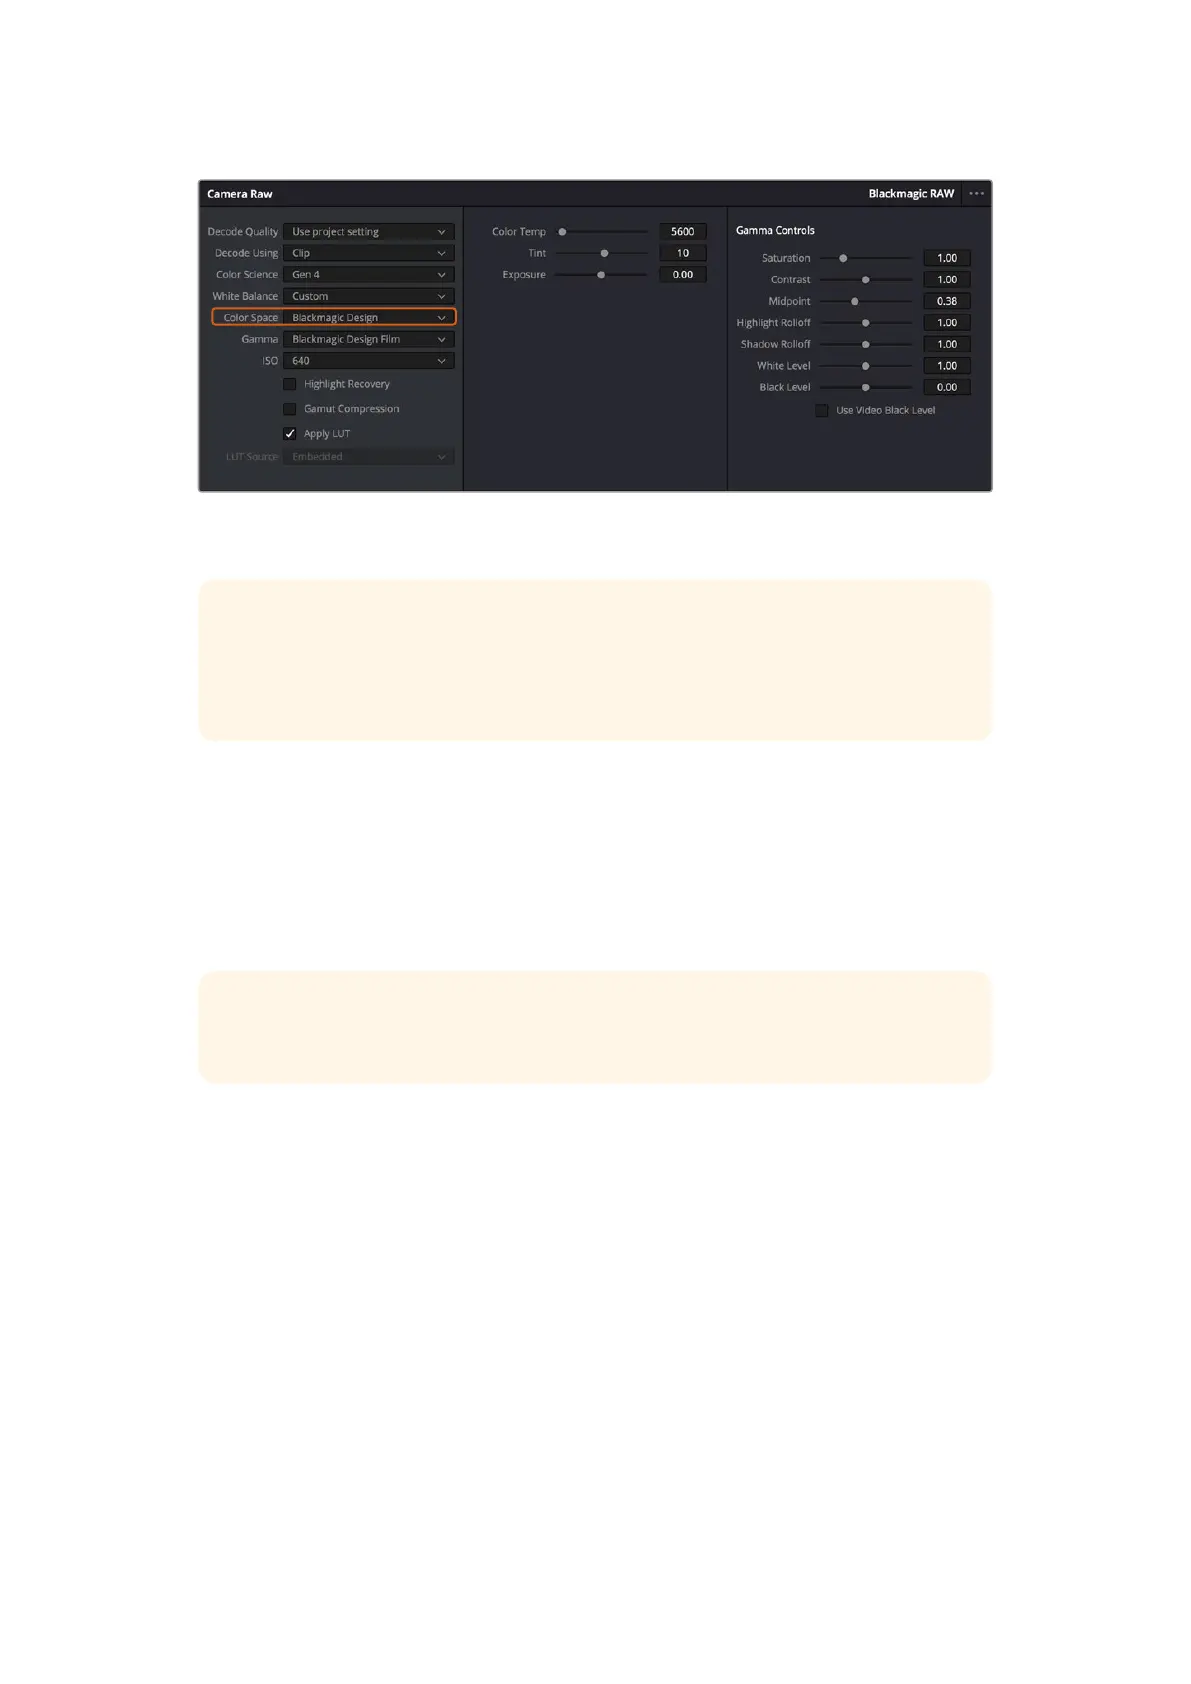
5 Set the white balance to ‘custom’.
6 Select ‘Blackmagic Design Custom’ from the gamma menu. Set the color space to
‘Blackmagic Design’.
201Using DaVinci Resolve
 Loading...