9-26
Installing the Optional Accessories
9
Network Board
IMPORTANT
•
Do not touch the network board parts, printed circuits, or connectors with your
hands.
•
Do not drop screws, paper clips, staples, or other metal objects inside the printer. If
any of these objects should drop inside the printer, do not plug the power plug into
the AC power outlet and contact your local authorized Canon dealer.
7
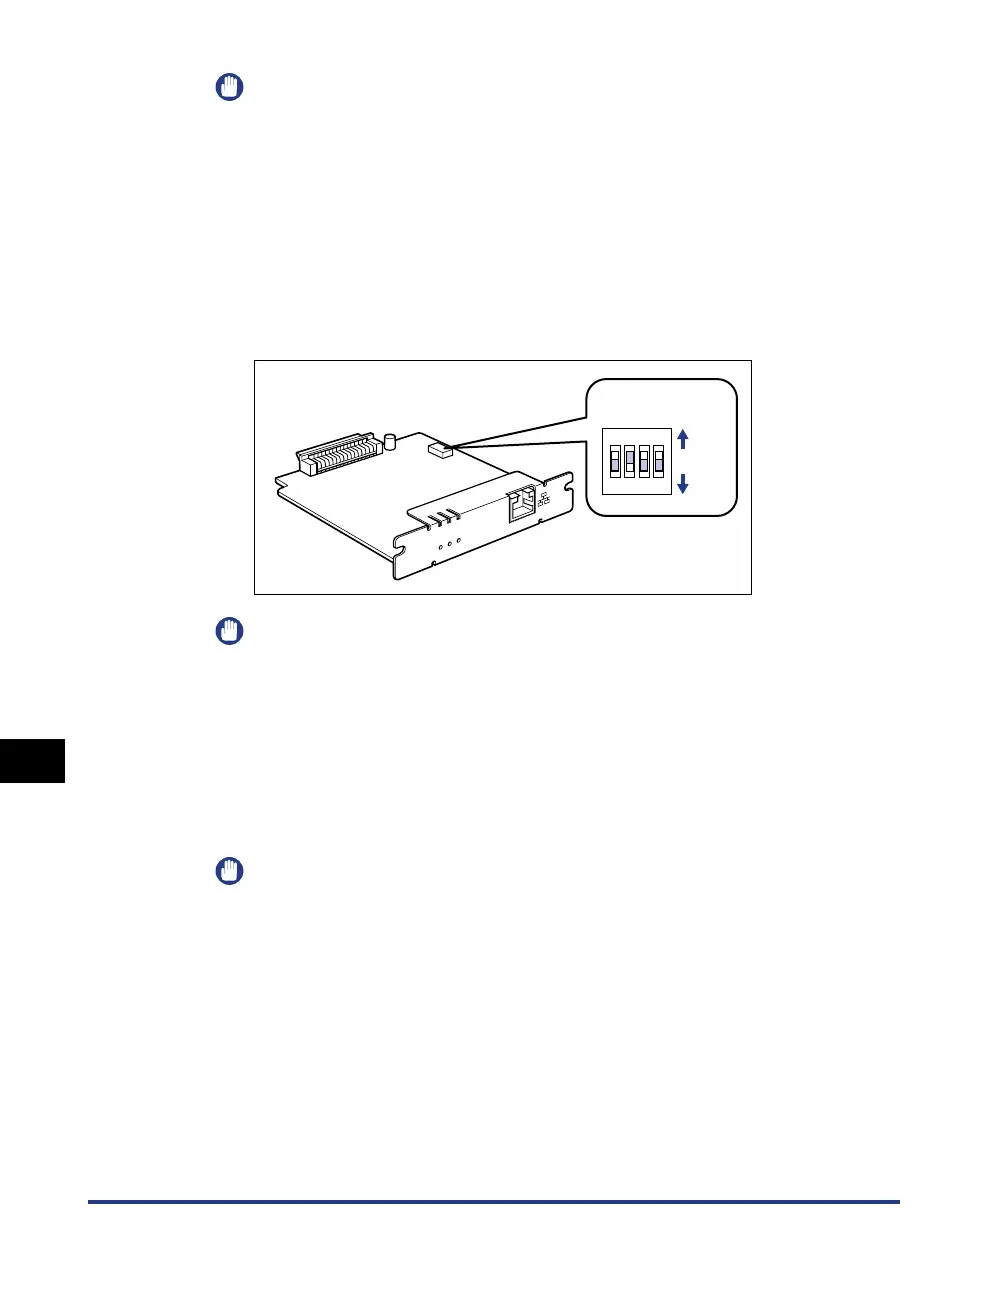
Set the DIP switches.
Set the DIP switches with a small tool such as the tip of a ball-point pen. For
details on methods for setting the DIP switches, see the table of p. 9-25.
IMPORTANT
When setting the DIP switches, be careful not to damage the main board with a
small tool such as the tip of a ball-point pen. Do not use a sharp object such as a
mechanical pencil.
8
Insert the network board into the expansion slot.
Hold the metal panel portions of the network board and insert the board straight
while aligning it with the guide rails inside the expansion slot.
IMPORTANT
•
Do not touch the network board parts, printed circuits, or connectors with your
hands.
•
Insert the network board securely.
E
R
R
L
N
K
1
0
0
ON
OFF
OFF
1234
DIP switches