EasyManua.ls Logo

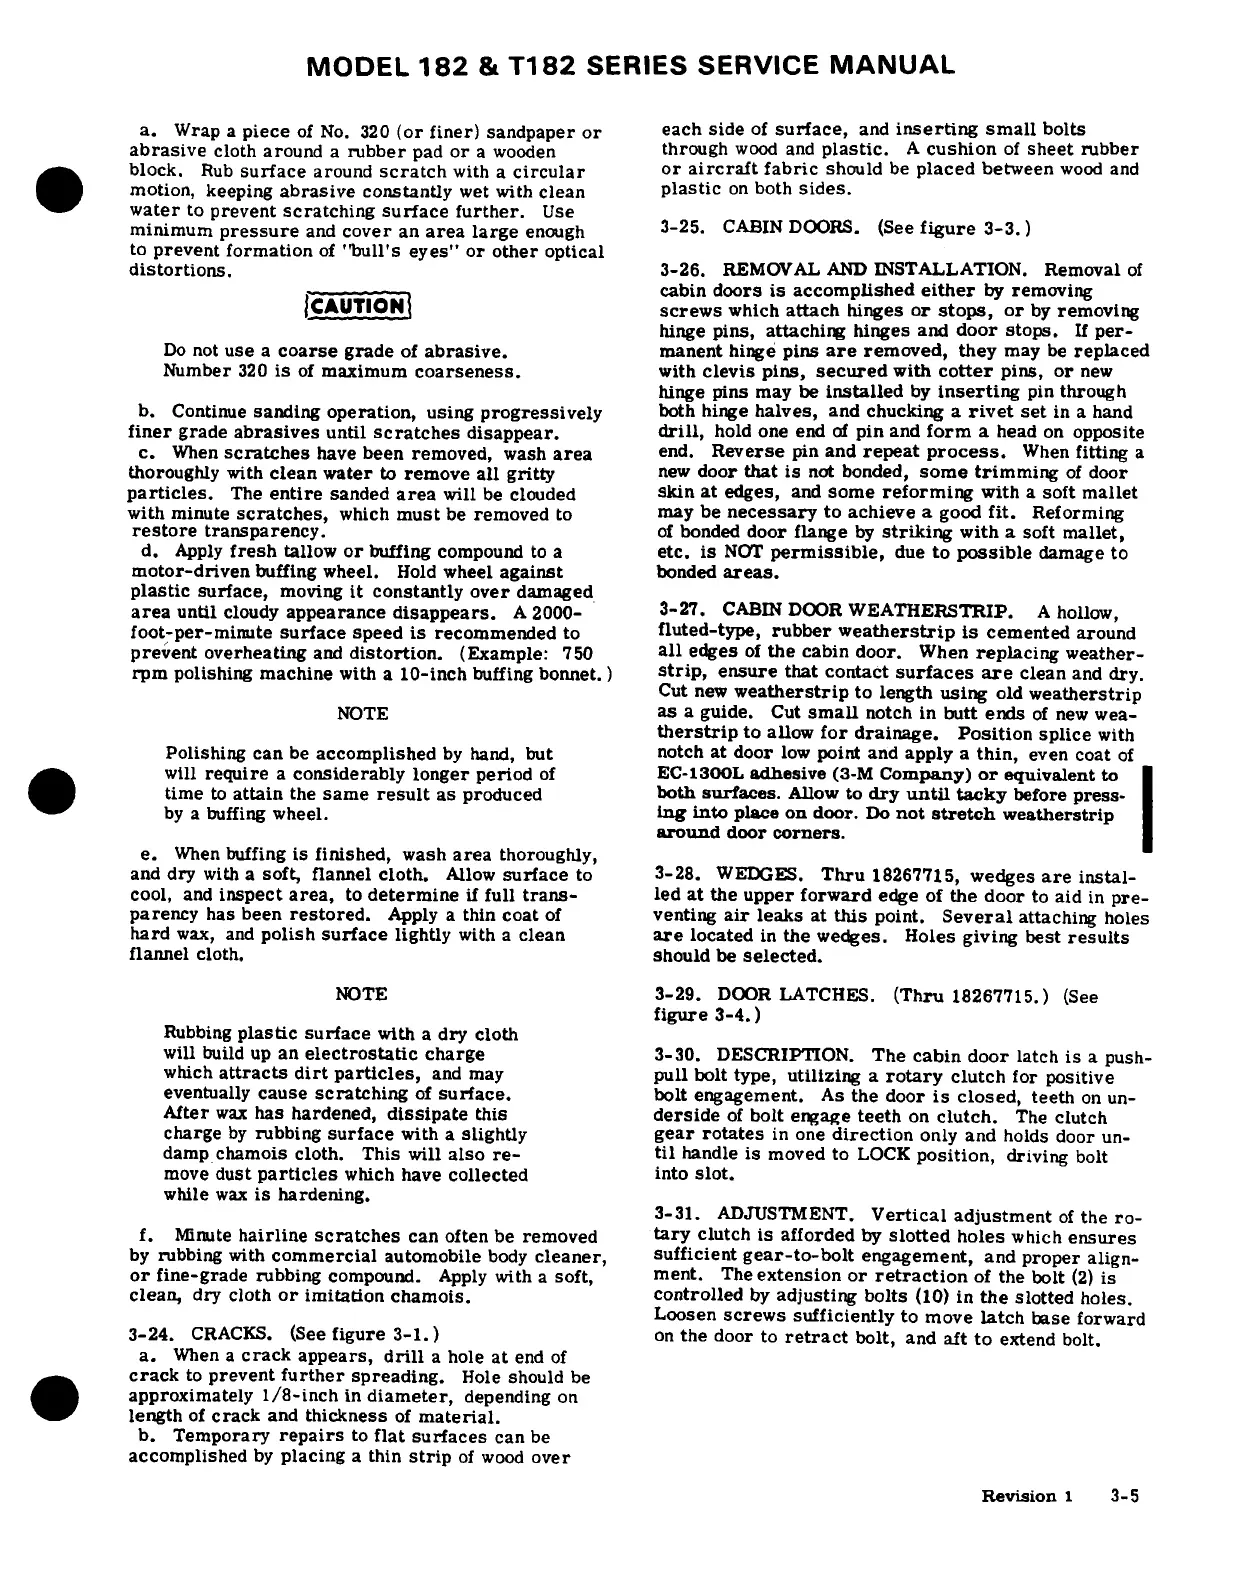
Cessna 182 1978 - Cracks; Cabin Doors; Cabin Door Weatherstrip; Door Latches

Cessna 182 1978
680 pages
Print Icon
To Next Page IconTo Next Page
To Previous Page IconTo Previous Page
Loading...
MODEL
182
&
T182
SERIES
SERVICE
MANUAL
a.
Wrap
a
piece
of
No.
320
(or
finer)
sandpaper
or
each
side
of
surface,
and
inserting
small
bolts
abrasive
cloth
around
a
rubber
pad
or
a
wooden
through
wood
and
plastic.
A
cushion
of
sheet
rubber
block.
Rub
surface
around
scratch
with
a
circular
or
aircraft
fabric
should
be
placed
between
wood
and
motion,
keeping
abrasive
constantly
wet
with
clean
plastic
on
both
sides.
water
to
prevent
scratching
surface
further.
Use
minimum
pressure
and
cover
an
area
large
enough
3-25.
CABIN DOORS.
(See
figure
3-3.)
to
prevent
formation
of
"bull's
eyes"
or
other
optical
distortions.
3-26.
REMOVAL
AND
INSTALLATION.
Removal
of
hinge
pins, attaching
hinges
and
door
stops.
If
per-
Do
not
use
a
coarse
grade
of
abrasive.
manent
hinge
pins
are
removed,
they
may
be
replaced
Number
320
is
of
maximum
coarseness,
with
clevis
pins,
secured
with
cotter
pins,
or
new
hinge
pins
may
be
installed
by
inserting
pin
through
b.
Continue
sanding
operation,
using
progressively
both
hinge
halves,
and
chucking
a
rivet
set
in
a
hand
finer
grade
abrasives
until
scratches
disappear.
drill,
hold one
end
of
pin
and
form
a
head
on
opposite
c.
When
scratches
have
been
removed,
wash
area
end.
Reverse
pin
and
repeat
process.
When
fitting
a
thoroughly
with
clean
water
to
remove
all
gritty
new
door
that
is
not
bonded,
some trimming
of
door
particles.
The
entire
sanded
area
will
be
clouded
skin
at
edges,
and
some
reforming
with
a
soft
mallet
with
minute
scratches,
which
must
be
removed
to
may
be
necessary
to achieve
a
good
fit.
Reforming
restore
transparency.
of
bonded
door
flange
by
striking
with
a
soft
mallet,
d.
Apply
fresh
tallow
or
buffing
compound
to a
etc.
is
NOT
permissible,
due
to
possible
damage
to
motor-driven
buffing
wheel.
Hold
wheel
against
bonded
areas.
plastic
surface,
moving
it
constantly
over
damaged
area
until
cloudy
appearance
disappears.
A
2000-
3-27.
CABIN
DOOR
WEATHERSTRIP.
A
hollow,
foot-per-minute
surface
speed
is
recommended
to
fluted-type,
rubber
weatherstrip
is
cemented
around
prevent
overheating
and
distortion.
(Example:
750
all
edges
of
the
cabin
door.
When
replacing
weather-
rpm
polishing
machine
with a
10-inch
buffing
bonnet.)
strip,
ensure
that
contact
surfaces
are
clean
and
dry.
Cut
new
weatherstrip
to
length
using
old
weatherstrip
NOTE
as
a
guide.
Cut
small
notch
in
butt
ends
of
new
wea-
therstrip
to
allow
for
drainage.
Position
splice
with
Polishing
can
be
accomplished
by
hand,
but
notch
at door
low
point
and
apply
a
thin,
even
coat
of
will
require
a
considerably
longer
period
of
EC-1300L
adhesive
(3-M
Company)
or
equivalent
to
time
to
attain
the
same
result
as
produced
both
surfaces.
Allow
to
dry
until
tacky
before
press-
by
a
buffing
wheel.
ing
into
place
on
door.
Do
not
stretch
weatherstrip
around
door
corners.
e.
When
buffing
is
finished,
wash
area
thoroughly,
and
dry
with
a
soft,
flannel
cloth.
Allow
surface
to
3-28.
WEDGES.
Thru
18267715,
wedges
are
instal-
cool,
and
inspect
area,
to
determine
if
full
trans-
led
at
the upper
forward
edge
of
the
door
to
aid
in
pre-
parency
has
been
restored.
Apply
a
thin
coat
of
venting
air
leaks
at
this
point.
Several
attaching
holes
hard
wax,
and
polish
surface
lightly
with
a
clean
are
located
in
the
wedges.
Holes
giving
best
results
flannel
cloth.
should
be
selected.
NOTE
3-29.
DOOR
LATCHES.
(Thru
18267715.)
(See
figure
3-4.)
Rubbing
plastic
surface
with
a
dry
cloth
will
build
up
an
electrostatic
charge
3-30.
DESCRIPTION.
The
cabin
door
latch
is
a
push-
which
attracts
dirt
particles,
and may
pull
bolt
type,
utilizing
a
rotary
clutch
for
positive
eventually
cause
scratching
of
surface.
bolt
engagement.
As
the
door
is
closed,
teeth
on
un-
After
wax
has
hardened,
dissipate
this
derside
of
bolt
engage
teeth
on
clutch.
The
clutch
charge
by
rubbing
surface
with
a
slightly
gear
rotates
in
one
direction
only
and
holds
door
un-
damp
chamois
cloth.
This
will
also
re-
til
handle
is
moved
to
LOCK
position,
driving
bolt
move
dust
particles
which
have
collected
into
slot.
while
wax
is
hardening.
3-31.
ADJUSTMENT.
Vertical
adjustment
of
the
ro-
f.
Minute
hairline
scratches
can
often
be
removed
tary
clutch
is
afforded
by
slotted
holes
which
ensures
by
rubbing
with
commercial
automobile
body
cleaner,
sufficient
gear-to-bolt
engagement,
and
proper
align-
or
fine-grade
rubbing
compound.
Apply
with
a
soft,
ment.
The
extension
or
retraction
of
the
bolt
(2)
is
clean,
dry cloth
or
imitation
chamois.
controlled
by
adjusting
bolts
(10)
in
the
slotted
holes.
Loosen
screws
sufficiently
to
move
latch
base
forward
3-24.
CRACKS.
(See
figure
3-1.)
on
the
door
to
retract
bolt,
and
aft
to
extend
bolt.
a.
When
a
crack
appears,
drill
a
hole
at
end
of
crack
to
prevent
further
spreading.
Hole
should
be
approximately
1/8-inch
in
diameter,
depending
on
length
of
crack
and
thickness
of
material.
b.
Temporary
repairs
to
flat
surfaces
can
be
accomplished
by
placing
a
thin
strip
of
wood
over
Revision
1
3-5

Table of Contents