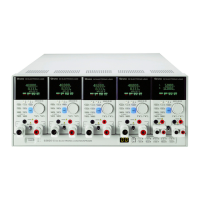
Programmable DC Power Supply (with Solar Array Simulation) 62000H Series
Operating & Programming Manual
[R E M O T E S E T U P
]
D H C P
=
O N
I P A D D R E S S
= 2 5 5
. 2 5 5 . 2 5 5
.
2 5 5
G A T E W A Y A D D R
=
2 5 5
.
2 5 5 .
2 5 5 .
2 5 5
S U B N E T M A S K =
2 5 5
. 2 5 5
.
2 5 5 .
2 5 5
A P P L Y = N O
L A N S T A T U S
= C O N N E C T E D
Figure 3-150
1. The LAN STATUS displays the following 5 actions:
CONNECTED: the network is connected.
CONNECTING. . . .: the network is connecting.
NONE CONNECT: the network is not connected.
SETTING. . . .: the network is being set up.
ETHERNET MODULE FAIL: the network module has failed.
2. The ETHERNET IP address range is 0-255. DHCP=ON sets the
address automatically and DHCP=OFF requires the address be set
manually. Once the IP address is set, set APPLY=YES and press
“ ” for the address to take effect.
3.3.8.3 RS232/RS485
1. Use the “ ”, “ ” keys to move the cursor to the RS232/RS485 column as
shown in Figure 3-151.
Figure 3-151
2. Use the numeric keys -
or the “Rotary” ( ) knob to select RS232 or
RS485.
3. Press “ ” to confirm.
4. Press “ ” to return to the MAIN PAGE.