Barcode Scanning Features
226
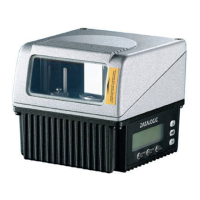
DS8110 Barcode Scanner
To replace the scanner using Restore:
1. Remove power from the existing scanner and remove the power and I/O
cables.
2. Label the cables attached to ETH1 and/or
ETH
2 so you can easily identify
where they were connected, then remove the cables.
3. Detach the existing scanner from its mounting bracket, leaving the bracket
attached to
the mounting structure.
4. Attach the replacement scanne
r to
the mounting bracket.
5. Reattach the power, I/O, ETH1 and/or ETH2 cables.
6.
Apply power to the system.
7. Once the scanner has booted up and the READY LED lights solid green,
press and ho
ld the RESTORE button until all of the LEDs turn on, indicating
that the parameters are being restored from the CBX510’s BM100 backup
module.
8. Release the RESTORE button. The green READY LED should come back on.
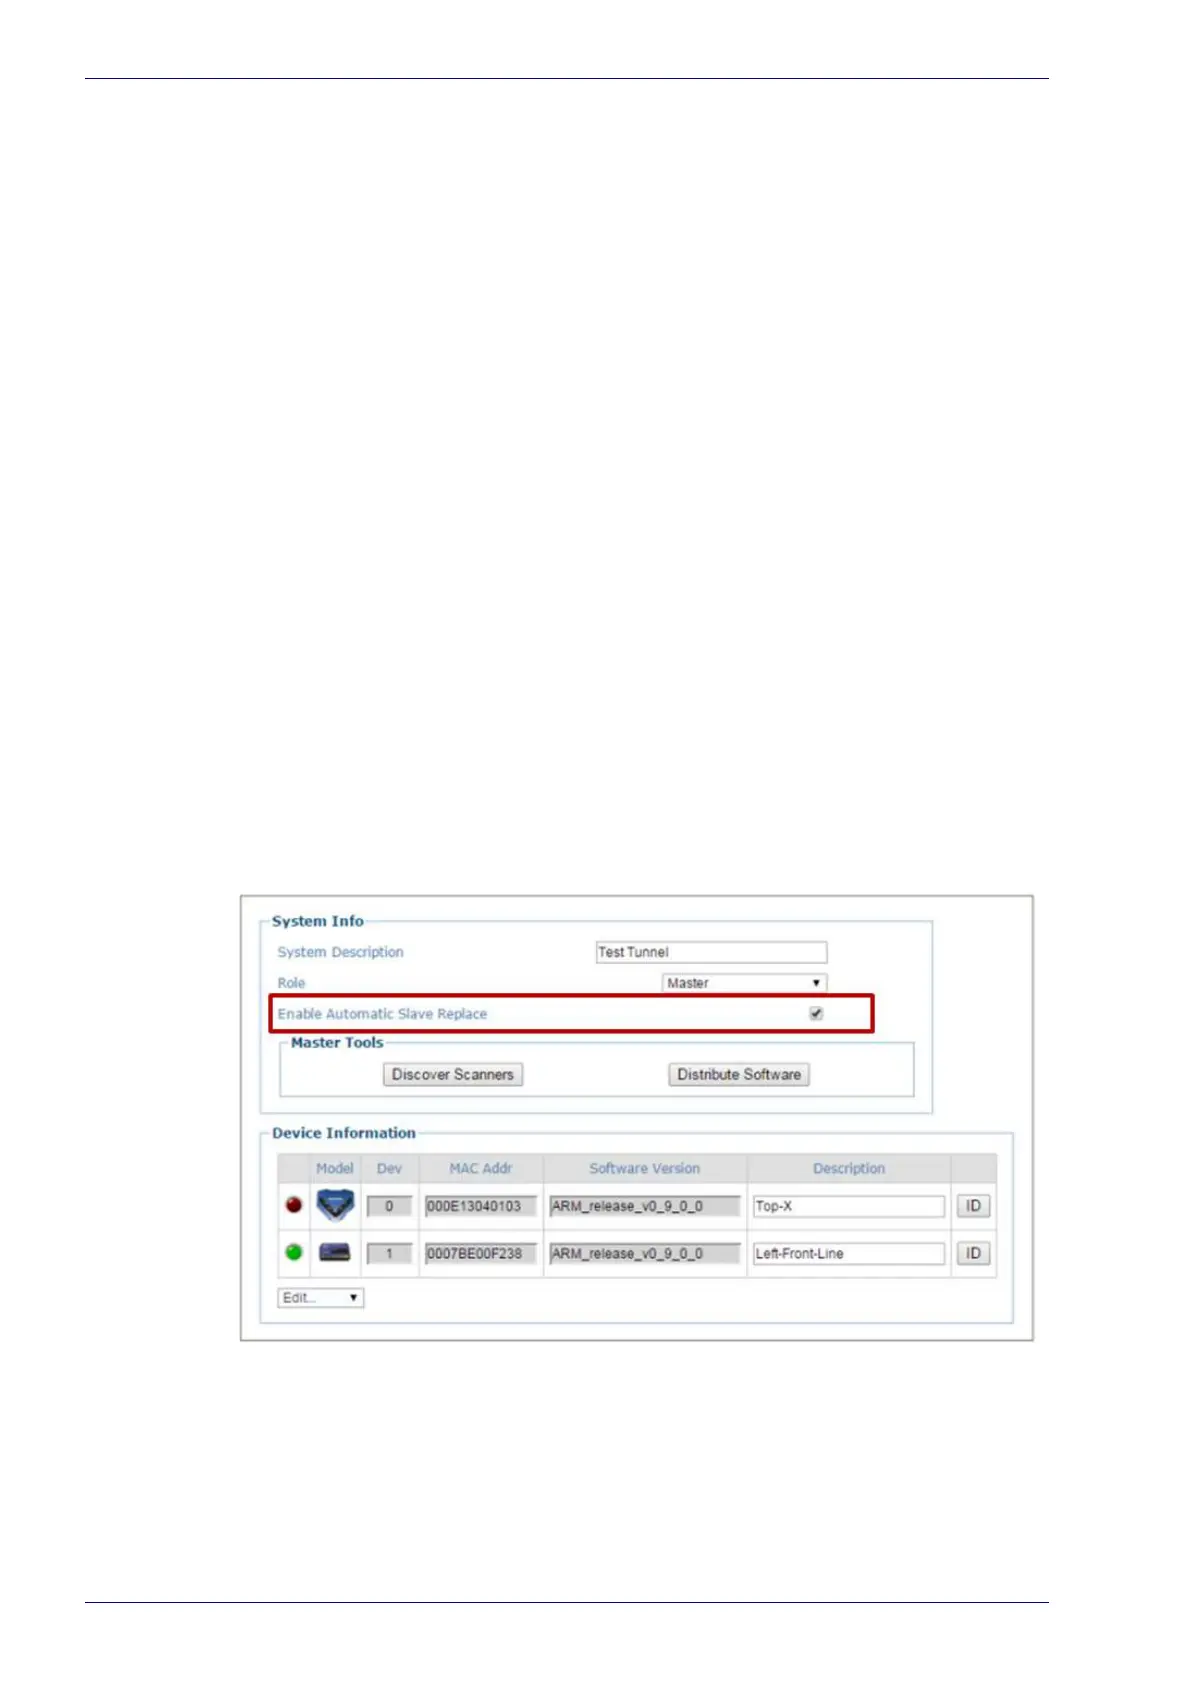
Replacing a Slave Scanner in an Array/Tunnel Automatically
e-Genius provides an option for automatically replacing a slave scanner in a tun-
nel when the system is configured. To enable this option in e-Genius, sel
ect
Modify Setting/System Info from the e-Genius menu tree. The System Info win-
dow opens.
Select the Enable Automatic Slave Replacement check box, click Update, and
save the system parameters as described in
sections , and .
If the Enable Automatic Slave Replacement check box has been selected and
saved in the system parameters, use the following procedure to replace a slave
scanner:
Remove power from the array.
1. Remove the power and I/O cables from the scanner being replaced.