Replacing an Installed DS8110
Reference Manual 225
Replacing an Installed DS8110
If for any reason, a scanner fails, it can be replaced quickly with a spare unit with
parameters recovered from flash memory or a saved parameter file.
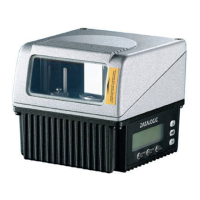
Replacing a Standalone Scanner Using Restore
A standalone scanner (a single scanner not connected to an array/tunnel) can be
replaced using the Restore button located near the LEDs on the top of the hous-
ing.
This procedure assumes that system parameters have been properly saved as
described in sections , and .
If you are not sure the replacement scanner has been defaulted to factory settings, it is
a good idea to default the unit before installing it in a system. To do this:
1. Attach a power cable to the replacement scanner and apply power.
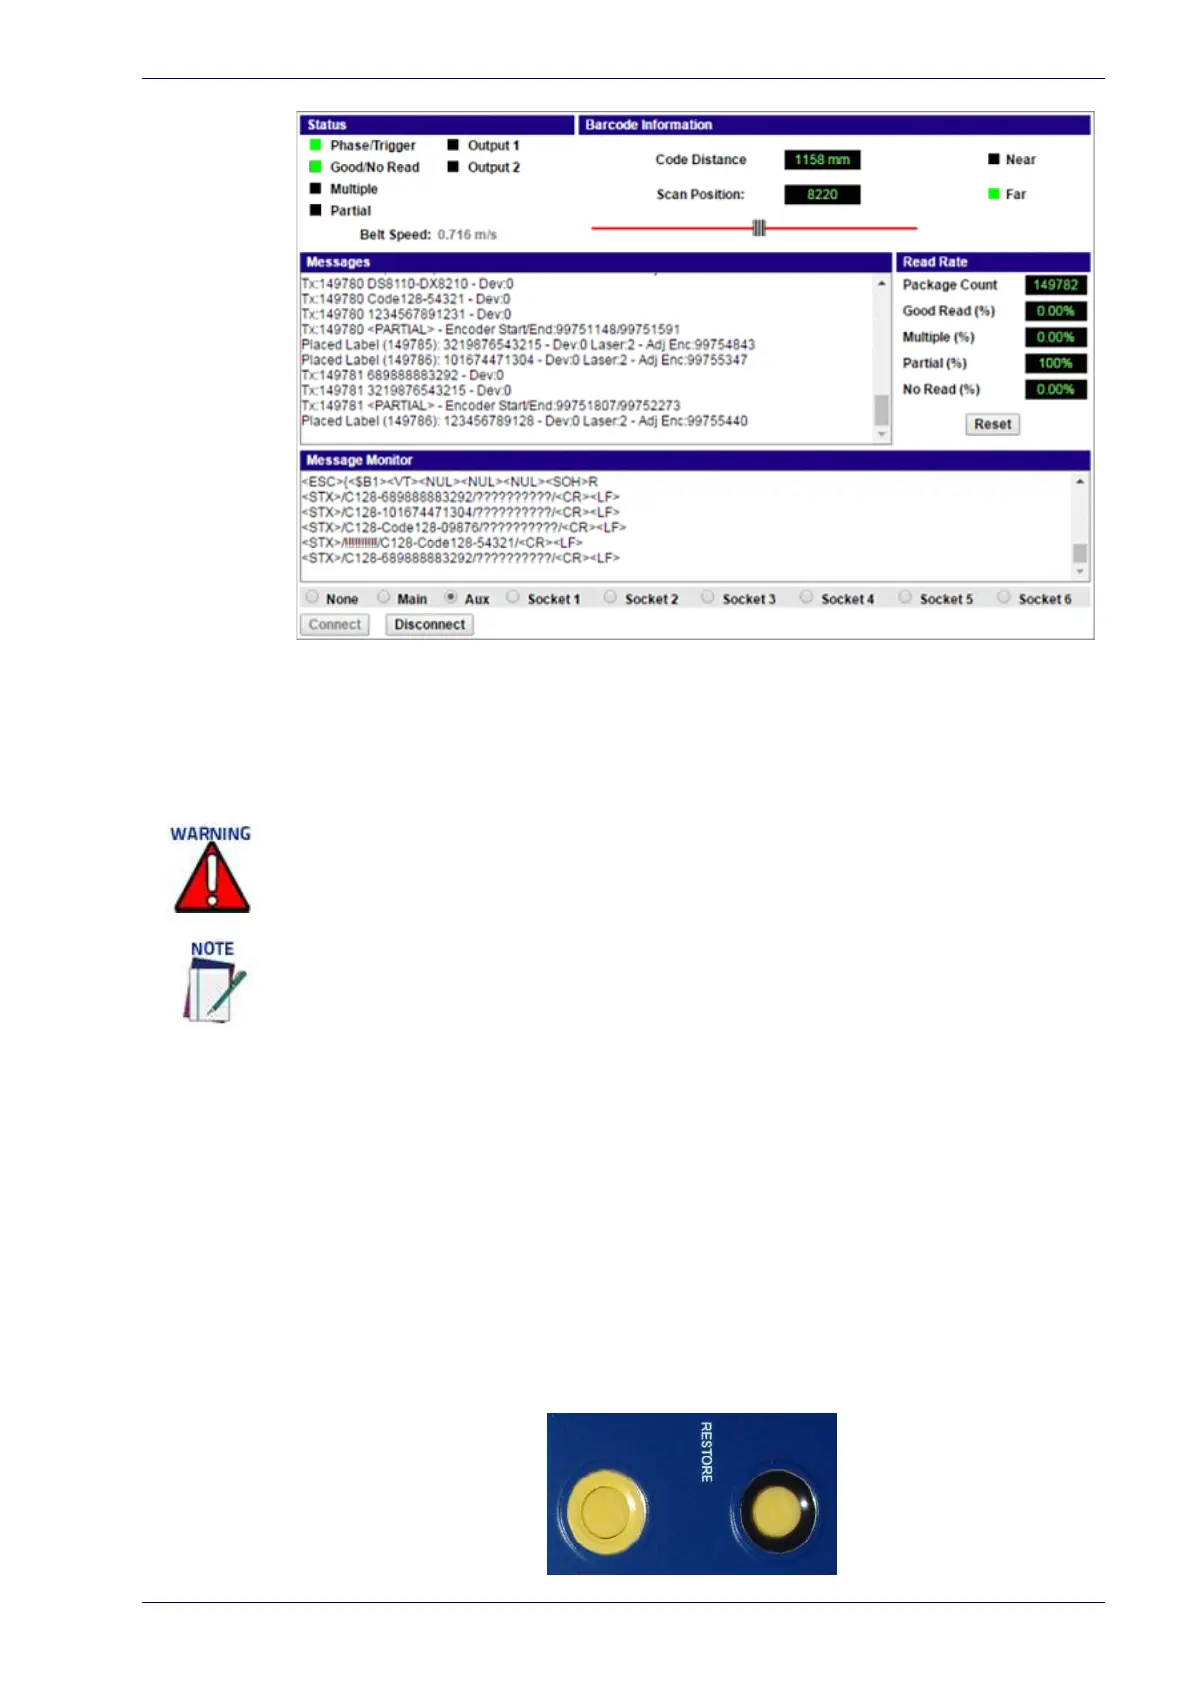
2. Simultaneously, press and hold down the yellow X-Press and Restore buttons on the
unit until the LEDs flash three times.
3. Release the buttons. The unit is now reset to the factory default.
If laser placement is critical (such as in Packtrack applications with tight package spac-
ing), the laser location must be marked on the conveyor prior to the replacement, and
these marks must be used to align the replacement unit.