ineo+ 650/550/451 5-13
Network Scanner Operations
5
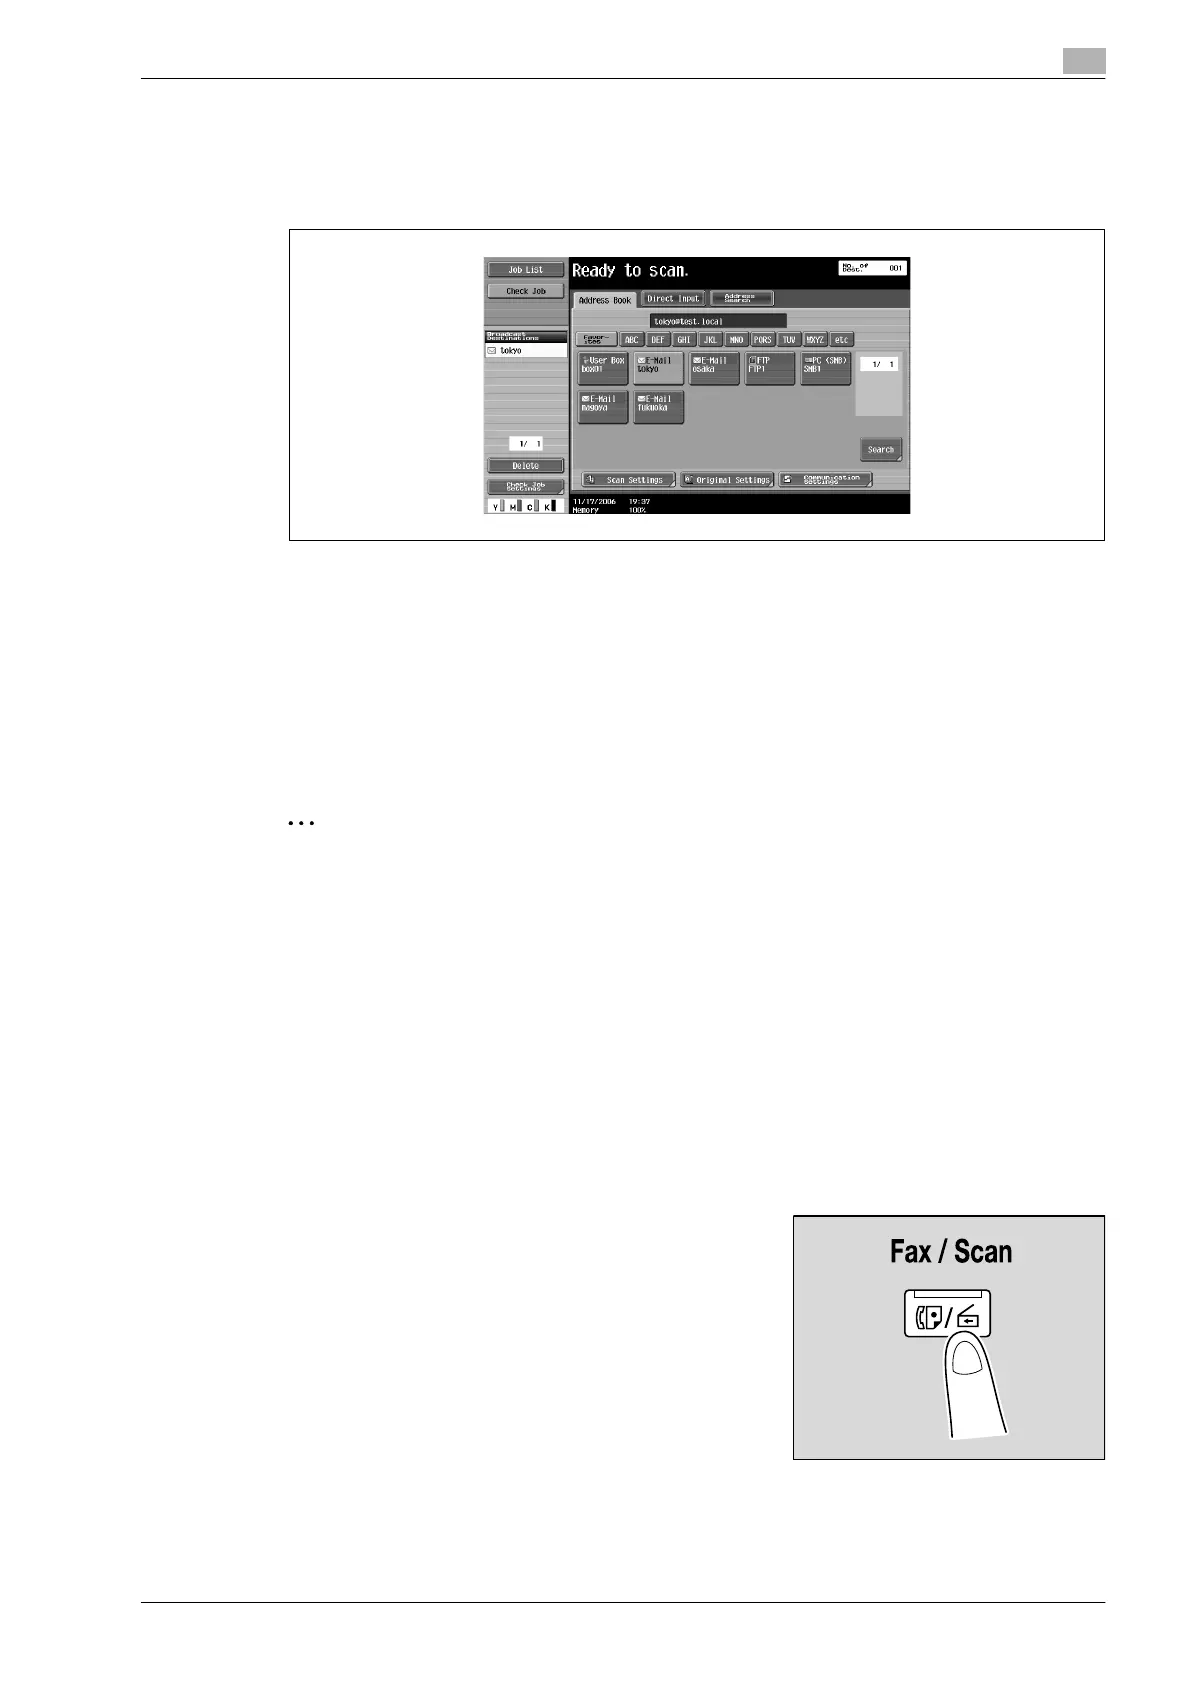
3 Touch a destination button to select the address.
– Multiple destinations can be specified at the same time.
– Additional destinations can be added by directly typing in the address.
The button appears selected, and the destination appears under "Broadcast Destinations".
4 Touch [Scan Settings], [Original Settings] or [Communication Settings], and then specify the desired
scan settings.
– For details on the scan settings, refer to "Specifying scan and transmission settings (Scan
settings/original settings/communication settings)" on page 5-28.
5 Load the document into the ADF or place it on the original glass.
6 Press the [Start] key in the control panel.
Scanning of the document begins, and the data is sent.
2
Note
Do not turn off the machine until the scan job is deleted from the Job List screen.
Selecting a group destination
"Group" refers to multiple destinations that are registered collectively. Follow the procedure described below
to send data by selecting a group that has been registered in advance.
For details on registering group destinations, refer to "Registering a group destination" on page 5-77.
!
Detail
In order to select a group destination, "Address Book Default" (displayed by touching [Custom Display
Settings] on the User Settings screen, then [Fax/Scan Settings]) must be set to "Address Type"
If the destination types are not displayed in the index, touch [Search], and then search for destinations
in the group destination type.
1 Press the [Fax/Scan] key in the control panel.
The Fax/Scan mode screen appears.