F 51 7
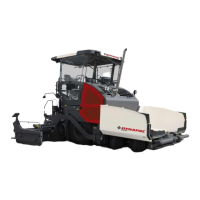
- Position a collecting container be-
neath the oil pan oil drain screw (E).
- Remove the oil drain screw (E) and al-
low the oil to drain completely.
- Reinstall the oil drain screw (E) with a
new seal and tighten properly.
- Fill in the specified quality of oil
through the filler opening (B) on the
engine until the oil level rises to the
correct mark on the dipstick (A).
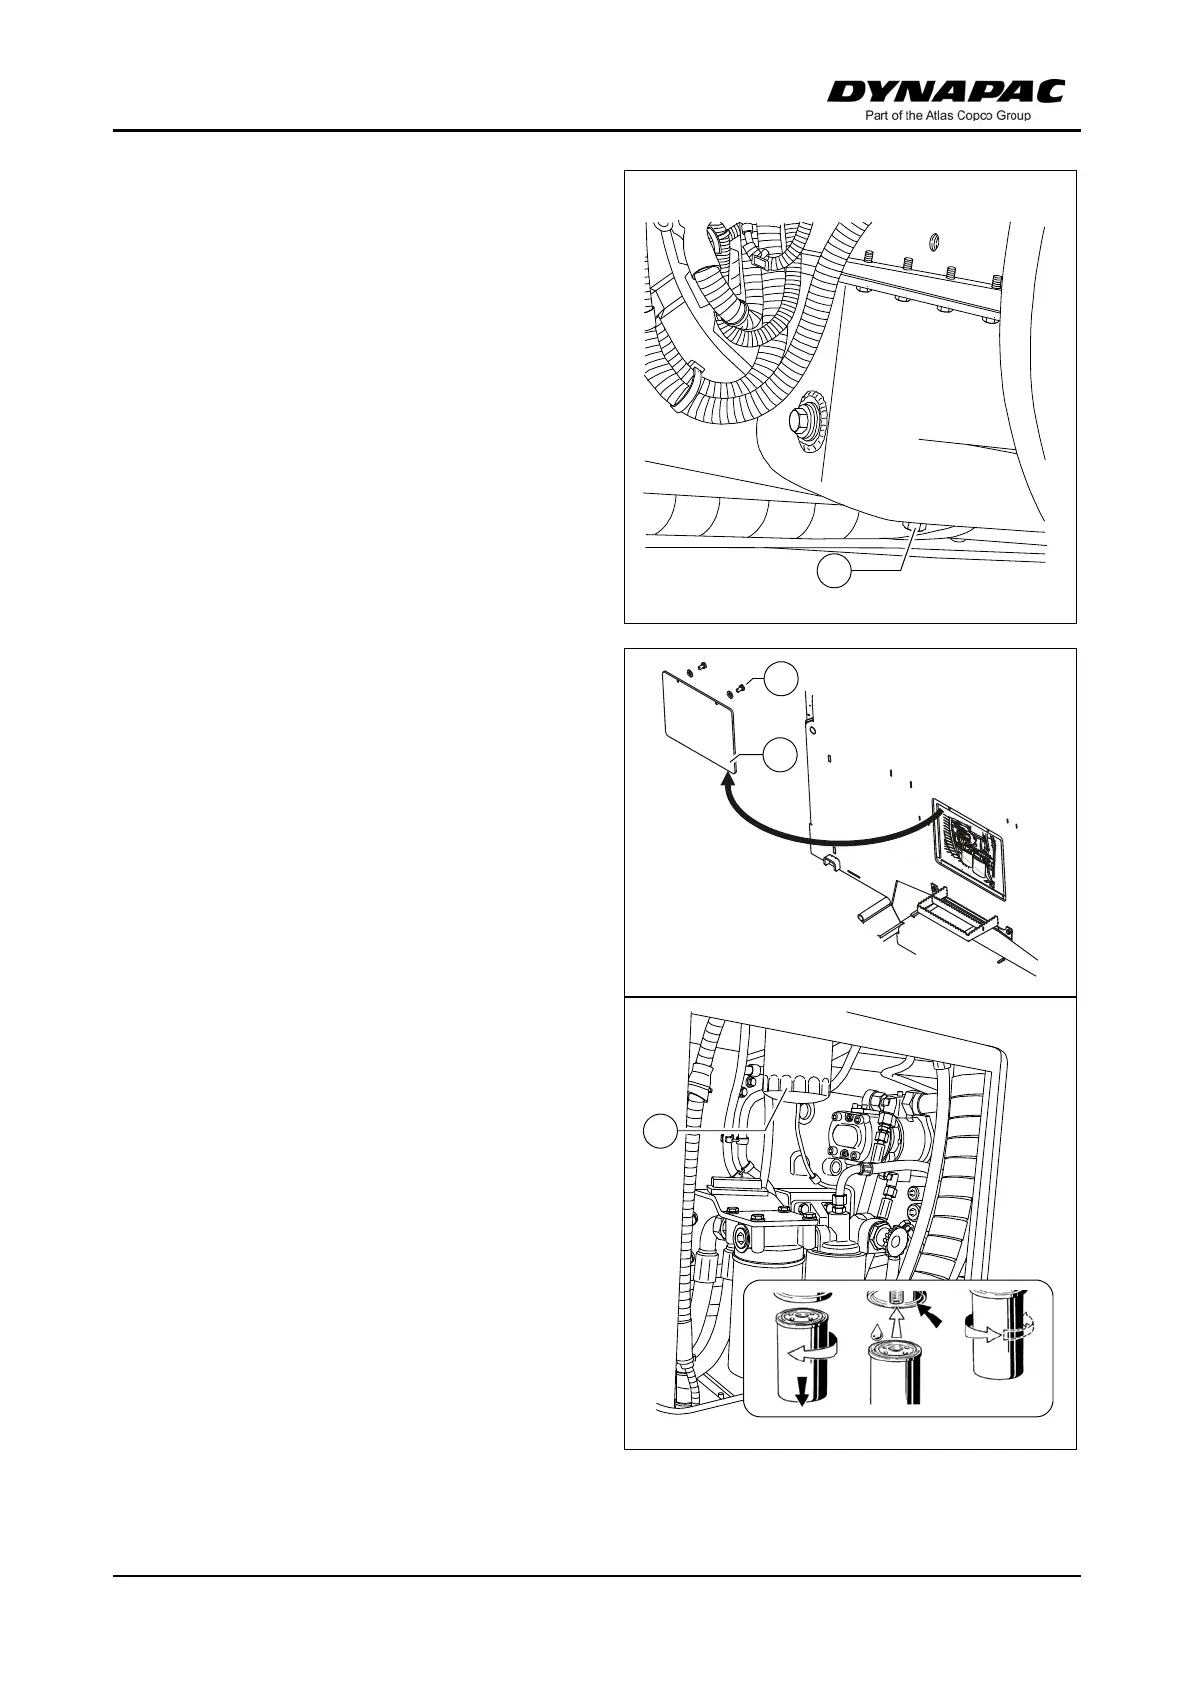
Changing the oil filter:
A
All filters are accessed via the service
flap (F) on the vehicle's centre wall:
- Remove the screws (G) from the inner
side of the frame and remove the serv-
ice flap (F).
- After completing the maintenance
work, reinstall the service flap (F)
properly.
A
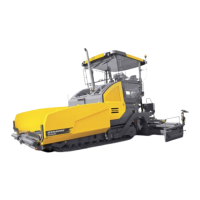
The new filter is inserted during an oil
change once the used oil has been
drained out.
- Loosen the filter (H) with a filter
wrench or filter strap and unscrew it.
Clean the contact surface.
- Apply light coating of oil to the gasket
on the new filter and fill filter with oil
before installing it.
- Tighten filter by hand.
A
After installing the oil filter, attention
must be paid to the oil pressure display
and good sealing during the test run.
Check oil level again.