SOI 02.10 FV 138/142 599 70 59-01
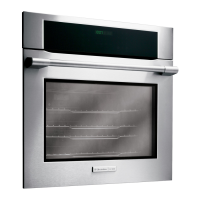
4.2.4 - UPPER PANELS (control components and boards)
There are two panels in the upper part.
A panel to access the electronic boards and the control components and a larger panel that covers
the tangential cooling fan.
4.2.6.1 - UPPER PANEL (control components and boards)
Once the upper panel has been removed, you can access the control components (oven
thermostat, function selector, electronic programmer, indicator lights, etc.)
1. Unfasten the 3 fixing screws on the upper panel
Fig. 284
Upper panel fixing screws
Fig. 285
1 - FUNCTION SELECTOR
2 - ON-OFF INDICATOR LIGHT
3 - ELECTRONIC
PROGRAMMER
4 - THERMOSTAT INDICATOR
LIGHT
5 - OVEN THERMOSTAT
6 - SOLENOID VALVE
ASSEMBLY
7 - GAS INLET
8 - TANGENTIAL FAN
9 - SAFETY THERMOSTAT
When removing a control component: oven thermostat, function selector, end-of-cooking
programmer, indicator lights, etc.
1. Remove the control panel front panel (see chapter 4.1).
2. Detach the connection wires of the component, marking their position.
3. Remove the fixing screws of the component (see chapter 2.3.1).
4. Remove the component.
N.B.: From January 2010 (serial number 001….) access to the top of the oven
has improved thanks to the progressive introduction of a new one-piece top oven
cover (see chapter 2.6.1).
 Loading...