EPS-16 PLUS Musician's Manual Section 5 — Sampling
Section 5 — Sampling
What is Sampling? 5-1
Sample Rate 5-2
Aliasing 5-3
Getting Ready to Sample 5-4
Easy Sampling 5-4
Setting the Input Level 5-7
Multisampling 5-8
Resampling an Existing Sample 5-9
Using Equalization 5-10
Looping 5-12
Auto-Loop Finding 5-13
Short (Single-Cycle) Loops 5-13
Adjusting Loop Position 5-14
Long Loops 5-15
What is Sampling?
Before getting into talking about samples and sampling, let's begin with a simple
explanation of sound. A sound begins as a series of vibrations, or pressure
waves, in the air. When these vibrations reach the diaphragm of a microphone,
they cause it to move back and forth. This creates a fluctuating electrical signal
which rises and falls around a center, or zero line.
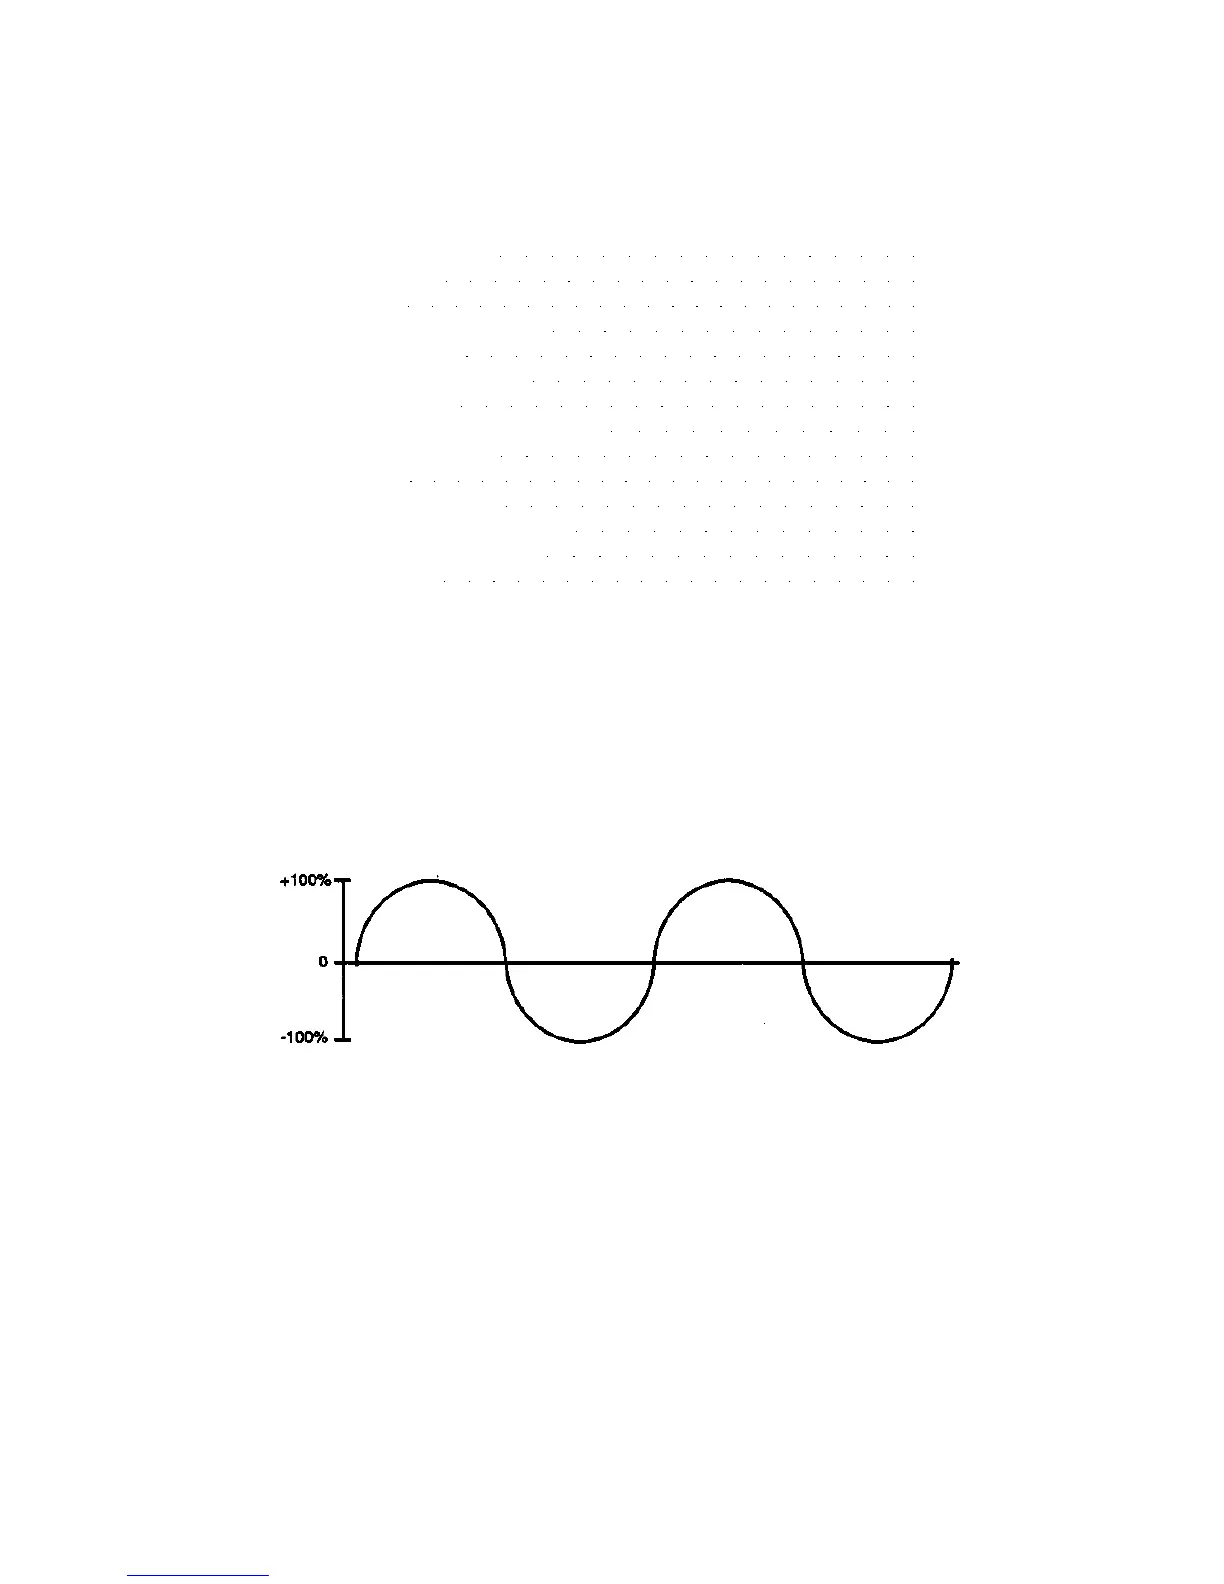
A simple sound wave, once it has been converted into an electrical signal, might
look like this:
A conventional analog tape recorder would record this signal by converting the
electrical fluctuations into magnetic fluctuations and then imprinting a continuous
(or "analog") copy onto the magnetic surface of the tape.
A digital sampling system, such as the EPS-16 PLUS or a digital tape recorder,
works a little differently. When you digitally record the sound, the level of the
signal is measured (or "sampled") thousands of times per second, and each
number is recorded as a number in memory. If the same signal that was shown in
the analog recording illustration were recorded digitally, it would look like this:
What is Sampling?
5 - 1

 Loading...


