Section 5 — Sampling
EPS-16 PLUS Musician's Manual
Multisampling
Many sounds require that you make more than one sample, with each sample
covering a different range of the instrument. This is because if you transpose a
sound too far (up or down) from its original pitch it begins to sound unnatural.
Another application for making multiple samples is when you are sampling
something like a drum set, where you want several entirely different sounds on
the keyboard at once.
The EPS-16 PLUS makes it easy to "multisample" — which is what we call this
process of making several samples within one Instrument
• Make your first sample as described above in "Easy Sampling."
• Press the Sample button.
The display reads PICK SAMPLE INSTRUMENT.
• Press the Instrument•Track button of the instrument you just sampled.
When you select an existing instrument in response to the PICK SAMPLE
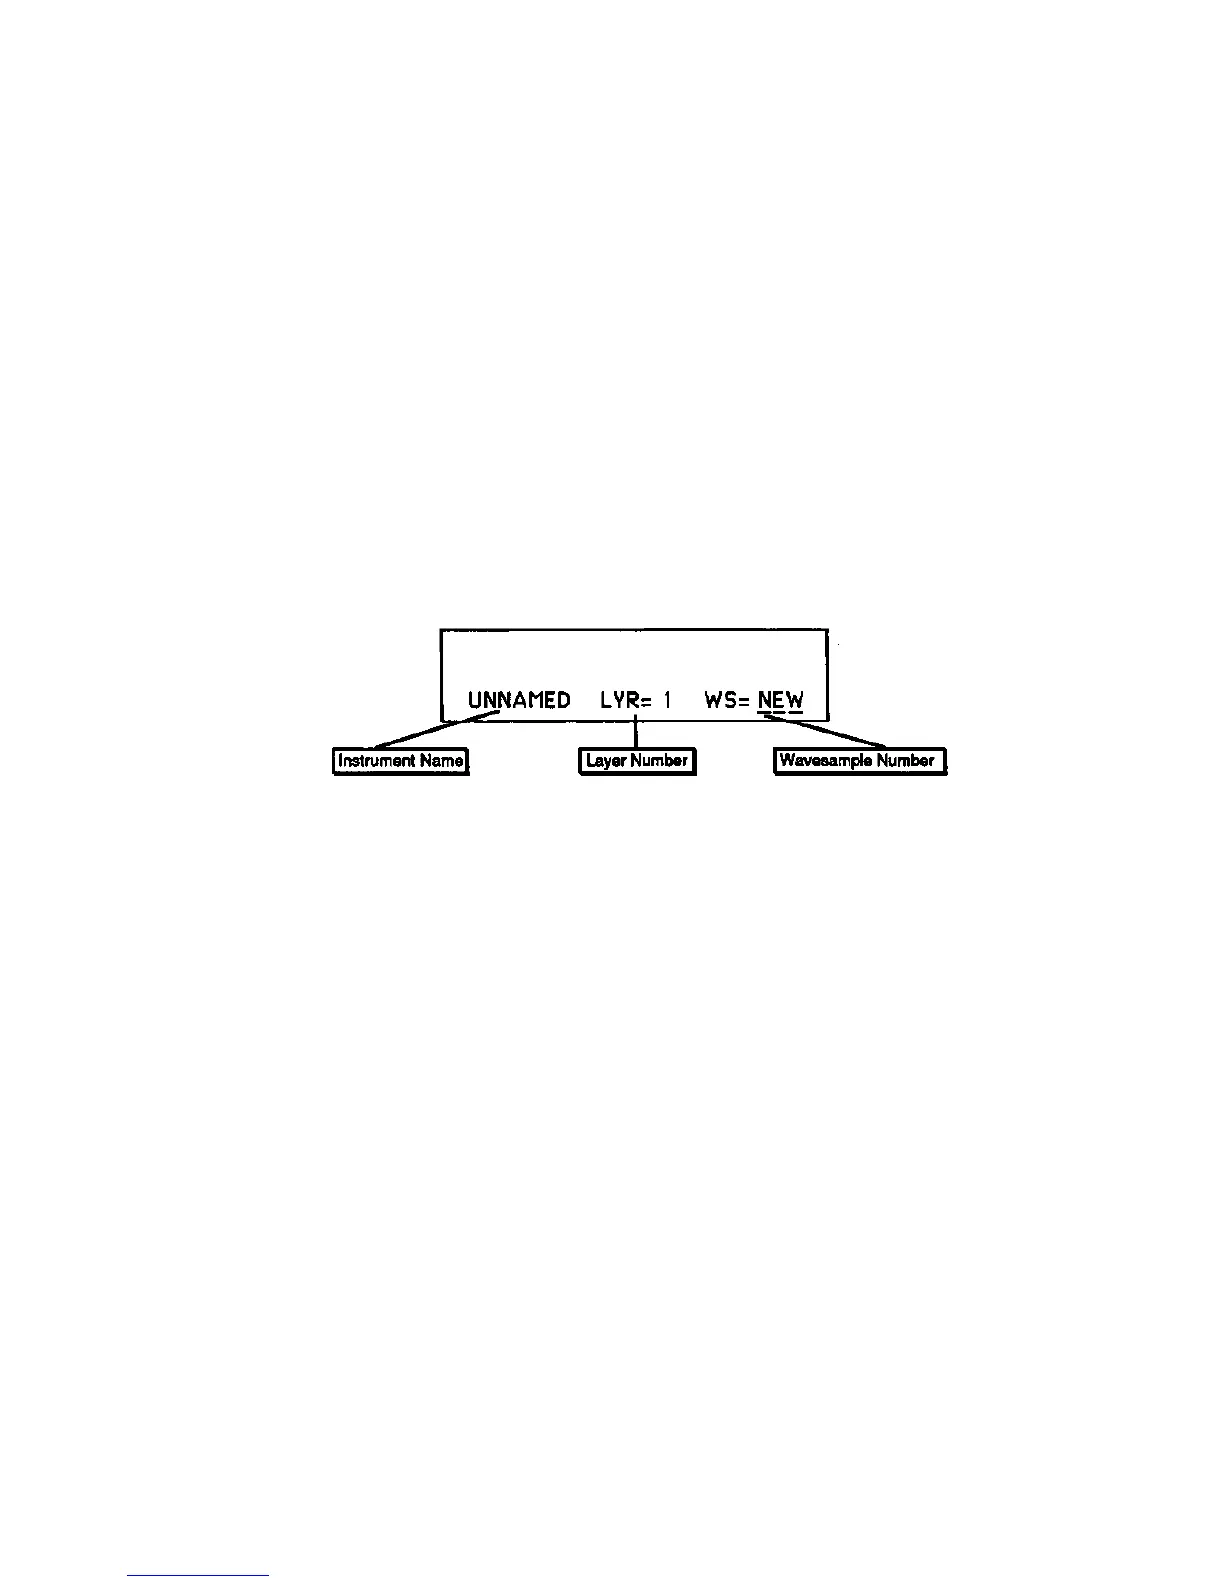
INSTRUMENT prompt, the EPS-16 PLUS shows the multisampling screen:
Here you see:
• The first nine letters of the instrument name (which is always UNNAMED
INST for newly sampled sounds);
• The number of the current layer, and
• Which Wavesample will be sampled after you press Enter•Yes. The default
here is NEW, meaning that a new Wavesample will be created in the same layer
of the instrument
• Press Enter•Yes.
This puts you back in Level-Detect mode. Now proceed to sample the new
Wavesample just as you did the first one:
• Adjust the incoming level so that it doesn't clip.
• Press Enter•Yes to commence sampling.
• Play the sound to be sampled.
• Press Cancel•No to stop sampling.
• Play the new Root Key — the key at which you want the new sample to play
back.
Once you have assigned a Root Key to the new sample, the EPS-16 PLUS
automatically adjusts the split point to be midway between the Root Keys of the
two samples.
Follow the exact same procedure to continue making multiple samples within the
instrument.
5 - 8
Multisampling

 Loading...


