5.12 Setting the Job Mode
270
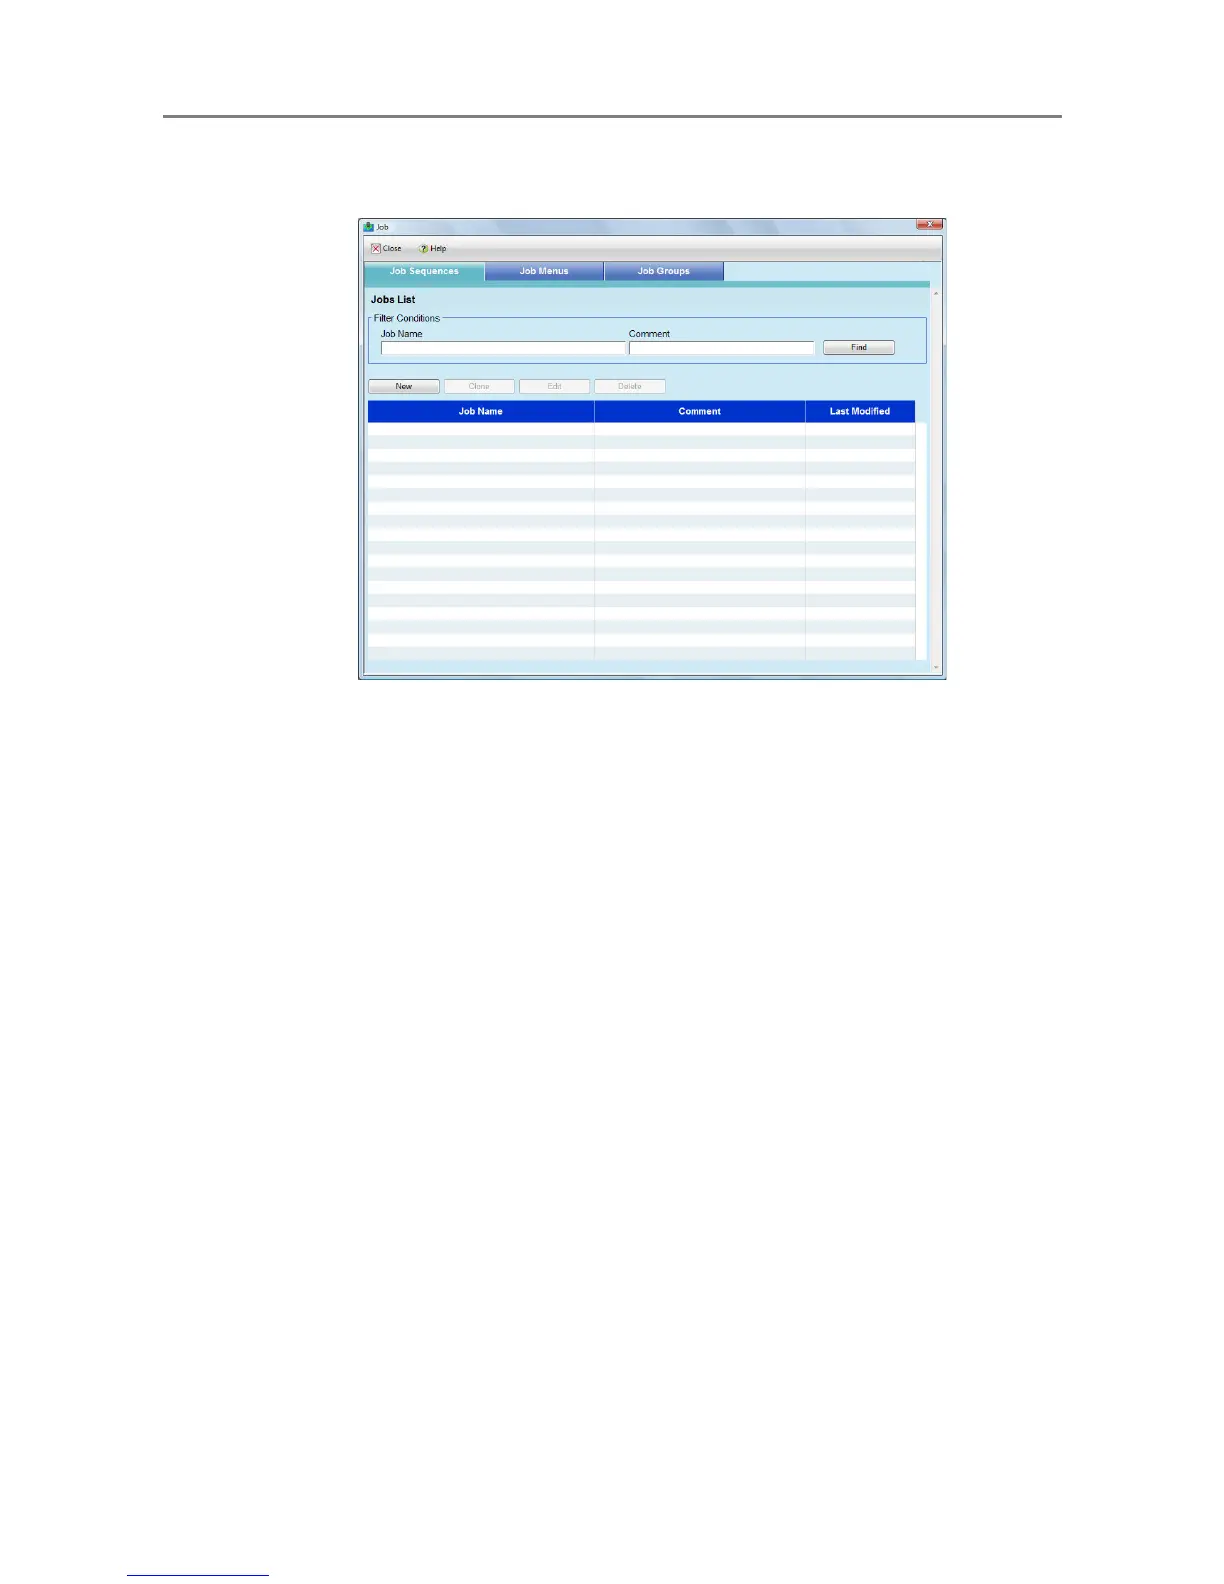
4. Configure job mode settings.
The contents of the last configured job mode settings are shown.
z [Job Sequences] button
The setting items are the same as those set in the [Job Sequences] tab in the job
mode settings menu in the window for administrator operations. For details, refer
to
"4.17.2 Setting a Job Sequence" (page 201).
To set [Print] or [Save] for a job sequence, a network printer or network folder must
be previously added on the job mode edit window.
The job sequences and job mode edit window settings are related in the following
way.
z The network printers shown on the [Printer List] window when [Print] is selected
as a job item, are the network printers set on the job mode edit window.
z The network folders shown on the [Folder List] window when [Save] is selected
as a job item, are the network folders set on the job mode edit window.
z [Job Menus] tab
The setting items are the same as those set in the [Job Menus] tab in the job mode
settings menu in the window for administrator operations. For details, refer to
"4.17.3 Setting a Job Menu" (page 210).
z [Job Groups] tab
The setting items are the same as those set in the [Job Groups] tab in the job
mode settings menu, in the window for administrator operations. For details, refer
to
"4.17.4 Setting a Job Group" (page 216).
z [Close] button
Registers the entered job mode settings and returns to the [Job Mode Settings]
window.
5. In [Settings Release Schedule], set the schedule to release job mode
settings.
6. Press the [Register] button.
D The entered job mode settings are registered.
 Loading...