Section 3
3-4 © Copyright 2009 GBC. All rights reserved. Advanced Punch Service Manual
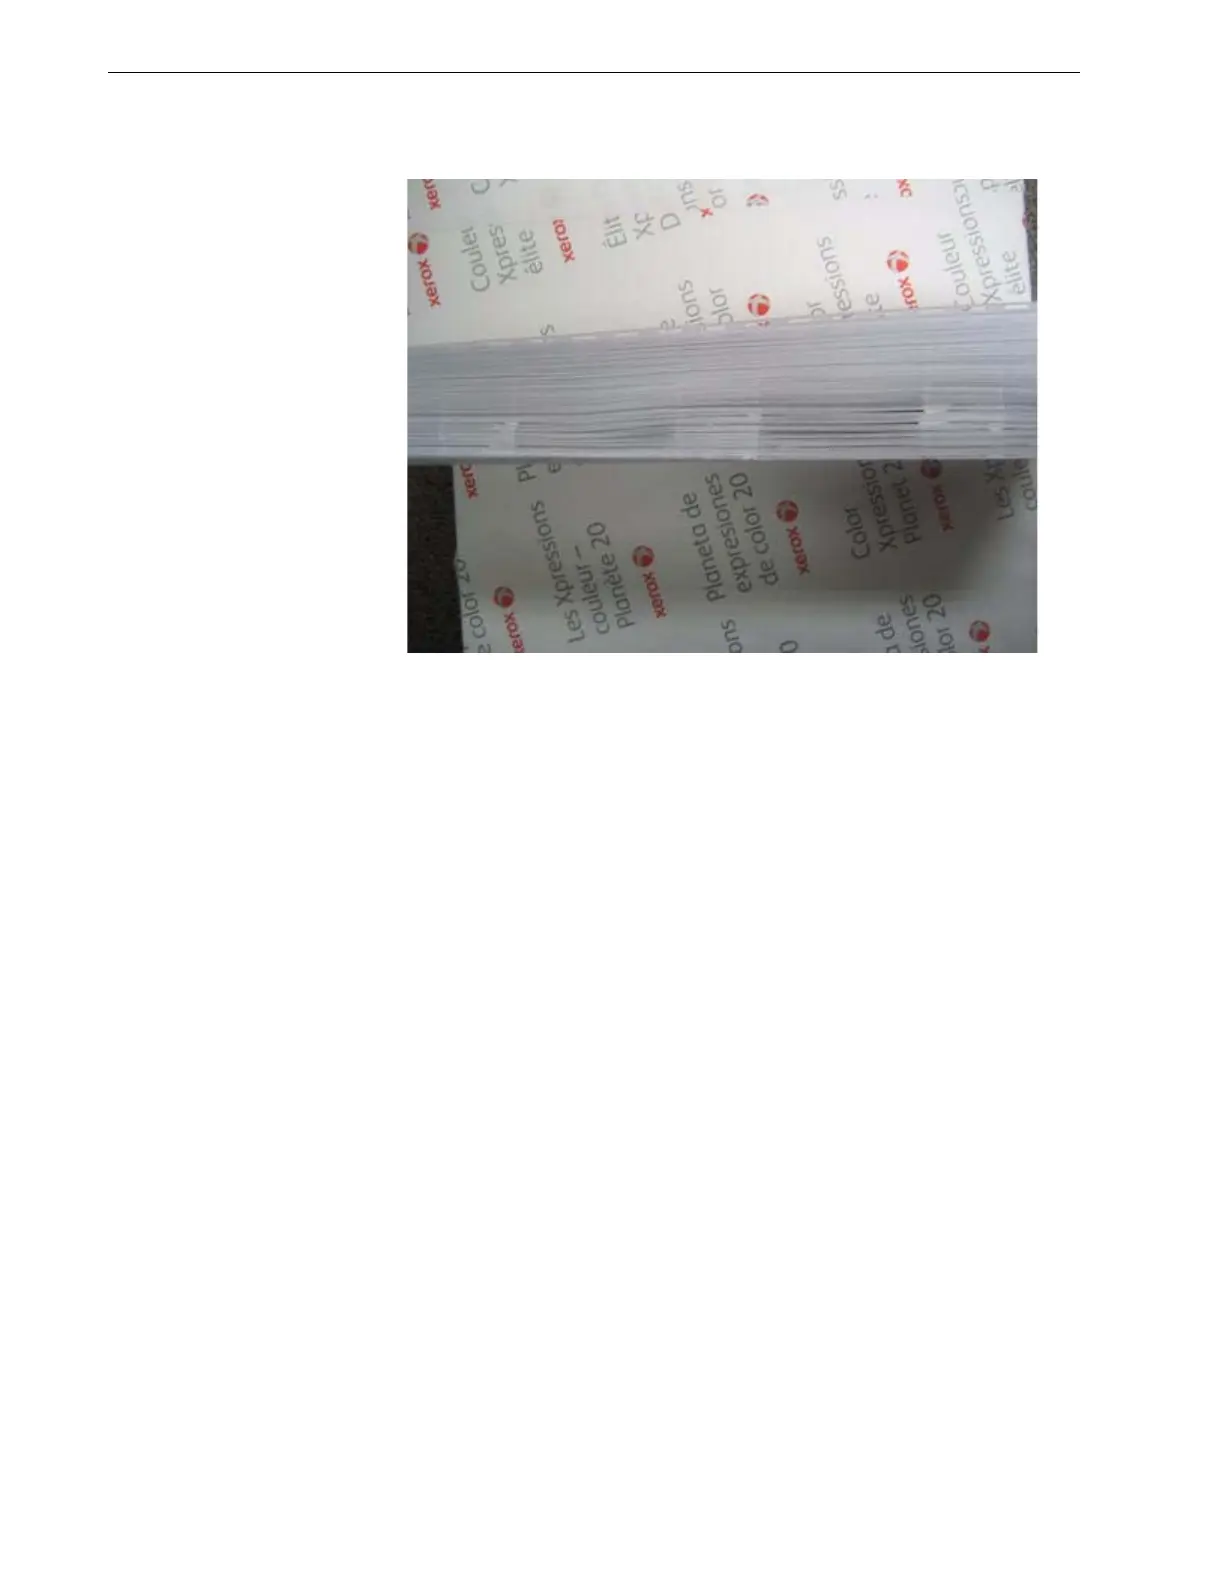
Figure 3.4 Damage from Backgage Gates
Root Cause: The lead edge damage displayed in Figure 3.4 occurs when sheets
enter the Backgage/ Punch area arriving as the Backgage Gates are closing.
Damage occurs in three areas aligning with each Backgage Gate.
Corrective actions:
• Check/ replace pinch roll mounting and spring locations, especially those
located in the Entrance Aligner and E-Roller areas (roller immediately before
the Backgage Assembly).
• Clean all pinch roller, Aligner Belts and E-Rollers with mild soapy water and
rinse with a damp, lint-free towel.
• Check punch die by exchanging with another punch die (if available).
Excessive die wear will produce additional delay of sheets departing the
Backgage area.